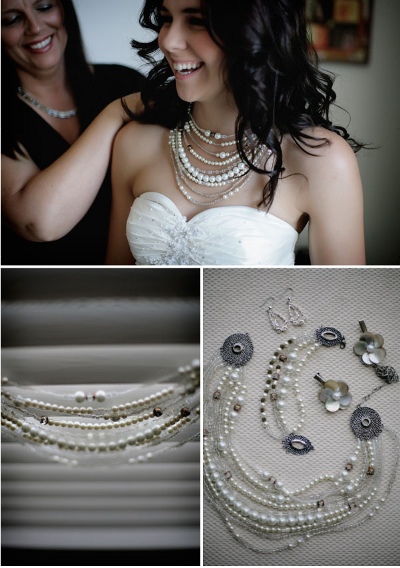
Wedding Pearl Necklace
This wedding pearl necklace from Style Me Pretty is the perfect way to finish off your bridal look. Learn how to make a necklace for your special day using pearls and other findings. DIY wedding ideas make your wedding personalized and special.
Materials:
- Clasps with multiple hooks or loops
- Clear jewelry string (nylon--not stretchy) or fishing line
- Beads
Instructions:
- My basic philosophy in going into the necklace was that I wanted it to be eclectic and sweet- so, I stuck with jewels that matched my color scheme but still added a bit of spark every now and again. Since each strand connected to a different hook, I basically just started with one layer, and as I added more, made them slightly longer or slightly shorter to layer them one right on top of the other- After each layer I was sure to hold it up to my neck to make sure they were falling properly. If you want the necklace a bit fuller- you can add more than one strand of beads to each individual hook.
- The great part about an eclectic necklace is that your strands don’t have to have even numbers and matching patterns. Each strand was unique to itself- however, it is good to continually try on the necklace and have an outside opinion to make sure it is flowing smoothly and looking good on your particular neckline. I also used this necklace as a “reception necklace”- so, I felt ok about making it a little more “fun” rather than “formal”.
- I added a small chain to the back so that I could adjust the length of the necklace if desired.
- I used pretty basic “necklace crafting technique” and just put in a little more time and patience to create the layers.
- A helpful hint: When you tie knots at the ends when you are attaching the strands from one latch to another- after tying several knots to secure the beading- Cut off the excess clear string and use a lighter to burn the very tip of the string so that it shrivels up and creates a small lump of melted plastic. This helps to secure the knot from slipping loose as well as from creating an itchy point. Don’t get the fire too close (you only need to hold it near -not directly on)- or it will burn more than desired and snap some of the base knots as well.
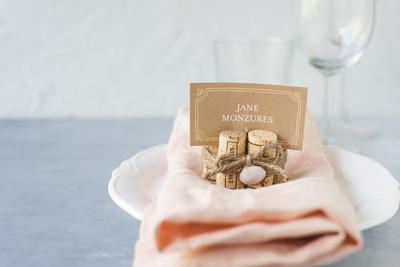
Read NextWine Cork Place Card Holders
Your Recently Viewed Projects

Thanks for your comment. Don't forget to share!
Report Inappropriate Comment
Are you sure you would like to report this comment? It will be flagged for our moderators to take action.
Thank you for taking the time to improve the content on our site.