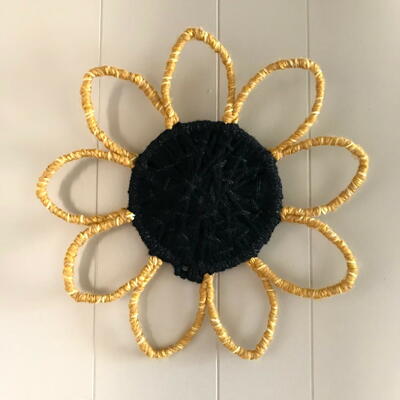
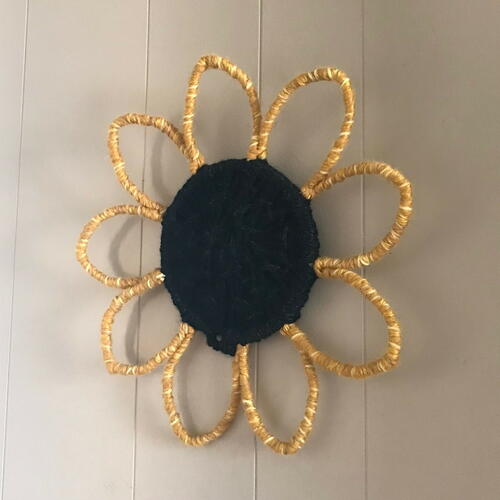
Sunflower Wall Art

From the Designer: "This beautiful extra-large sunflower wall art consists almost entirely of one of the most versatile materials- yarn! Specifically, it’s made with yarn from the 2023 h+h americas Networking Event sponsor Lion Brand®! The luxurious options and varieties we saw at the show inspired this sunflower design. Here’s a step-by-step guide to creating your own."
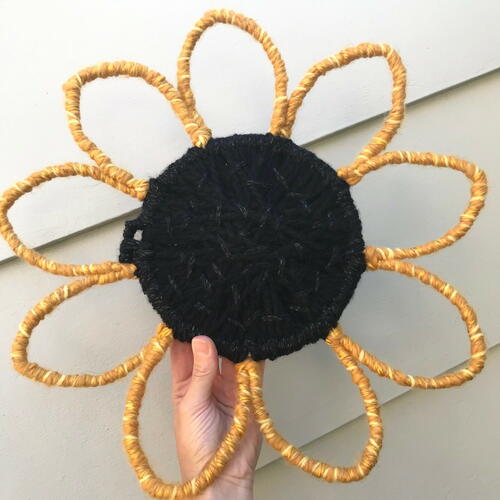
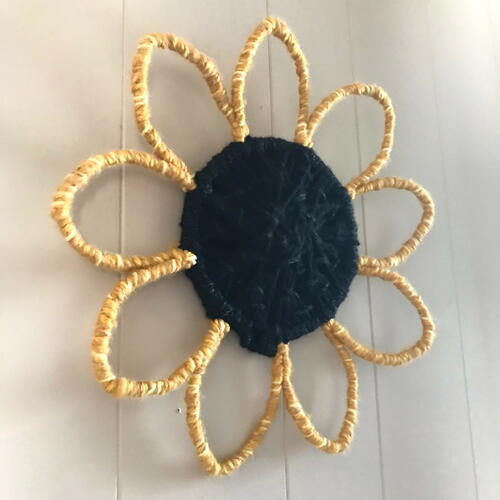
Note: The finished size of the flower is about 16” across.
Time to CompleteIn an evening
Main MaterialYarn

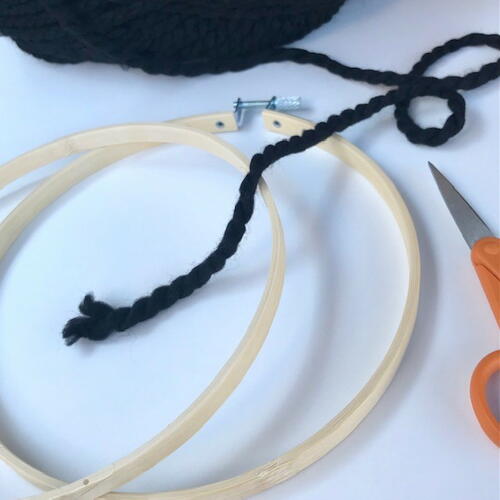
Materials List
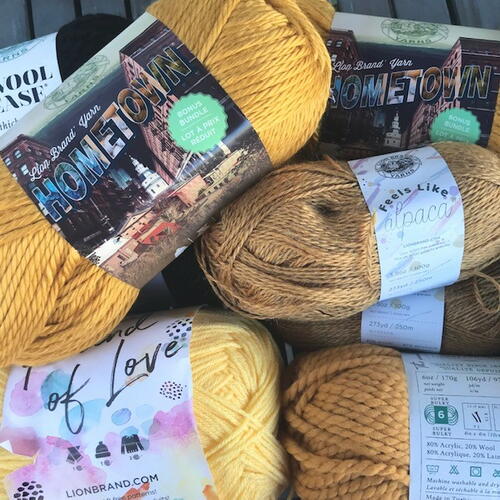
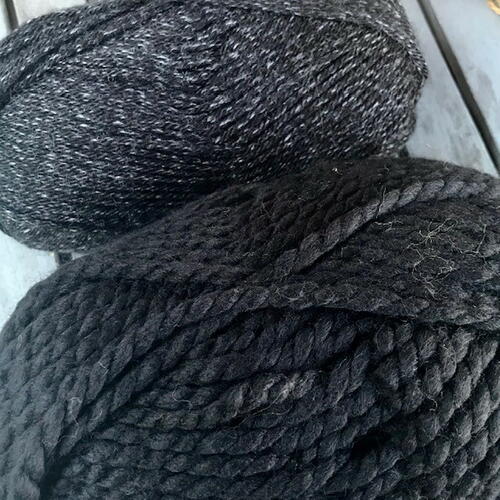
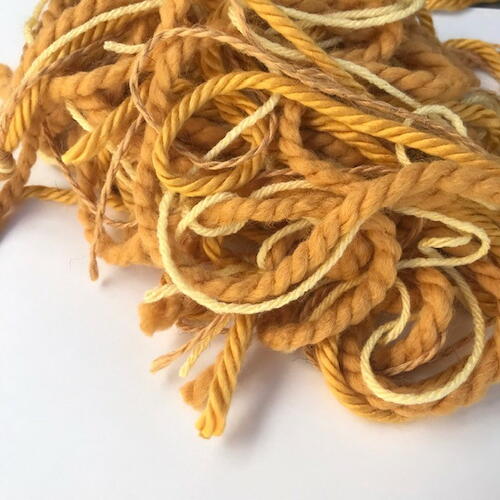
- Lion Brand® Yarn in the following 6 styles and colors (less than 1 skein of each is needed): Wool Ease® in Black, Heartland® in Black Canyon, Wool Ease® in Mustard, Pound of Love® in Honey Bee, Feels Like Alpaca in Mustard, Hometown® in Madison Mustard
- Fabric scissors
- Small scissors
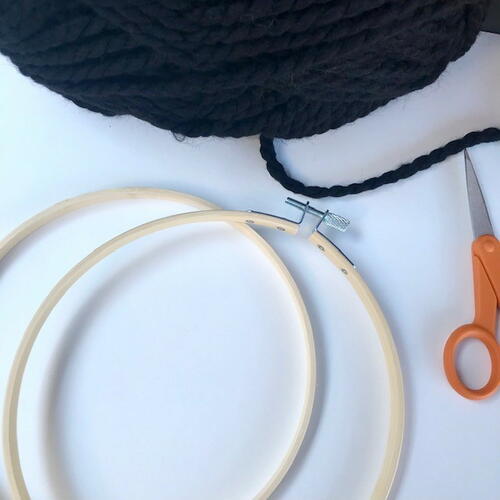
- Embroidery hoop (7” (inches) across)
- Embroidery or other large hand needles
- Wire (medium gauge soft craft wire, about 10’ (feet) were used, any color is fine)
- Wire clippers
Instructions
-
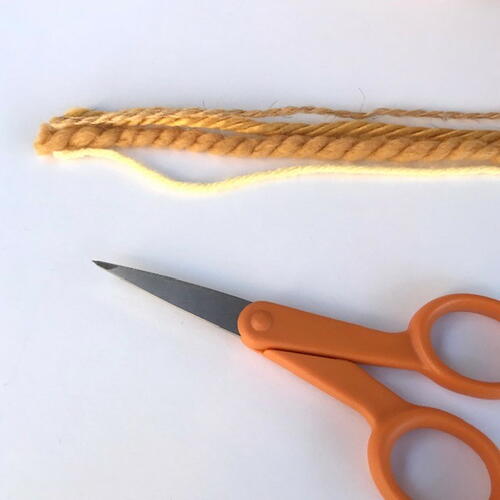
Arrange the skeins of yarn by color and remove the paper wrappings. For this design I used a variety of yellow colors and textures / fiber types to add extra contrast and depth. The yarns used include wool, acrylic, and polyester fibers.
-
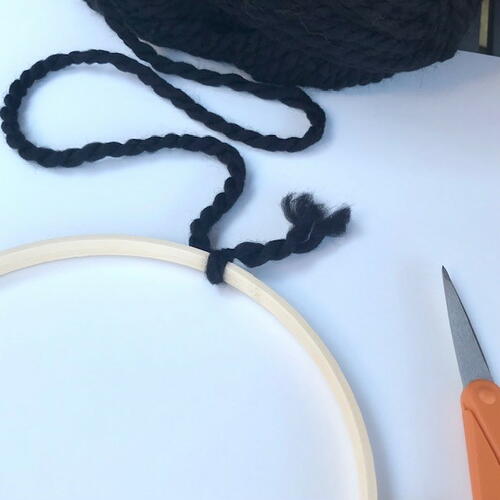
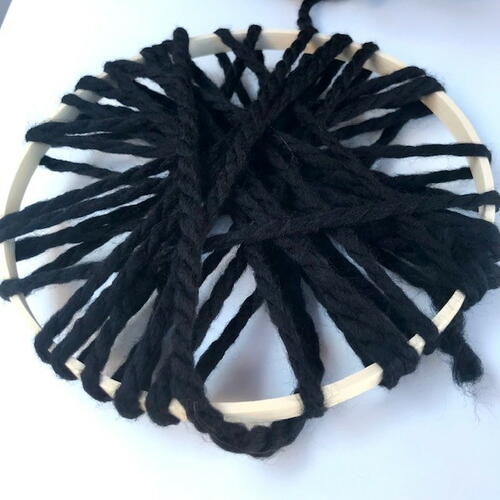
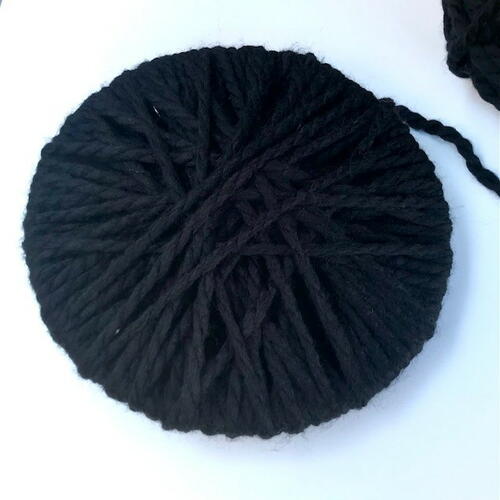
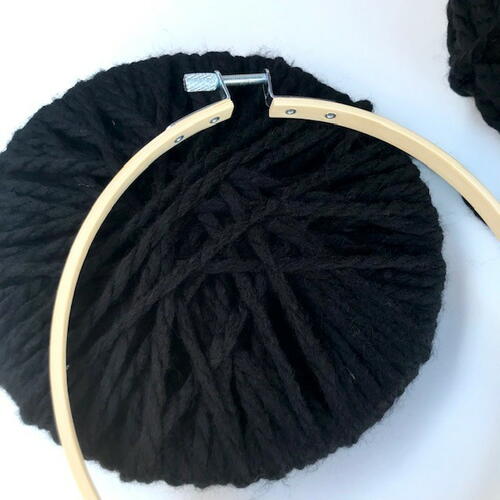
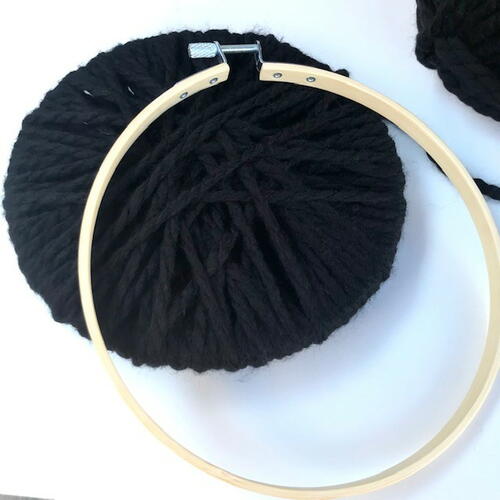
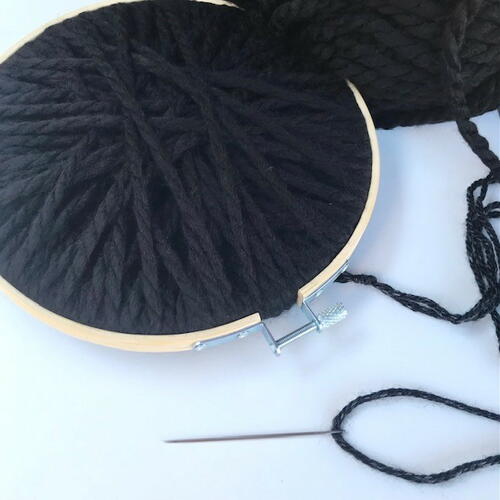
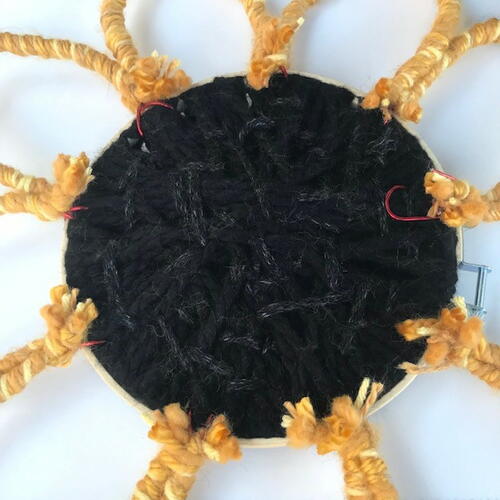
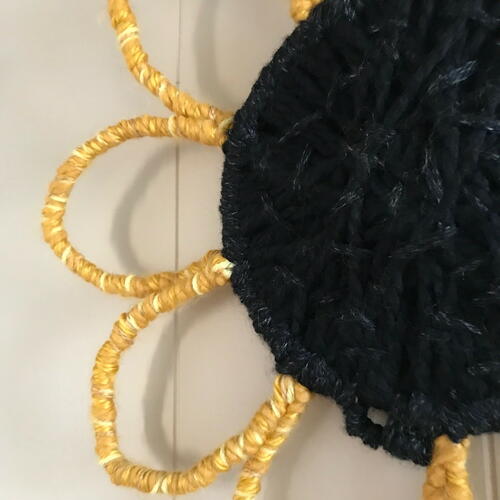
Open the embroidery hoop and place the outer ring aside. Holding the inner (closed) ring, start to wrap it with the black Wool Ease® yarn.
-
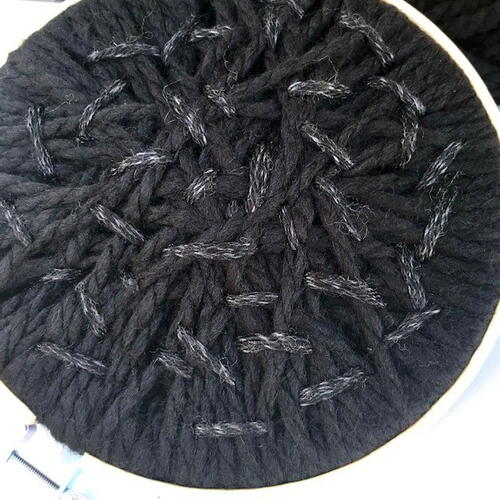
Continue to wrap until it is entirely covered. Cross over so it has overlapping layers. Tie the yarn off on the back discretely.
-
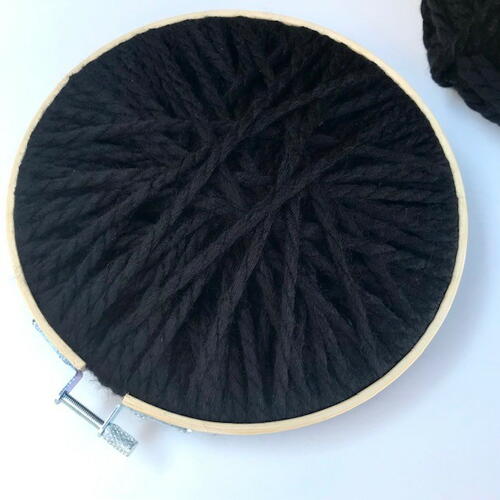
Next, place the open outer ring over the wrapped ring and tighten it until it is closed.
-
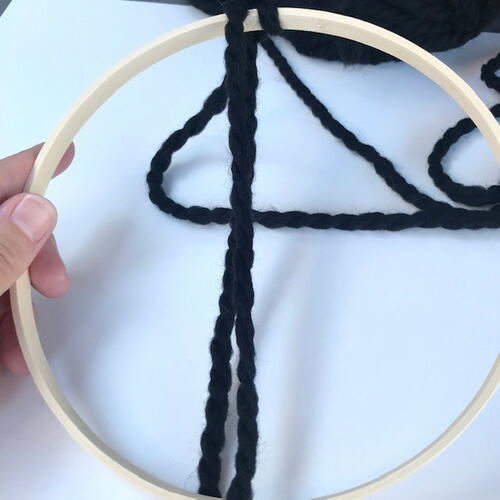
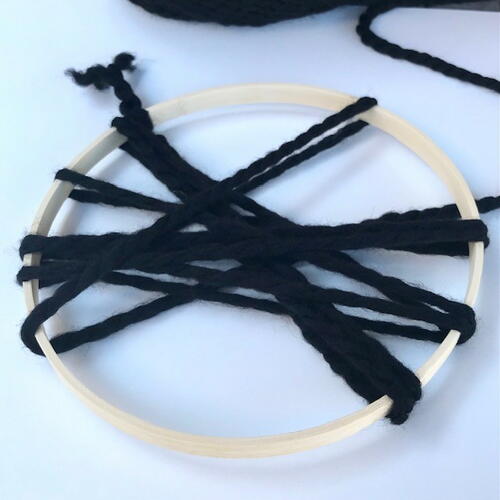
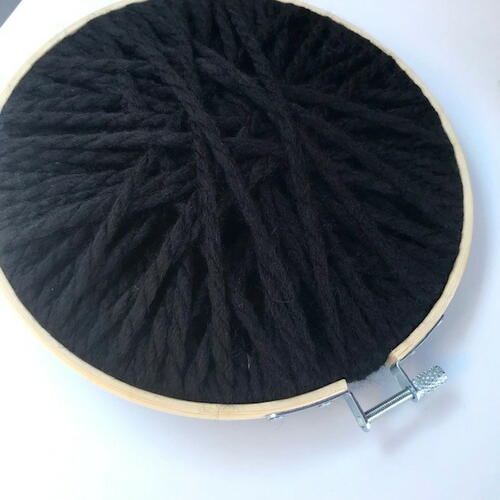
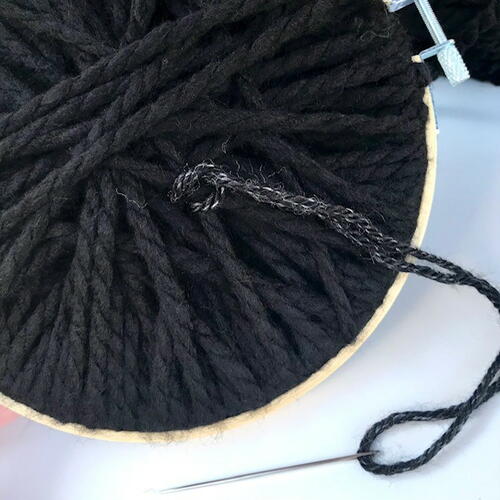
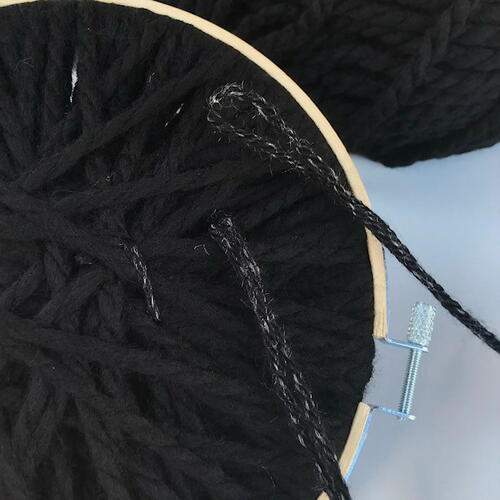
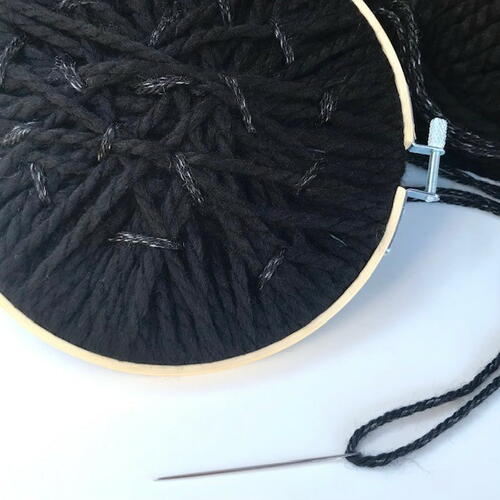
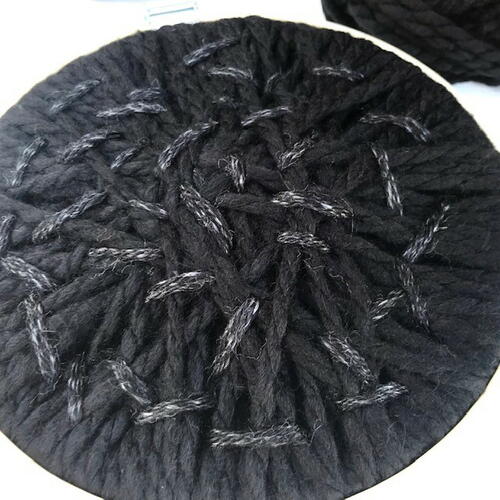
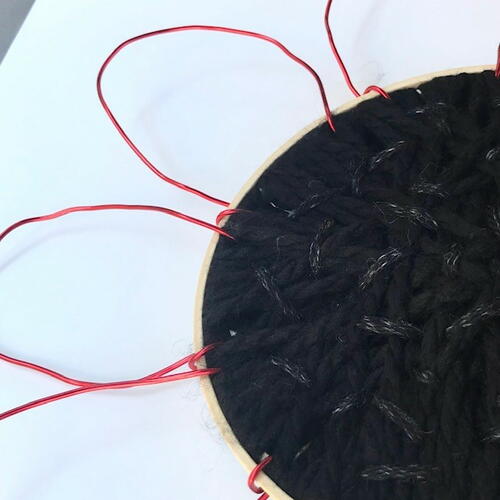
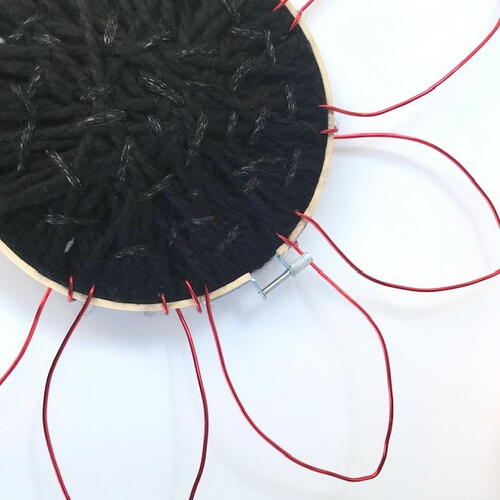
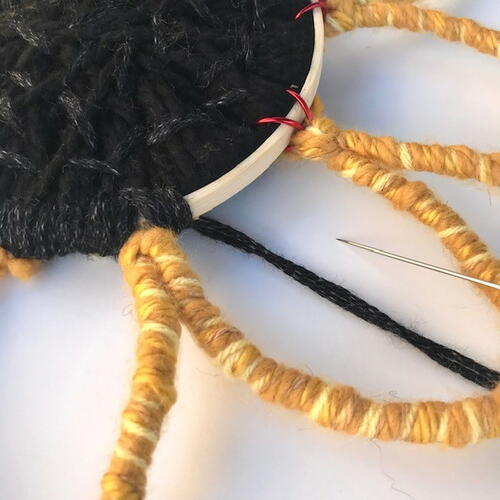
Using a large embroidery needle and the Heartland® Black Canyon color, go back and forth randomly across the hoop’s yarn. The yarn should be doubled-over and knotted on the end, and the “stitches” made about 3/4” long. They can be placed randomly but should look somewhat uniform. Tie off on the back when finished.
-
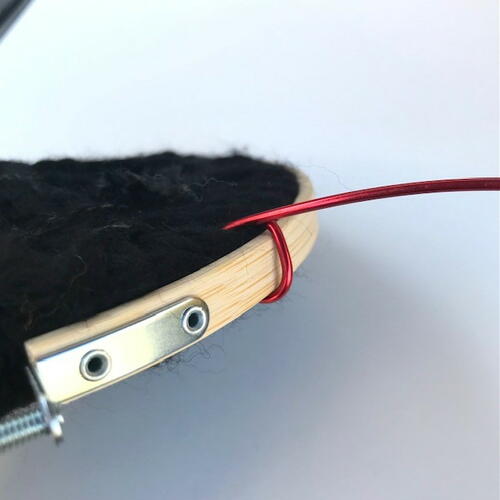
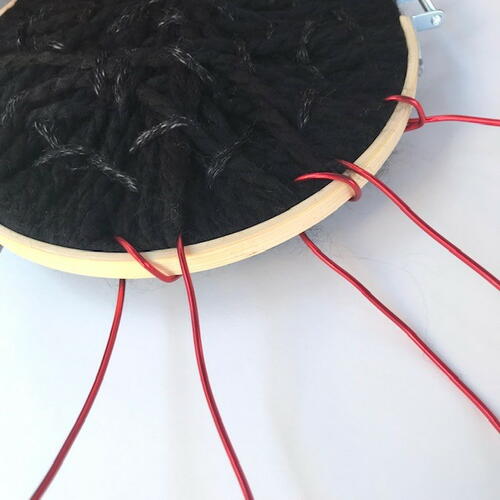
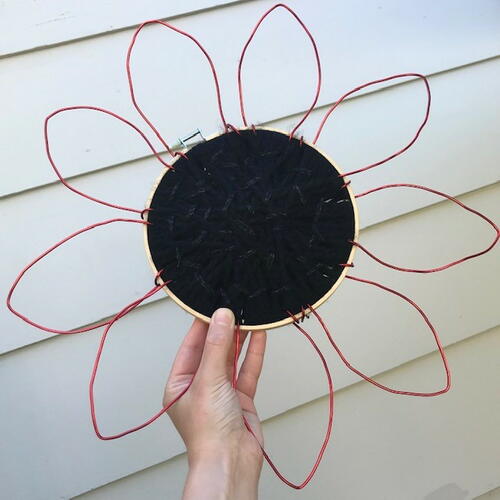
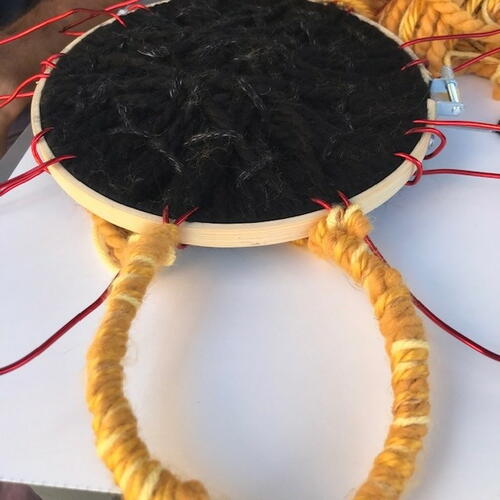
Now to create the petals! Unwrap and cut the wire in half to make it easier to work with for this project.
-
Starting at any point, wrap the end of one piece of the wire around the hoop to hold it steady.
-
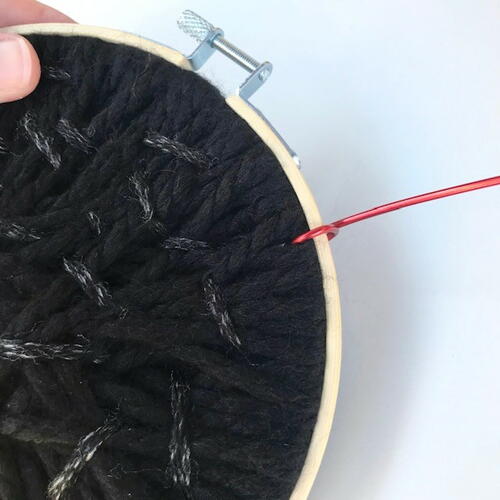
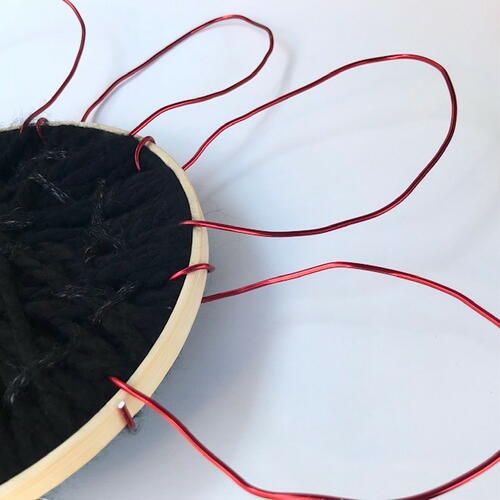
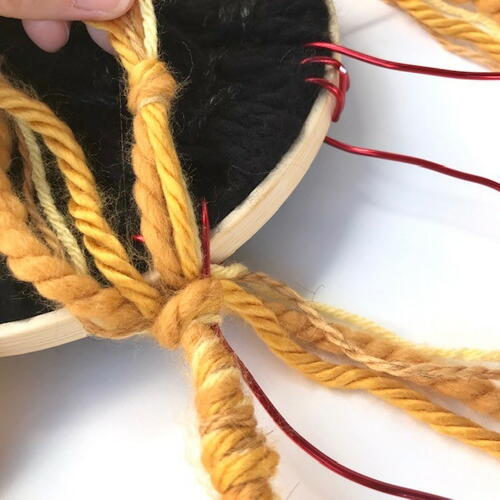
Bend the wire over into long petal shapes. At the end of each petal wrap the wire through again around the hoop to secure it. After all of the petals are made any excess wire can be twisted into a loop on the back (and used later to place it on the wall). This design has 9 petals total.
-
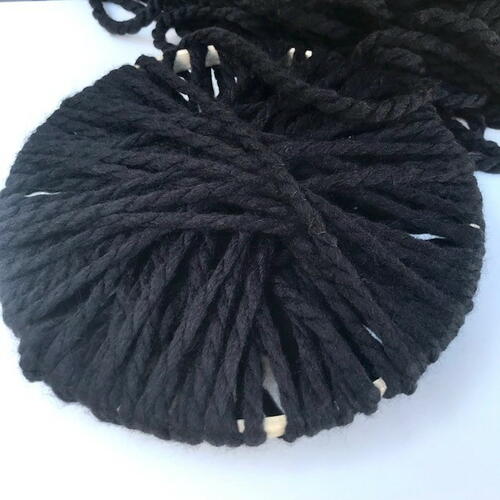
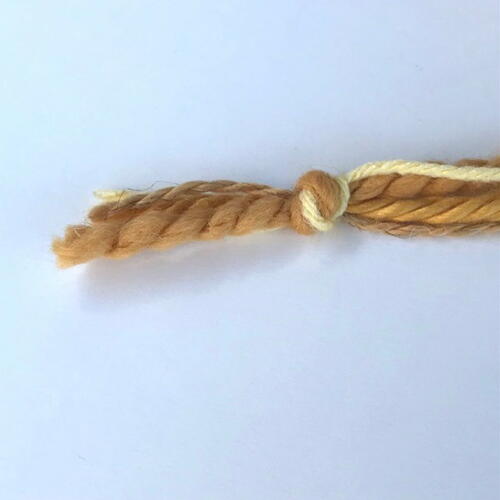
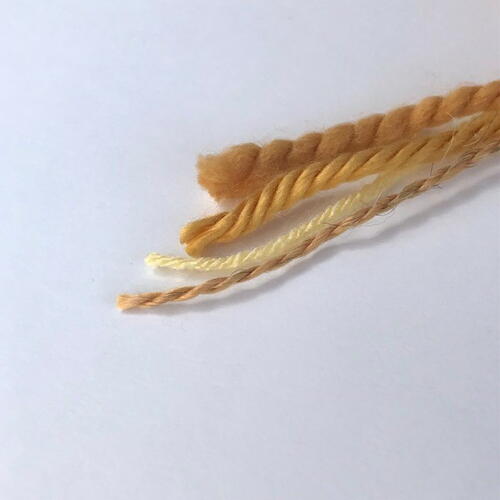
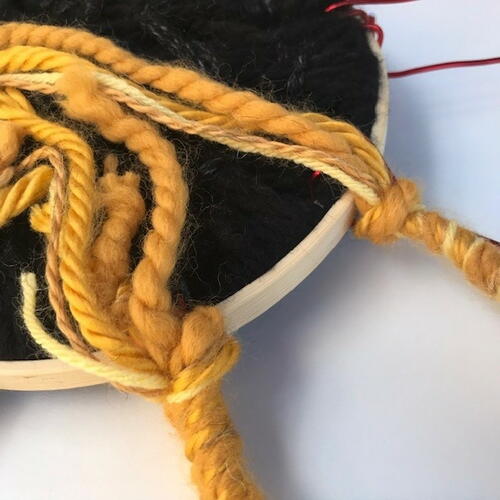
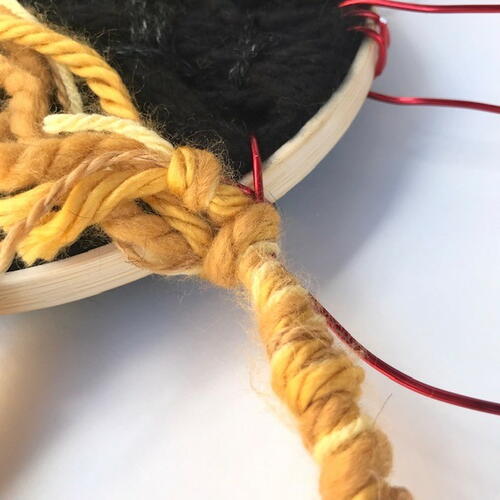
Take the ends of all 4 different yellow yarns and tie them together. This will form sets of yarn to wrap around the petals. Make 9 of these total that are about 40” in length. Leave an end open on each.
-
Slip the knotted end of a yarn set through the wire around the hoop. Holding the end in place, carefully wrap the yarns all around the wire petal. This can take a little while. Be sure they are even and that all of the wire is covered (except the parts directly around the hoop). Tie the yarn off on the back.
-
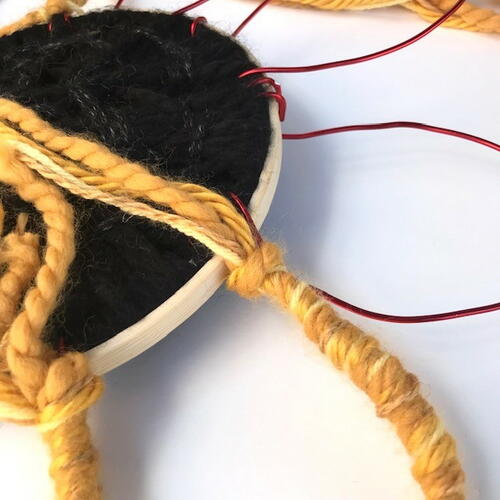
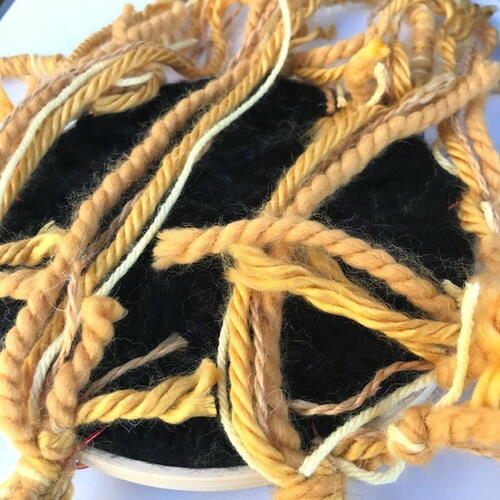
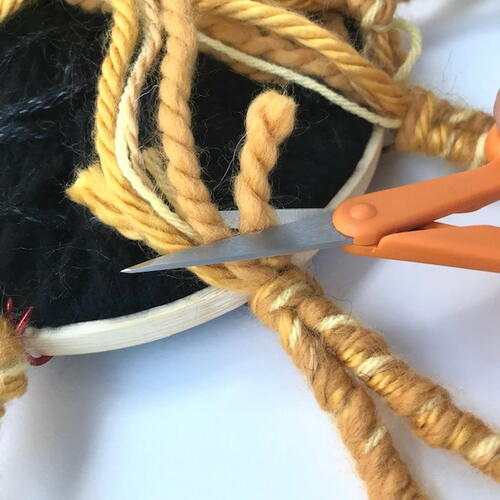
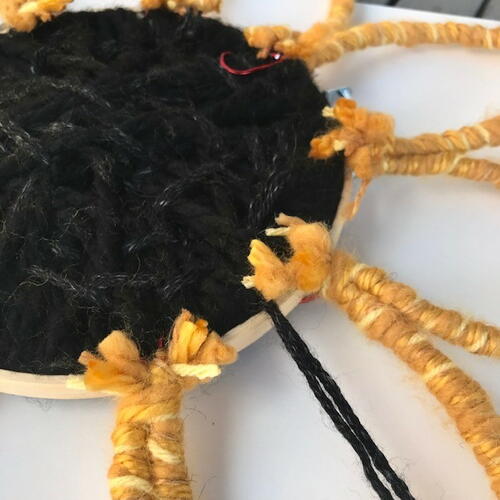
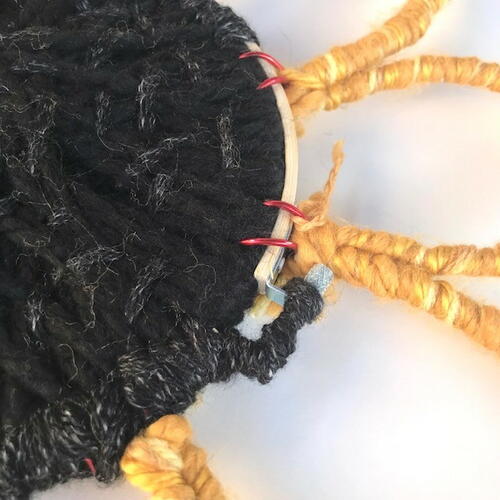
When all of the petals are covered, flip the flower over so that the back is facing upwards on the work surface. Clip off any long excess yellow yarns on the back (just not too close or they could unravel).
-
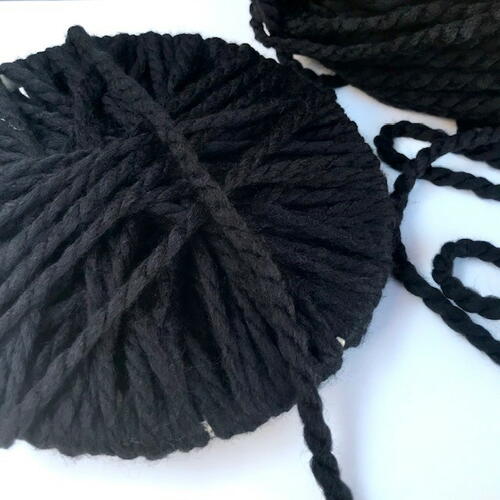
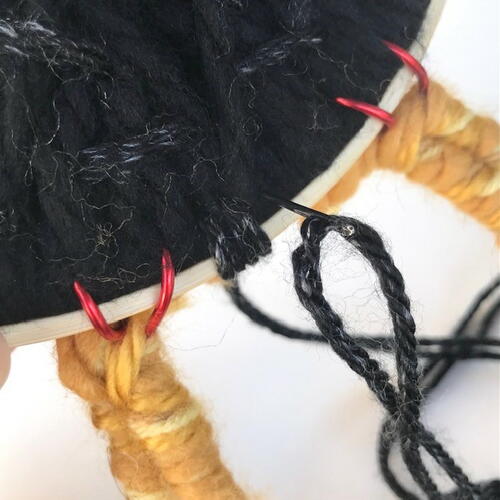
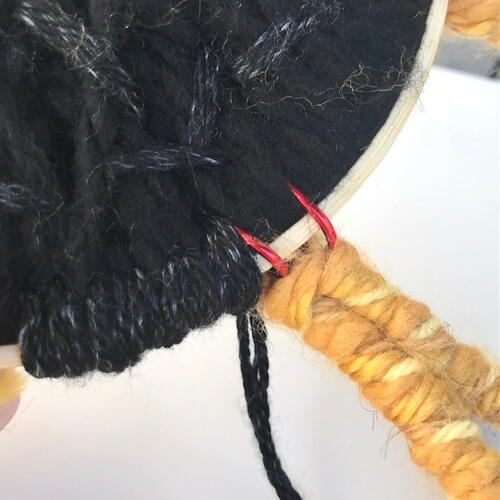
Use the embroidery needle and the Heartland ® Black Canyon yarn to wrap all around the wooden hoop. Double-over the yarn so this step is easier. Continue wrapping with the Heartland ® until the hoop and wire are completely covered, including the metal screw part.
-
The finished size of the flower is about 16” across. Display the flower on an (interior) wall and keep dry.


Read NextDenim Circle Tree