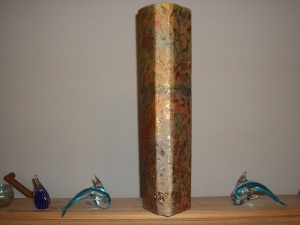
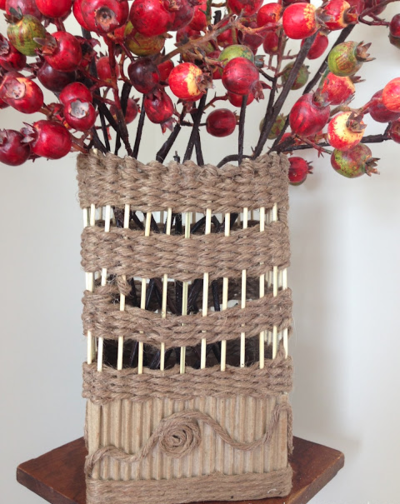
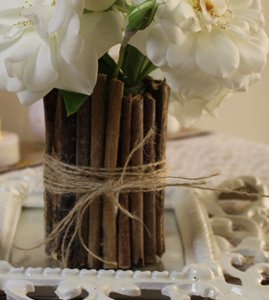
Rustic DIY Twig Vase
The Rustic DIY Twig Vase is a simple yet chic home decoration that's perfect for fall. Dress up an old glass vase that hasn't gotten much use with this easy tutorial. Against the earthy tones of the twigs and twine, the colors of your flowers will really pop. This DIY vase will add a rustic charm anywhere you place it. This nature-inspired crafts will cost you next to nothing and look absolutely fabulous! Even the most inexperienced of crafters can create this piece of stylish home decor.
Materials:
- Aleene's Tacky Glue
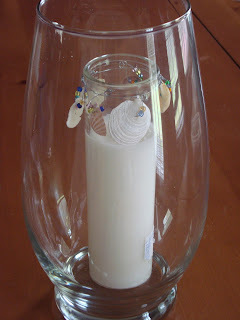
- Small glass jar or vase
- White copy paper
- Pencil or pen
- Wood twigs (or cinnamon sticks) - twigs should be as straight as possible
- Wire cutter (or gardening cutters)
- Ribbon or twine
Instructions:
-
Lay vase on paper. Use pencil to mark lines on paper indicating top and bottom of vase. These lines will be used to measure and cut twigs.
-
Apply three lines of glue around vase. Set aside for 10 to 15 minutes to allow glue to start to dry.
-
Using measurement on paper, cut twigs to length with cutters. Cut enough twigs to fit around entire vase.
-
Once glue has set as recommended in step 2 above, set vase on work surface. Press each twig into glue using the work surface to hold the twig at the bottom and to keep all the twigs aligned. Because you have let the glue set and you are using with work surface to help hold the bottom of the twigs, they should not shift. Cover entire vase with twigs.
- Wrap with ribbon or twine and tie into knot. Set aside to dry.
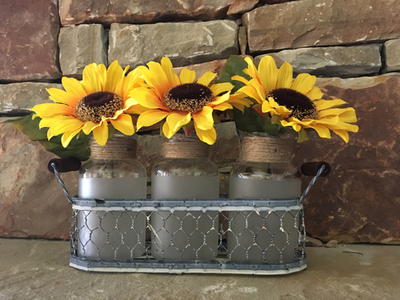
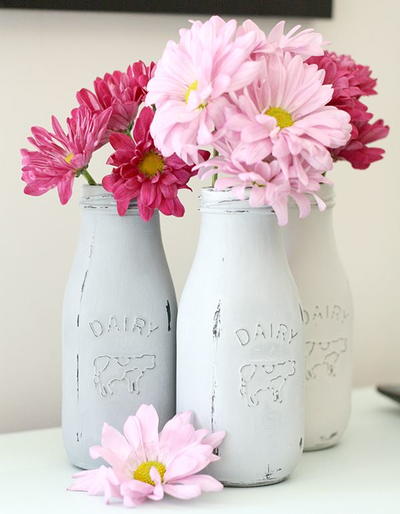
Read NextMilk Bottle DIY Vases