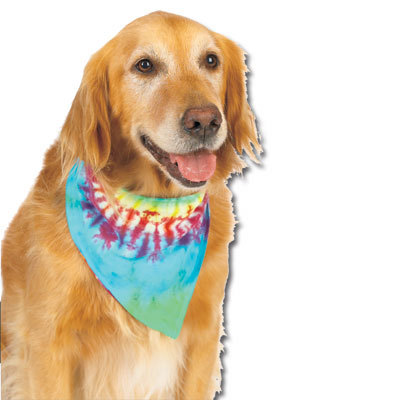
Tie Dye Dog Bandana
Give your favorite pooch a colorful collar with this tie-dye swirl bandana from I Love to Create. The tie-dye bandana also makes your dog easy to spot at a dog park.

Materials:
- Rainbow Rock® Tie-Dye Kits- Mega Project
- Plastic tub or bowl, plastic trash bags or plastic sheeting, paper towels
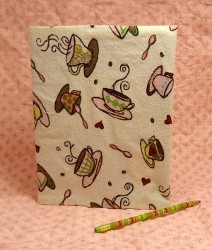
- Bandana (natural fibers such as 100% cotton)
- Rubber bands
- Plastic wrap
- Jars
- Bucket
- Scissors
- Apron
Instructions:
- Cover work surface with plastic trash bags or sheeting. Place a layer of folded paper towels on top of the plastic.
- Prewash fabric. Do not use fabric softener or a dryer sheet.
- Fill a bucket with about 4 quarts of water. Wearing gloves, stir in the soda ash until dissolved. Soak fabric for 20 minutes and squeeze out excess moisture. Do not rinse. The fixer solution can be reused.
- To prepare dyes, mix with varying amounts of water depending on the intensity of the color you desire. Replace tops tightly after filling with water. Shake well before each use.
- Lay fabric flat on work surface.
- Decide the area on the fabric where you want the swirl design to be. To put the swirl in the center of a shirt, for example, imagine a line even with the bottom of the armholes. Pinch up the fabric so there’s enough to hold onto.
- Use about 1 bottle each of Fuchsia, Turquoise and Yellow dyes. Squirt Yellow dye on 3 connecting wedges. Squirt Fuchsia dye on one of the yellow wedges and the two connecting unpainted wedges. Skip a solid fuchsia wedge and squirt Turquoise dye on the next fuchsia wedge and the two connecting wedges—one unpainted and one yellow. Every other wedge should be a solid color—yellow, fuchsia and turquoise. The other wedges are combinations of colors.
- Cover project or dyed area with plastic wrap to keep damp. Let the dye set on the fabric for 4-8 hours or longer for the most intense color.
- Rinse fabric with warm tap water to remove excess dye. Remove rubber bands as you continue to rinse until water runs nearly clear.
- Machine wash dyed fabric in the hottest water suitable for the fabric. Wash by itself the first few times to make sure the dye is completely rinsed out. Do not allow dyed fabrics to sit wet on other items or each other, as the colors may transfer. Machine or line dry.
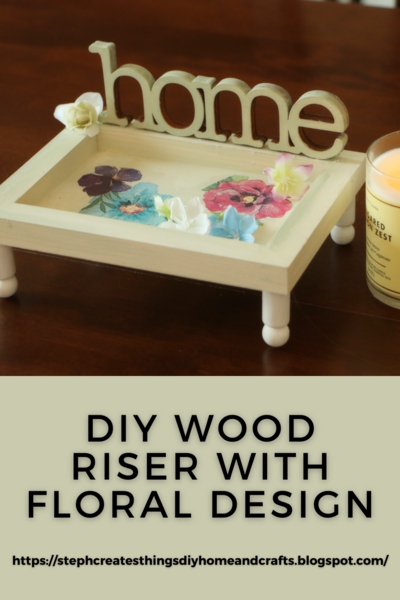
Read NextDiy Wood Riser With Floral Design
Your Recently Viewed Projects
Thanks for your comment. Don't forget to share!
Catsitt
Apr 12, 2017
My partner and I have a five year old Pit-bull we rescued last year, she is a big bundle of love but people have such a bad opinion of this breed due to the media (lets not get me started on this topic) so anyway I think this bandana in a few different colours would make her look more approachable to people so they get to know this adorable breed a bit better.
JennyBee1
Sep 20, 2011
@jeanene72 8562739, We suggest contacting the original designer of this project for clarification; the name is specified in the byline. I hope this helps! --Editor of FaveCrafts
jeanene72 8562739
Sep 18, 2011
The directions are a bit confusing....in step 6 you talk about using a shirt, then in step 7 you are talking about wedges, and you never tell us what to do with the rubber bands. If a person has never done tie-dye before, this is not enough information. It looks like a fun project, but I need to know each step in the process.
Report Inappropriate Comment
Are you sure you would like to report this comment? It will be flagged for our moderators to take action.
Thank you for taking the time to improve the content on our site.