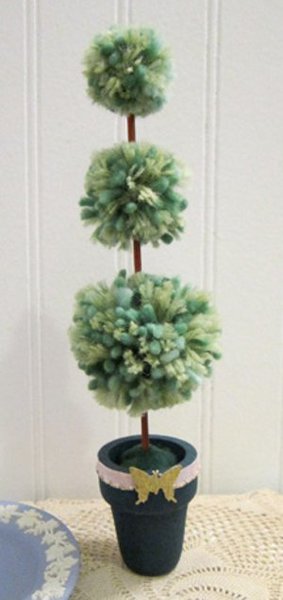
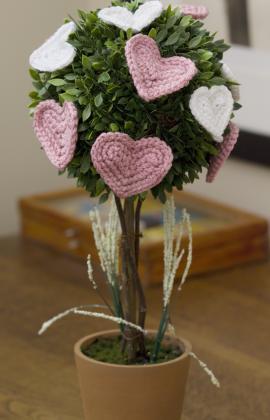
Whimsical Pompom Topiary
This Whimsical Pompom Topiary from Lindsay Obermeyer is a fun and easy craft that will brighten up any room in your home. Artificial topiary plants are a great way to add home decor and you don't have to worry about watering them! This topiary is whimsical and charming, perfect for a nursery or a living room. Recyle material you have on hand already to make the little pompoms if you'd like!

Materials:
- 3/8" Clover pompom maker
- 5/8" Clover pompom maker
- 2 1/2" Clover pompom maker
- Bamboo skewer
- 2" x 1 5/8" miniature wood flower pot
- 6" piece of 1/4" ribbon
- Small bottle of dark green acrylic paint
- Small bottle of brown acrylic paint
- Skein of light green yarn
- Skein of emerald green yarn
- Paper punch in the shape of a butterfly
- Sheet of gold paper
- Bottle of Aleene's® Original Tacky Glue
- 1"x 1" x 1" piece of Styrofoam
- Piece of dark green craft felt
- Scissors
- Piece of white tailors chalk
Instructions:
- Paint flower pot with green paint. Allow to dry. Paint another coat. Allow to dry.
- Paint skewer with brown paint. Allow to dry. Paint another coat. Allow to dry.
- Make 1 small, medium and large pompom. Use both green yarns held together. Trim any access or long bits.
- Turn the flower pot upside down onto the felt. Trace the circle with a piece of tailor's chalk onto the felt.
- Cut out the circle.
- Insert the foam into the flowerpot pushing it down firmly so it is secure.
- Glue the felt circle onto the top of the styrofoam.
- Glue the ribbon along the brim of the flower pot. Trim off access.
- Make a gold paper butterfly using your butterfly punch.
- Glue the butterfly onto the ribbon at the point where the ends meet, so that the ends of the ribbon are no longer visible.
- Stick the skewer into the center of the flowerpot through the felt and styrofoam. Remove. Squeeze some glue into the hole, carefully not spilling any onto the felt. Push the skewer back into the hole.
- Thread the pompoms onto the skewer, beginning with the large, then the medium and finally the small pompom. Spread them evenly across the pompom with the smallest at that top.
- Once you like the positioning of the pompoms, add a little glue to secure them to the skewer.
- Allow to dry before moving.
- This project is perfect for using with yarn leftover from other projects. Make them white for a winter scene or for use at a wedding table.
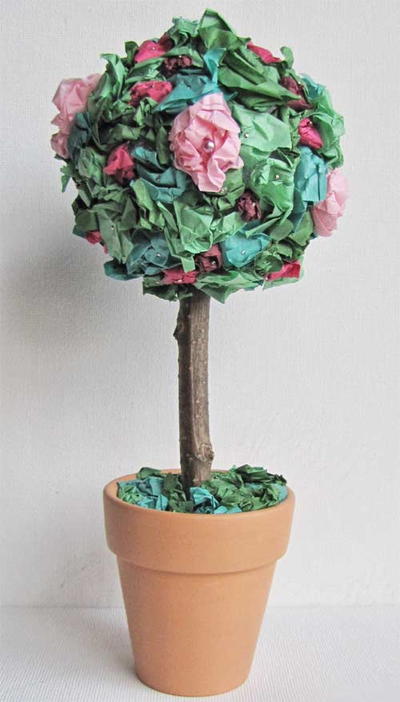
Read NextTissue Flower Topiary