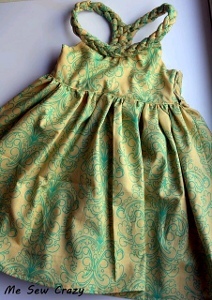
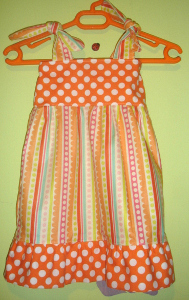
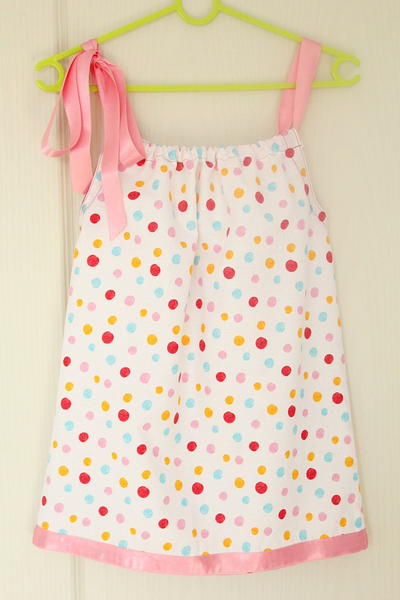
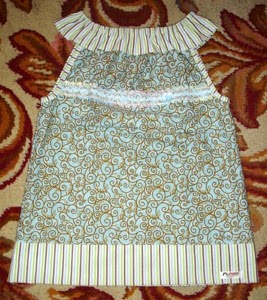
Summer Pillowcase Dress
Sewing for toddlers always warms my heart. Seeing them fashion my simple dresses makes it worth the time and effort. This summer pillowcase dress from Lelanie Denso is stylish and too adorable. Dress the toddler and make her feel like your little treasure.
Materials:
- 1 rectangular pc. for ruffled neckline 32" x 6"
- 2 rectangular pieces for wide band as hem, 23" x 6"
- 1 elastic 22"-23" x 0.5"
- bias tape 42" x 1"
- 2 dress (see sizing below)
Instructions:
- Get one of your hem piece, fold it crosswise wrong sides together. Get one of your dress piece and lay it on top of your hem piece, right sides together. Sew them together with a straight stitch leaving a 1/4 seam from the edge. After the straight stitch, sew a zigzag stitch or serge so your edges won't fray.
- Lay your dress+hem piece wrong side down and trace a continuing line from your dress to your hem (remember, this is an A-line dress). Cut the excess fabric using your traced line as basis.Topstitch to strengthen your stitches. Do the same to your other (and remaining) dress and hem pieces.
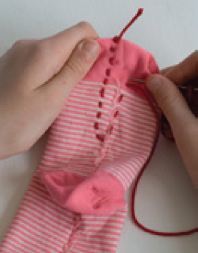
- Now, we need to line our armholes. You should be using a bias tape here or make your own. But I didn't have enough extra fabric to create the bias so I just used a rectangular piece, folded it as if I am making my own bias tape. Get one of your dress piece, lay it right side facing down, your bias tape right side facing down. Line both edges together and sew a straight stitch leaving a 1/4 seam from the edge. Follow the contour of your armhole.
- Fold your bias tape and sew on top of it. Do the same to all of your armholes.
- Get your dress pieces, lay them together wrong sides together and sew a straight stitch leaving a 1/8 seam from the edge. Turn it, and sew another straight stitch, creating a french hem!Do the same to the other side of your dress.
- Get your neckline piece and attach them using a french hem, or you could just sew a straight stitch then zigzag or serge. Whichever floats your boat.
- Fold your piece crosswise, wrong sides together and sew a straight stitch leaving a 1/4" seam from the folded edge.
- Get your dress and from the top, draw a line (center) and from the center draw two more lines 1/2" apart from each other on either side from the center.
- Using the lines as basis, sew a straight stitch 2" long from the top. You could also opt to just gather that part.Do not gather the entire top part though, just 4"-5" on your dress piece (center).
- Attach your neckline piece to your dress leaving enough fabric to fold under so you can insert your elastic later on. Fold down twice your ruffled neckline piece, first 1/4" and the second 1/2". Sew a straight stitch leaving 1" unsewn so you can insert your elastic band. Of course, do not forget backtracks!
- Insert your elastic through the unsewn part with the help of a pin or paper clip, attach both ends of your elastic with a zigzag stitch. And close the unsewn part of your neckline with a straight stitch. And you are finished.
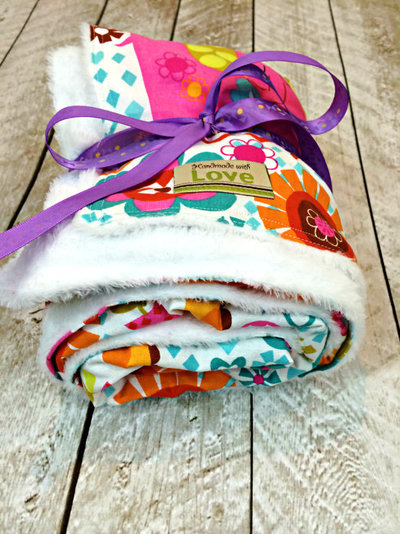
Read NextTwenty Minute Baby Blanket
Your Recently Viewed Projects


Thanks for your comment. Don't forget to share!
suzieq775
Jan 11, 2013
Cute dress....Please don't post without all info. New sewers need something to follow.
ToSewWithLove 9910 101
Jun 10, 2012
You can get the complete tutorial with photos and pattern for 6-7T here: http://www.to-sew-with-love.com/p/free-patterns.html
cindy4him 6999968
May 14, 2012
this pattern is not easy to understand and nothing about dress sizing, I like it but to hard to understand please have some one fix it
mme
Jan 11, 2012
Where is the dress sizing? The instructions say "see below" but I don't see the sizing.
Report Inappropriate Comment
Are you sure you would like to report this comment? It will be flagged for our moderators to take action.
Thank you for taking the time to improve the content on our site.