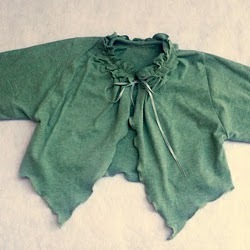
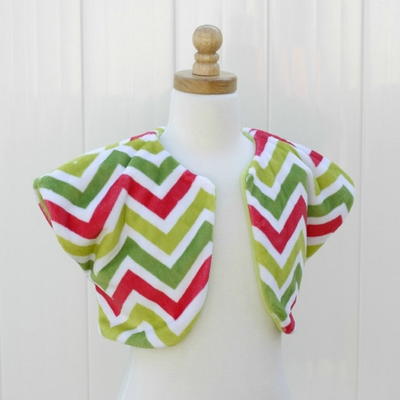
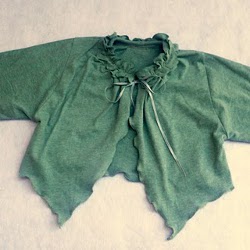
Little Girl's Butterfly Shrug
This simple tutorial will allow you to create a Little Girl's Butterfly Shrug with a cute ruffled accent. This free sewing idea is easy enough that anyone with basic skills should be able to make it.
Materials:
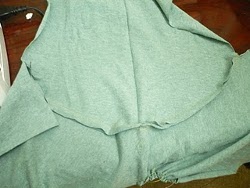
- Knit fabric : 1yd ( I actually used the upper half of the Tshirt that we used in part 1 here, but I actually would advise against doing it, I'll explain more later.)
- Satin Ribbon: 1/2 yd
- Matching thread, scissor, marker
- A top or another shrug that fits the child
Instructions:
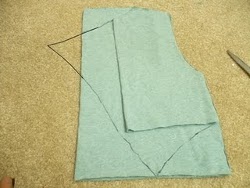
- Fold the top in half lengthwise and place on the fold of the fabric. Adjust the length: the top is regular length but I wanted shrug to be smaller than the top so I measured only part of its length. Add no more than a half inch for seams and hem. Mark about a half inch of seam allowance around the edges of the top. Make sure you fold the arms to mark the armhole. Cut.

- Now place the back part on another folded fabric. Ideally, I wanted the fabric to be large enough to get the whole back on the fold, but I was working with half the T-shirt, so I didn't have enough fabric. I could just get three quarters of my back piece on the fold. That's why I recommend that you use the fabric, or at least a whole T-shirt.
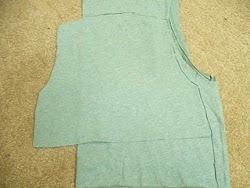
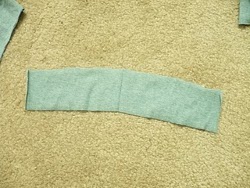
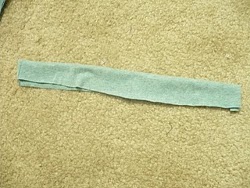
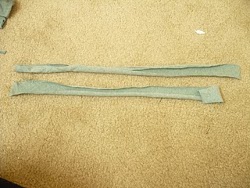
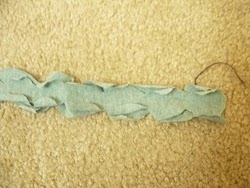
- Mark the length about 5 inches longer than the back, like the picture below.

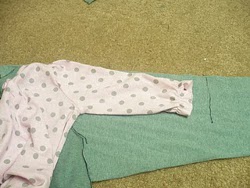
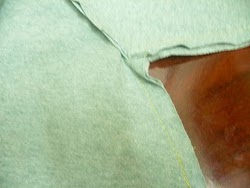
- Now let's shape the front in the butterfly shape.
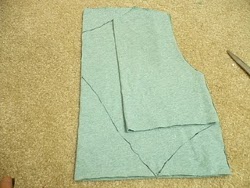
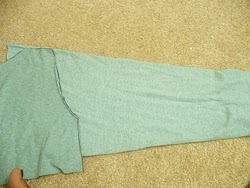
- Fold the back piece in half lengthwise, and mark along the armholes, shouders, and neckline. When you reach the end of neckline, extend it further up to the fold as shown in picture. Cut the hemline triangular, the way I have shown in the picture, instead of straight like the back piece. If I had enough fabric, I would have both the neckline and hemline meet in another triangle. See the picture below. Dont fuss cutting this too much because a little difference in shape doesn't really matter. For the sleeves, I just measured the width and length using the top, and marked along with some seam allowance.
- To make the curve at the armhole I just placed the back piece and followed its curve, then joined the end point with the mark for the length of the sleeve. Cut two of these.
- Sew Easy Tip: For small children we don't need to cut front and back armholes differently.

- These are the pieces that we just cut.
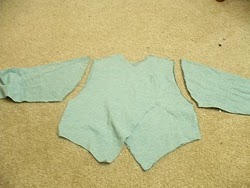
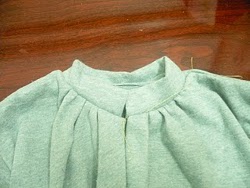
- Now lets put these together! Sew along the neckline of the front piece and pull the bobbin thread of this seam to gather. You want to gather it such that its width becomes a little over half of back piece. Do the same for the other front piece. Join the shoulders of back and front pieces, right sides together.

- Now join the sleeves to the main body of shrug, right sides together. Sew Easy Tip: Start from the middle of sleeve (Shoulder tip and work your way to one end first, then start from the center and attach upto the other end)


- Now turn the whole shrug inside out and sew the sides along with the sleeves on either side.
- Sew Easy Tip: Start from the armhole seam and sew the sleeve seam first. Then start from the armhole seam and work your way down to the side of the shrug. We do this because the armhole has to line up perfectly, and if you start with one end you may find that the two ends are not lining up properly because of small difference in cutting or seam allowance when you reach the armhole. To avoid this, start with the most important seam, i.e. the armhole, and sew the rest from there. If the hemline is uneven, you can always trim it. The same goes for the end sleeve. At this point you can try it on the child.
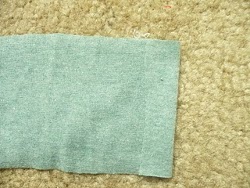
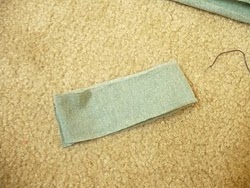
- Let's work on the neckline: Cut about 3 inch wide strip which is equal to the length of neckline+2.
- Fold it in 1/2 inch from one end, wrong sides together. Now fold it again length wise.
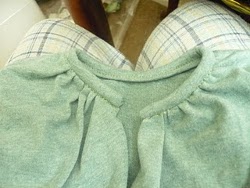
- Sew this strip along the neckline, with raw ends lining up with the neckline. Try to stretch the strip as you sew, this will make it easier to turn. When you reach another end of neckline (actually about 4 inch before the neckline), open the strip's lengthwise fold and fold another half inch from the width at the end. Fold it back lengthwise. Sew it up to the end.
- Now fold the strip in half lengthwise and turn it over the raw edge of neckline, sew from the right side as close to the strip as possible and making sure you're cathing the strip on the other side. Go easy in this step, because its critical that you finish it as nicely as possible.
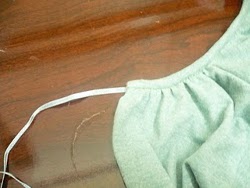
- Cut the ribbon into two parts and sew each of these to the ends of the neckline.
- Cut two strips of fabric, about 2 inches wide and twice the length of neckline
- Fold in quarter like above. Fold one more time, in eighth.
- Cut scallops
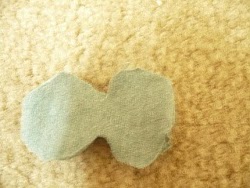
- Do the same for the other strip, You will have these:

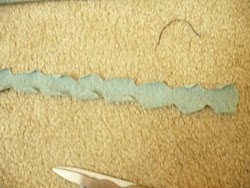
- Lay the strips one over the other.
- Set your stitch length to longest stitch and se a seam in the center of this strip.

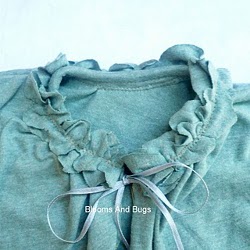
- Pull the bobbin thread to ruffle these strips such that the length become equal to the length of neckline.

- Sew this ruffled strip along the neckline using zig-zag stitch. And done!
Read NextTwenty Minute Baby Blanket