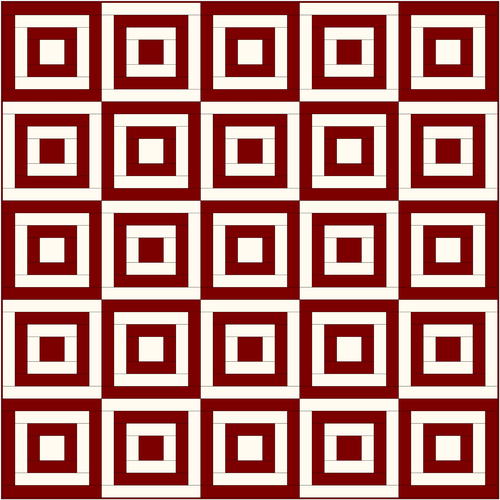
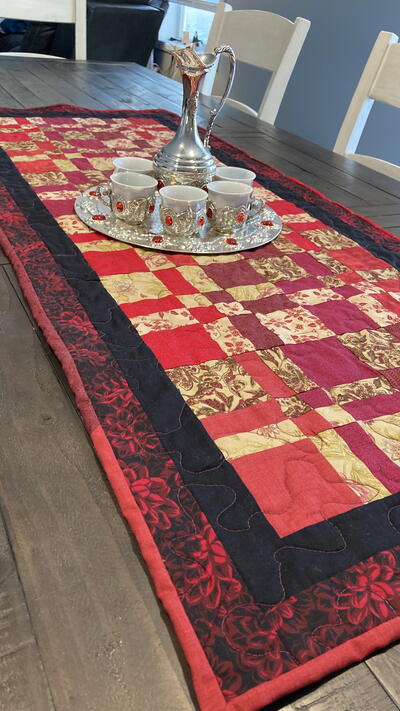
Festive Boxes Quilt

Make a festive boxes quilt for Christmas that has the look of presents! This is a great basic quilt pattern that anyone will have a fun time making. All you need to do is learn how to make the basic squares. This pattern involves just two colors and follows the same block pattern, meaning this is a great easy pattern to work up. You don't have to cut anything other than straight lines. Learn how to create this easy pattern that would look great in any room during the holiday season. This will be your new favorite Christmas bedspread for generations to come!
Project TypeMake a Project
Quilt Size80 inches wide x 80 inches long
Instructions
Fabric Requirements
Center square – fussy cut from a fun fabric, or split the yardage and use two fabrics for alternating blocks.
2/3 yards (if fussy cutting, you will need 25 designs)
Contrasting strips:
Light – 45 (3 1/4 yd if using one fabric)
Dark – 47 strips (3 1/2 yd if using one fabric)
Binding – 2/3 yard
Cutting Instructions
From the red fabric, cut:
(12) 4 1/2″ x 4 1/2″ squares
(26) 2 1/2″ x 4 1/2″ rectangles
(50) 2 1/2″ x 8 1/2″ rectangles
(50) 2 1/2″ x 12 1/2″ rectangles
(26) 2 1/2″ x 16 1/2″ rectangles
From the white fabric, cut:
(13) 4 1/2″ X 4 1/2″ squares
(24) 2 1/2″ x 4 1/2″ rectangles
(50) 2 1/2″ x 8 1/2″ rectangles
(50) 2 1/2″ x 12 1/2″ rectangles
(24) 2 1/2″ x 16 1/2″ rectangles
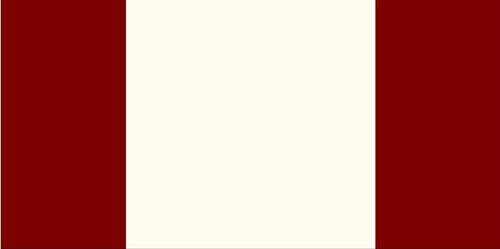
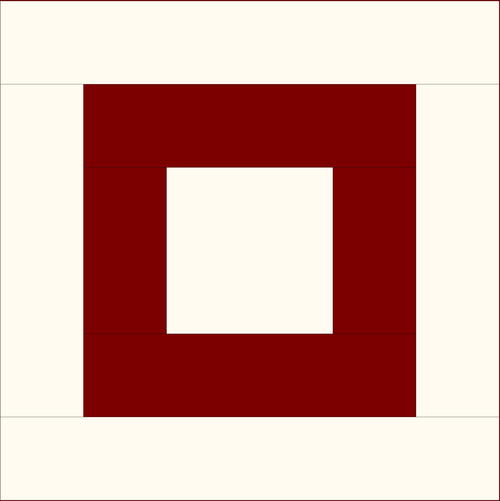
White Center Block
-
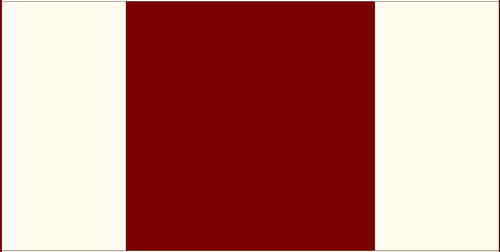
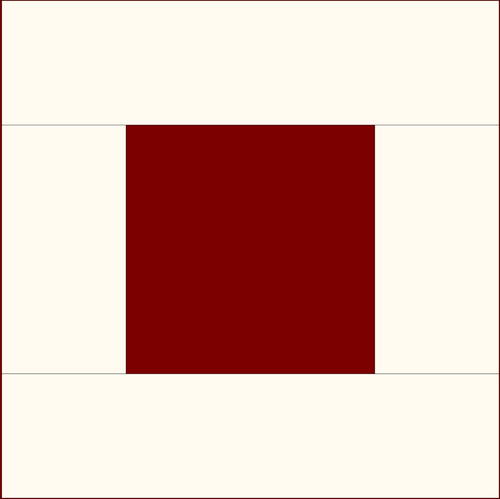
Sew red 2 1/2″ x 4 1/2″ rectangles to the left and right side of a white 4 1/2″ square.
-
Sew red 2 1/2″ x 8 1/2″ rectangles to the top and bottom of the previous unit.
-
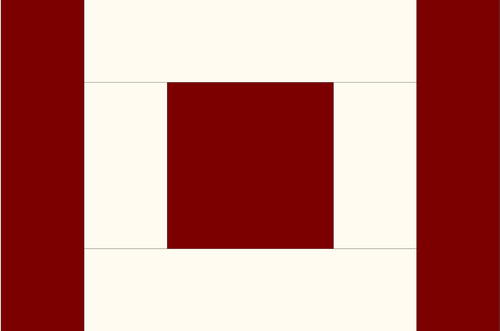
Sew white 2 1/2″ x 8 1/2″ rectangles to the left and right side of the previous unit.
-
Sew white 2 1/2″ x 12 1/2″ rectangles to the top and bottom of the previous unit.
-
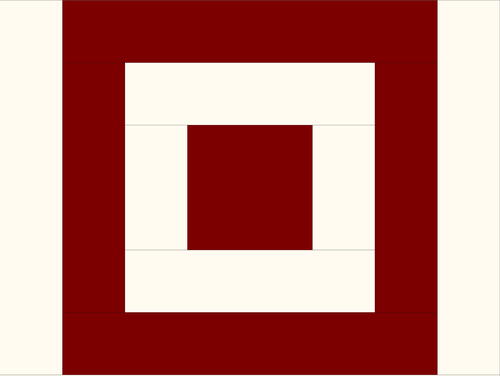
Sew red 2 1/2″ x 12 1/2″ rectangles to the left and right side of the previous unit.
-
Sew red 2 1/2″ x 16 1/2″ rectangles to the top and bottom of the previous unit.
-
Block measures 16 1/2″ square unfinished. Make 13.
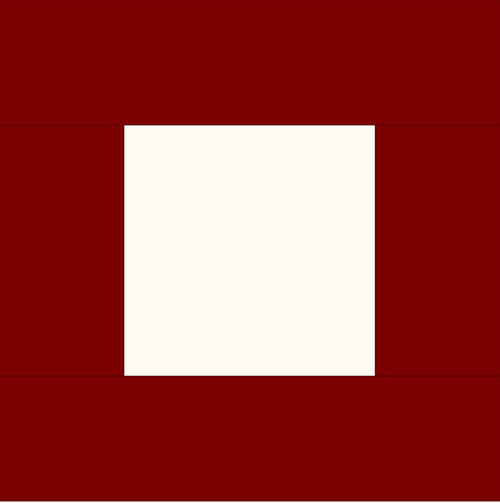
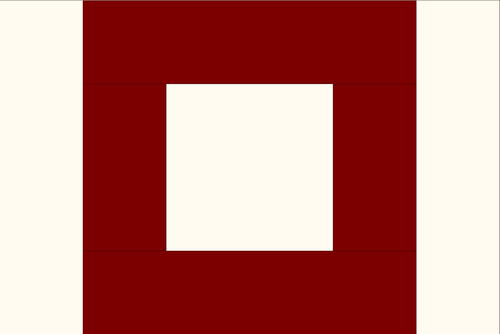


Red Center Block
-
Sew white 2 1/2″ x 4 1/2″ rectangles to the left and right side of a red 4 1/2″ square.
-
Sew white 2 1/2″ x 8 1/2″ rectangles to the top and bottom of the previous unit.
-
Sew red 2 1/2″ x 8 1/2″ rectangles to the left and right side of the previous unit.
-
Sew red 2 1/2″ x 12 1/2″ rectangles to the top and bottom of the previous unit.
-
Sew white 2 1/2″ x 12 1/2″ rectangles to the left and right side of the previous unit.
-
Sew white 2 1/2″ x 16 1/2″ rectangles to the top and bottom of the previous unit.
-
Block measures 16 1/2″ square unfinished. Make 12.


Quilt Assembly
-
Layout the blocks in rows of five each, alternating the red center with the white center blocks as shown below. Sew each row together.
-
Sew the rows together to complete the quilt.