Patio Paper Lantern
Set the mood indoors or out with these easy to make Patio Paper Lanterns from Gloria Uhler. These fun outdoor party decorations are perfect for everything from an elegant dinner party to a festive Hawaiian party! These look great indoors as well!
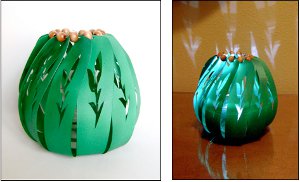
Materials:
- 4 pieces of card stock
- 4” piece of 20 gauge wire
- Twelve beads
- Wire cutters and pliers
- Elmers glue
- Glass votive measuring no more than 2.75” at it’s widest point
- Ashland LED Lights
- Model Master #4670 Dark Green Pearl paint
- Pattern
Instructions:
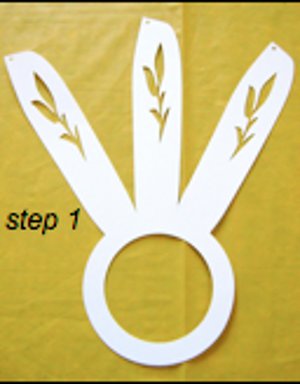
- Print out four copies of the lantern template page on card stock. Stack them with double sided tape between the copies away from the image area. This will hold them together while you cut. Using a craft knife, cut out the design. Use a thick needle to make holes where indicated on each panel.
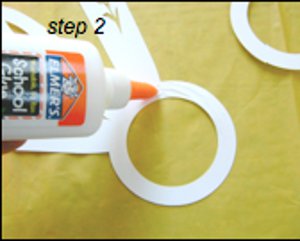
- Spread a circle of glue only on the ring portion of the first lantern piece.
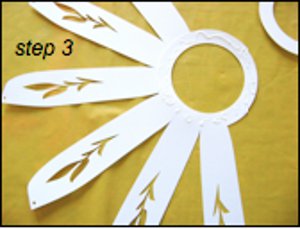
- Place the second piece on top, aligning the rings. Position the piece so there are now 6 panels evenly fanned out.
- Add the third and fourth piece with glue between them. Do not apply glue on top of the last piece. Your finished lantern will have 12 panels evenly distributed in a circular shape and bonded togehter. Let the glue dry.
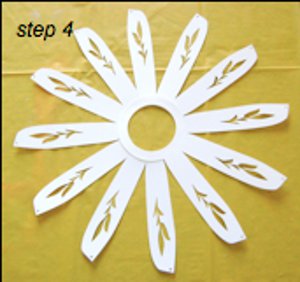
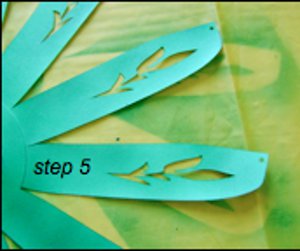
- Airbrush both sides of the lantern with Green Pearl paint.
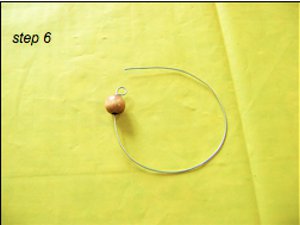
- Make a loop in one end of the wire. To give it a circular shape, use your fingers to smooth the wire around a bottle that measures approximately three inches around. Slip the wire off the bottle and attach one bead.
- Thread the wire through one of the panels and add another bead. Continue doing this until the wire is inserted through all the panels separated by beads.
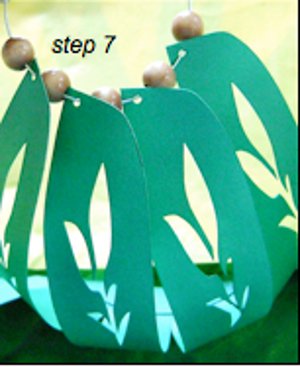
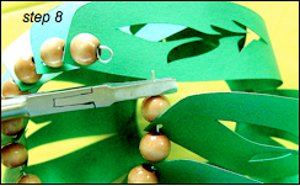
- Bend the end of the wire into a 45 degree angle. Insert the short end into the loop you made and bend it into a loop to complete a circle of wire.
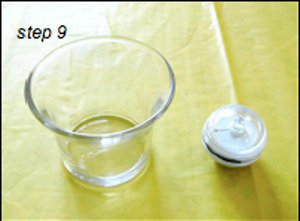
- Turn on the LED light and place it into the votive.
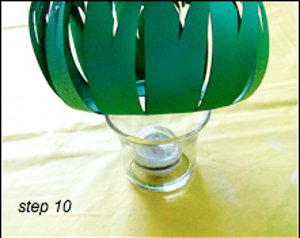
- Slip the lantern over the glass votive.
Read NextUpcycled Magazine Heart Collage
Your Recently Viewed Projects
cuscus
Jun 20, 2013
I will try this as it is so cute but I was thinking of buying colored cardstock instead of painting with the pearl paint. I was just wondering if there was a purpose for the paint besides coloring?
jezabel4 3682729
Jun 17, 2013
these will look great in the darker parts of the garden when we have parties in the summer
njh039 6014871
Apr 02, 2012
I think you could help save paper/cardstock if you put 2 patterns on one sheet. I just inserted my cardstock bottom end first after printing the pattern once, resulting in essentially the same thing. Also, with all of the colored cardstock, you can print it on the color you want. Nancy Hill
Report Inappropriate Comment
Are you sure you would like to report this comment? It will be flagged for our moderators to take action.
Thank you for taking the time to improve the content on our site.

