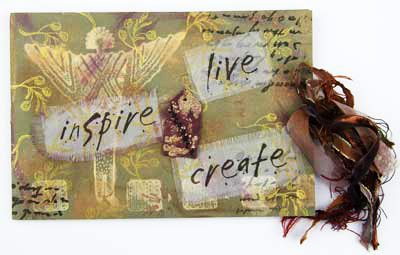
Creative Diary Cover
Create a fun a colorful cover for your journal or diary, from Jacquard Products.
Materials:
- Jacquard Castaway Stamp Pad
- Simple handmade journal—this one has a folded cardstock cover and several pages stapled inside.
- Jacquard Extravorganza
- Jacquard Pearl Ex Stamp Pads Gold, Black and Copper
- PolyShrink™ plastic/Lucky Squirrel
- Jacquard Lumiere Burgundy, Old Brass, Burnt Orange
- Vellum Tape (3M), Glue Dots
- Fibers or ribbons to coordinate with project
- Cosmetic sponge (optional)
- Rubber Stamps - Petroglyph Angels - set 72 (Impress Me/Sherrill Kahn), 2106 Berry Sprig (Hampton Art Stamps), 2186 Large Handwriting (Hampton Art Stamps), LL847 Classic Lowercase (Hero Arts)
- Inkjet Printer
- Iron
- Heat Gun
- Fine grit sandpaper
- Tag shaped template or Sizzix die cut machine with tag die
- Scissors
- 1/8" hole punch or Japanese screw punch
Steps:
- Note: Unlike traditional pads, the Castaway pad works by removing color from the paper. The results are unpredictable- using the ink on one kind of black paper may leave a beige or whitish image; on another type the image may look greenish while a third is not affected at all! Plan to experiment with different papers-watching the results is half the fun! The pad will not work on coated papers. Before beginning a particular project, always test the Castaway ink on a sample of the paper you will be using.
- Follow the directions on the ExtravOrganza package to print a sheet with several words. Font selection is up to you, but size the words so that they are at least 3/4" to 1" tall. cut out words from the printed ExtravOrganza sheet. Remove the fabric from the paper backing. Fringe the edges of each word by pulling threads along each edge of the fabric.
- Using the clear Castaway inkpad, stamp the journal front with stamps from Sherrill Kahn’s Petroglyph Angels collection. Set the journal aside for at least 5 minutes.
- With a dry iron set on cotton setting, iron the journal cover until the stamped images "appear."
- Use your fingertips or a sponge to add sheer smudges of color to the journal cover with Lumiere paints.
- Overstamp the journal cover with the berry sprig stamp in gold Pearl Ex ink. Add accents with the handwriting stamp using black ink.
- Lightly sand the shrink plastic in both directions. Use the tag template or the die cut machine to cut out a tag shape from the sanded shrink plastic.
- Lightly sponge Lumiere paints onto the shrink plastic. Remember that the colors will be more concentrated after shrinking. Stamp desired message onto tag shape with black Pearl Ex ink.
- Heat the shrink plastic with embossing heat gun until it reaches its final size.
- Adhere the ExtravOrganza words to the journal cover with vellum tape. Use craft Glue Dots to attach the shrink plastic tag.
- Punch hole in journal cover and add fibers/ribbons.
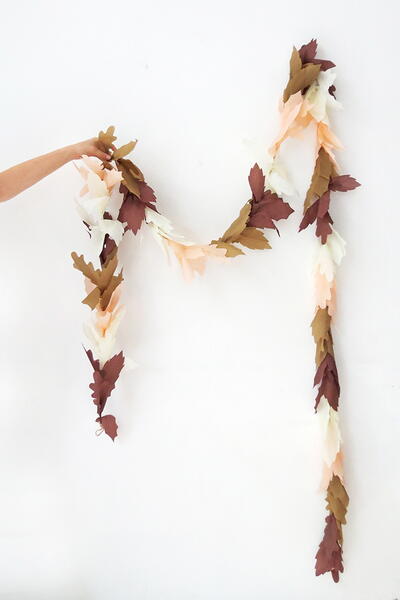
Read NextEasy To Make Fall Leaves Garland
Your Recently Viewed Projects

Thanks for your comment. Don't forget to share!
nikkisangels79
Jul 13, 2010
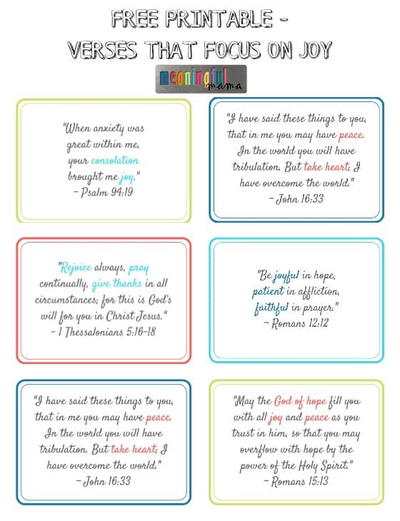
These are the words my special aunt has opened my heart to. This is beautiful!
Report Inappropriate Comment
Are you sure you would like to report this comment? It will be flagged for our moderators to take action.
Thank you for taking the time to improve the content on our site.