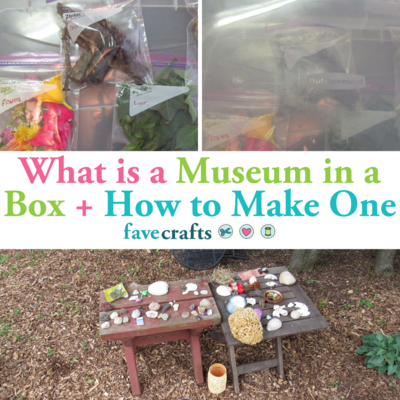
What is a Museum in a Box + How to Make One
This stay-at-home activity for kids is the perfect summer craft that will brighten up your home and neighborhood!

Many museums and zoos have live feeds of their exhibits or interactive elements on their websites to allow those who can't make it there to enjoy the experience of going to the zoo. But, what if your kids could make their own museum? Not only is this a great activity for your children, but it's something your entire neighborhood will be able to enjoy as they walk past your home and check out your Museum in a Box!
A Museum in a Box isn't technical terminology by any means, and is a project that can be adapted based on what you have on hand. It's an opportunity for your kids to go out and collect items from your yard and neighborhood that they find interesting (such as flowers and rocks) and display them in their own museum showcase!
Whether you and your kids decide to follow these steps exactly, try out one of the other options at the end of the article, or go in a different direction with your museum, it's bound to be a fantastic experience combining family, learning, and nature all in one! And, once your kids finish making their own museum, check out AllFreeKidsCrafts for more crafting ideas for your kids this summer!
Materials Needed:
- A large clear box with a lid
- Plastic quart- or gallon-sized bags
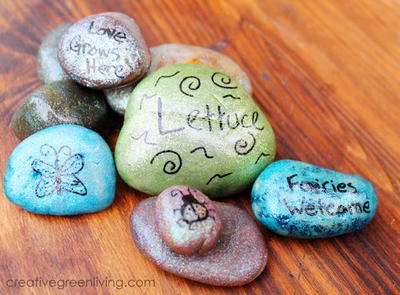
- Items from nature (such as flowers and rocks)
- A permanent marker
- (optional) Spray disinfectant
- (optional) Paper towels

Step 1: Collect The Items From Nature
The first step in any craft is to get your materials together. This craft is relatively inexpensive, as your kids can use what you have on hand as well as what they find. If you have a garden, consider starting there. Help your kids get cuttings of your plants, especially flowers as those will look great with other colorful blooms. Rocks, sticks, pinecones, tree bark, and leaves are all great to gather as well. Consider giving your kids a basket or bag to gather up their items in, and feel free to let them go wild (without destroying your garden in the process). See what your kids are drawn to picking up.
If you feel comfortable doing so, take a walk around your neighborhood to see what it has to offer to your kids' museums. While you can ask neighbors to take cuttings of their plants, your kids might be just as happy with what they find on the ground (and so might your neighbors, as if their flowers are already on the ground, they'll be less likely to mind). Head to the park if you want more options, and just let your kids get creative with what they pick.
Once your kids have filled up their bags/baskets a good amount, they're ready to head home and start putting their museum together!

Step 2: Lay Out The Supplies
Your children can make their own museums with just about anything, but one of the easiest ways is including the materials listed above. Your kids might need help with some of the labelling and arranging, but let them take charge as if they're professional museum curators. Get out a large clear plastic bin and take the lid off. It's easiest to do the arranging of the items on the lid, as it is flat and also allows for a fun viewing experience through the box itself (which seems like an actual display case).
Grab a few sheets of paper towel, and lay them out on the table or the floor (wherever your kids are setting up their museum). Have them dump out their bags of flowers and sticks onto the paper towels, and let them sort through the items.
If you're using an old plastic bin, you might want to spray it down with some disinfectant spray before your kids get to work on their museums. While it helps get rid of germs, it also might clear up any dust and dinginess, and make the plastic clearer to look through!

Step 3: Assemble The Museum
Now it's time to actually assemble the museum. You can suggest to your kids how you might arrange the items, but let them show off their creativity. This could be a great learning exercise, to help them differentiate between different colors and textures, to teach them new words, and to help them learn real world categories. I chose to split my museum up into flowers, trees, leaves, and rocks. Most of these labels are pretty self-explanatory, but "trees" included sticks, bark, and pinecones.
If you'd rather omit the bags, you can, but it helps keep all of the items in their respective categories. Label the bags before putting the items into them. Help your kids arrange their items in the bags and then zip them shut. Have your kids pop the container back onto the lid, and they have themselves a museum!

Step 4: Showcase The Collection
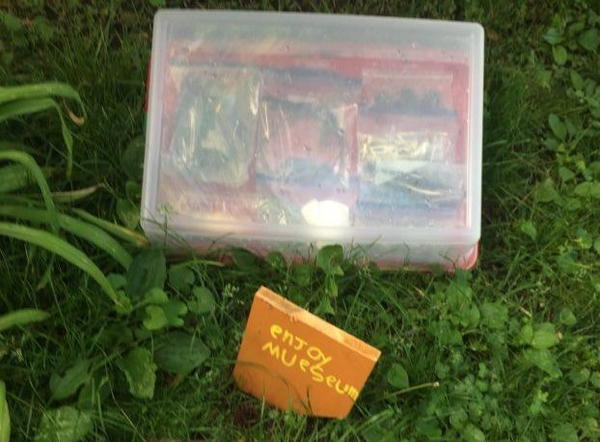
Once the container is back in one piece with the museum inside, your kids are ready to showcase their collection. Pick a location in your front yard close to the sidewalk to place the museum, so that people can view it as they walk past and enjoy the display!

More Ideas for Your Museum
Here are a few more ideas for your kids to use when making their museums:
- Don't Use Plastic: If you want to forego all of the plastic products, you can! As long as your kids display their museum somehow, it still counts. If you'd rather not use plastic bags, then just arrange the collections on the plastic lid without them. And, if you'd rather not use a box at all, the next tip is for you!
- Make a Table Display: As seen in the first image below, your kids can display their museum on a folding table or bench too! This means, you guessed it, no plastic!
- Incorporate More Objects: While this museum can just be composed of natural materials, it could also include things that your kids already have! They can show off dolls or small toys, as well as anything they collect, in a display at the museum.
- Make A Sign: If your kids want to make their museum official and attract viewers from far and wide, they can make a sign! Markers or paint and cardboard are an easy way to make a sign, such as the one saying "Enjoy Museum" in the second image below. They can even name their museum if they want and write that name down on the sign.
- Add Informative Notecards: Museums are great educational opportunities, so it's a great idea for your kids to include notecards explaining what they collected so that passerbys can learn something new!

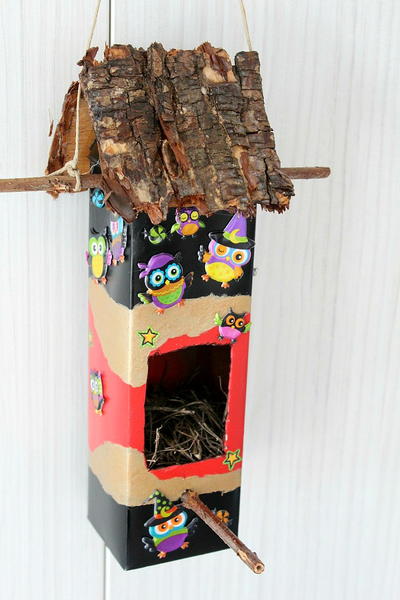
Read NextBirdhouse Milk Carton Craft