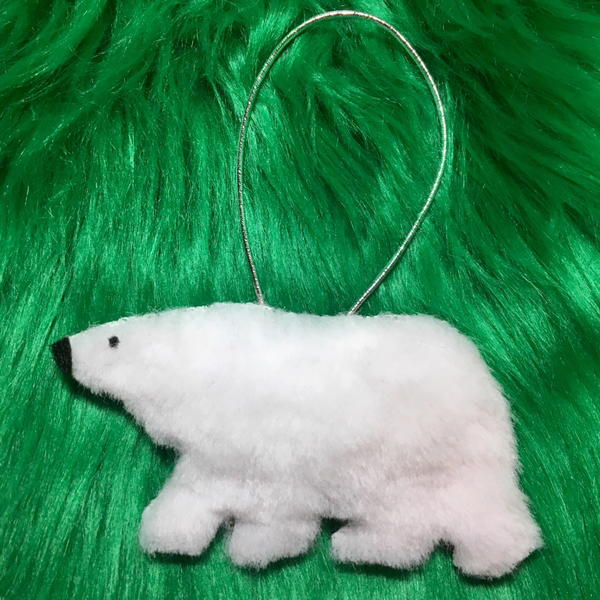
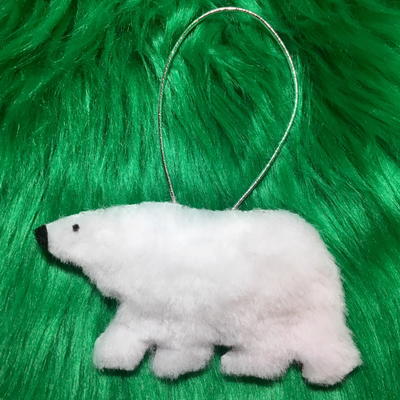
Softest Fluffy Polar Bear Christmas Ornament
Polar bear crafts have never looked cuter.

Add polar bear ornaments to your Christmas tree today. They're way too cute to pass up! Learn how to make ornaments with fake fur for a soft touch.
Rebecca George from Purple and Lime is teaching us today how to make a darling polar bear Christmas ornament. A few basic materials along with a polar bear stencil are all you need to put together this cherished ornament.
This fake fur polar bear ornament is a fun (and glamorous) addition to your holiday decor or Christmas tree! It’s animal-friendly, easy to make, and requires no sewing. Let’s go through the steps to make a unique holiday ornament that will definitely get noticed!
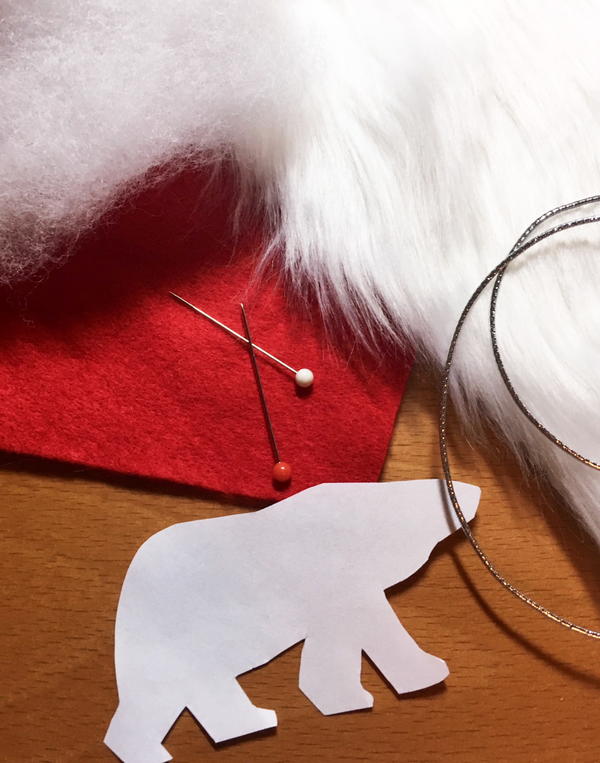
Materials
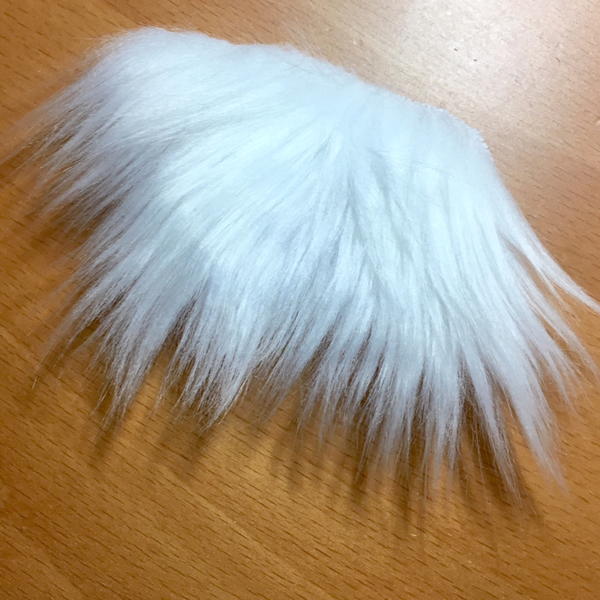
- White fake fur fabric (approximately 4 or 5” (inches) square)
- Felt sheet or another similar fabric (about the same size as the fake fur)
- Tiny piece of black felt or a similar material (for the eye and nose shapes)
- Desktop printer and paper
- Fabric scissors
- Paper scissors
- Fabric pins or a safety pin (optional)
- Fabric or craft glue (in clear or white)
- A little bit of polyester stuffing (optional)
- String or thin cording (to form the loop)
- Toothpicks (optional, can be used for applying glue)
Approximate time to complete:
2 hours (includes periods of drying time)
Step 1: Find a polar bear shape
Start by selecting a walking polar bear shape for your ornament. You can either draw it by hand or find a public-domain image to use from the internet. Once you’ve decided on the perfect bear shape, print it out at the size you’d like for an ornament (between about 3 to 4” wide is what I recommend). You may need to resize it using photo editing software.
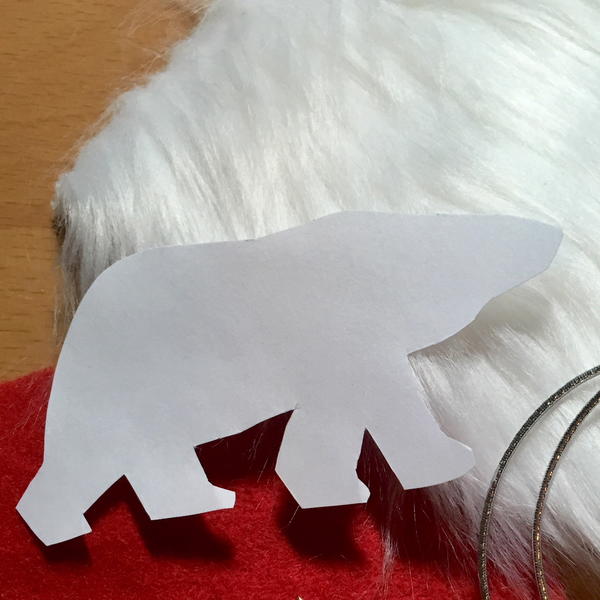
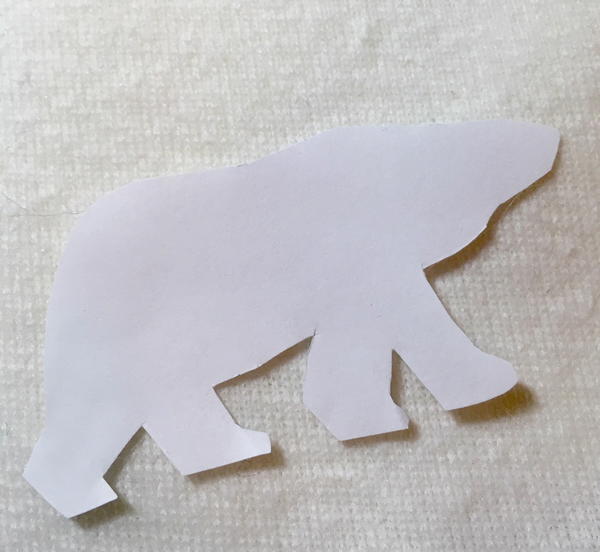
Step 2: Cut out the paper polar bear shape
Now that you’ve selected the polar bear shape and printed it out, cut around the outline in the paper. You will use this as a template for cutting out the fabrics in the next step. If you plan to make a lot of these ornaments I recommend making a thicker card stock template, but if you’re just making one or two the paper version should be sufficient.
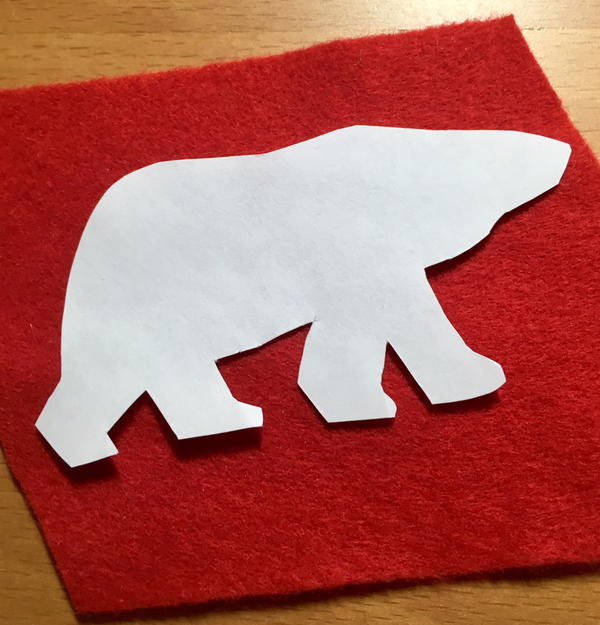
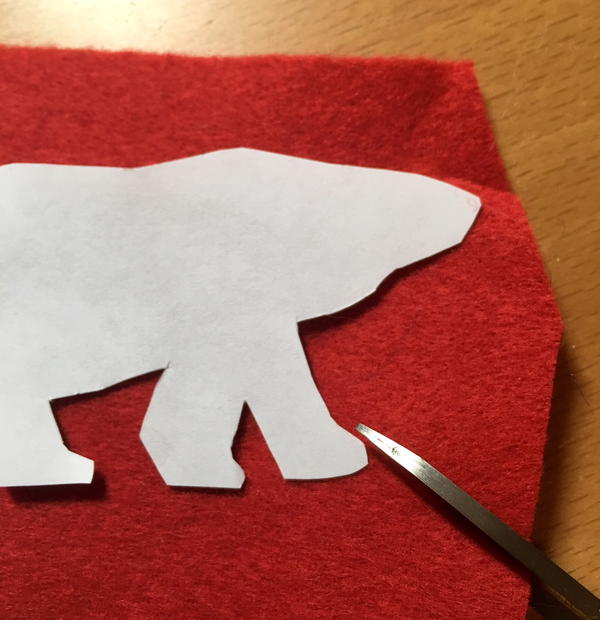
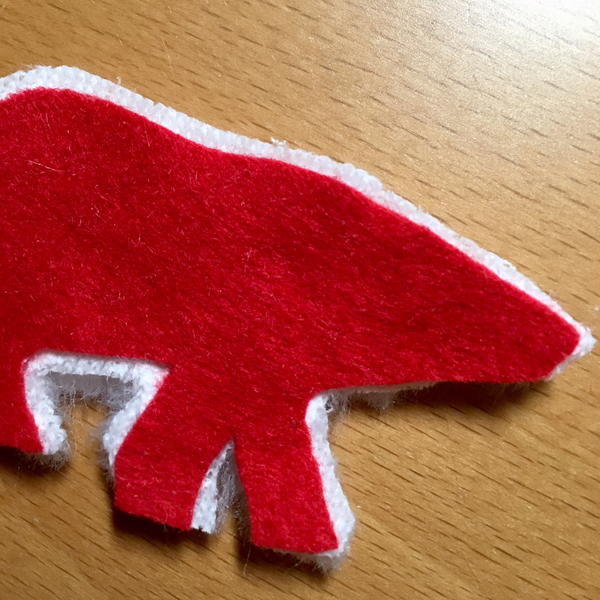
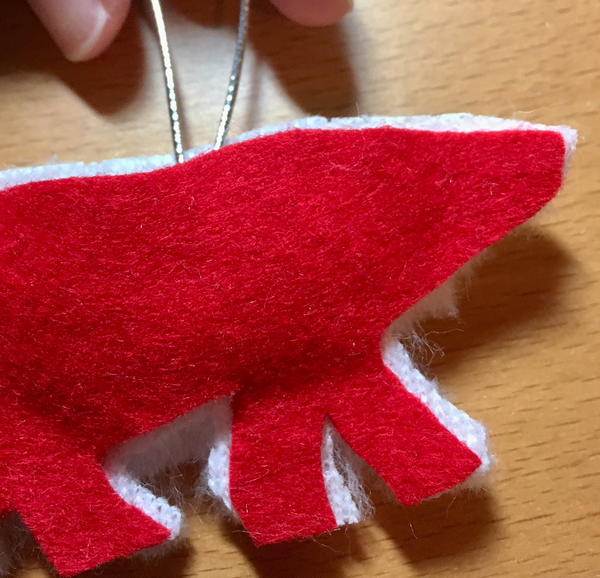
Step 3: Cut out the polar bear shape in the fabrics
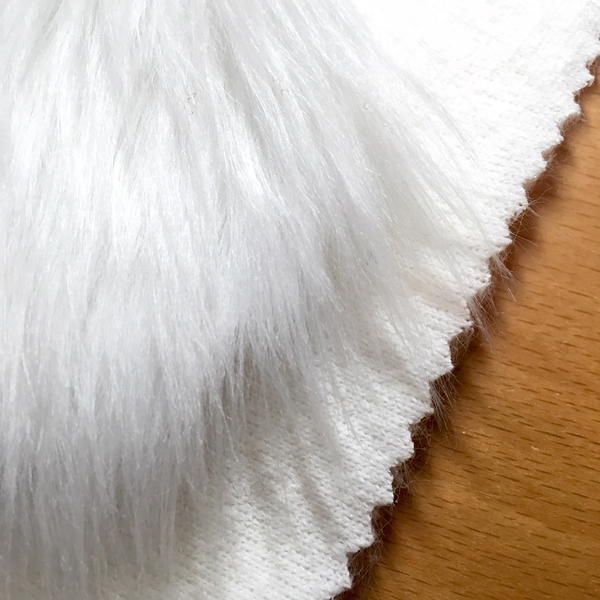
Place the paper polar bear shape down on the fabrics and cut around it. It may be helpful to pin the paper onto the fabrics, but just be sure to remove them after this step. Try to stay as close as you can to the shape you cut out so that it’s recognizable as a polar bear. When cutting fake fur, always cut from the back side and keep your fabric scissors very close to the backing. After you’ve cut out the fake fur give it a little shake and pull off any excess and stray fur. If you want to trim a bit off around the felt shape to prevent it from showing in the front, now is the time to do it.
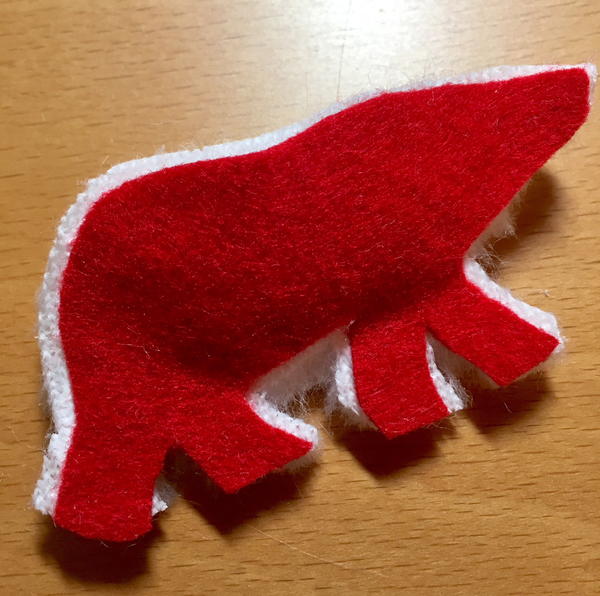
Step 4: Trim the fake fur shorter
Unless you are using a very short pile fake fur fabric, you’ll need to trim off the long hairs to make the polar bear shape more visible. Do it slowly and carefully, and don’t take too much off at once. You can always trim more off but you can’t add it back on once you remove it. Towards the end of the project you can clean it up and even out the fur so it doesn’t look choppy.

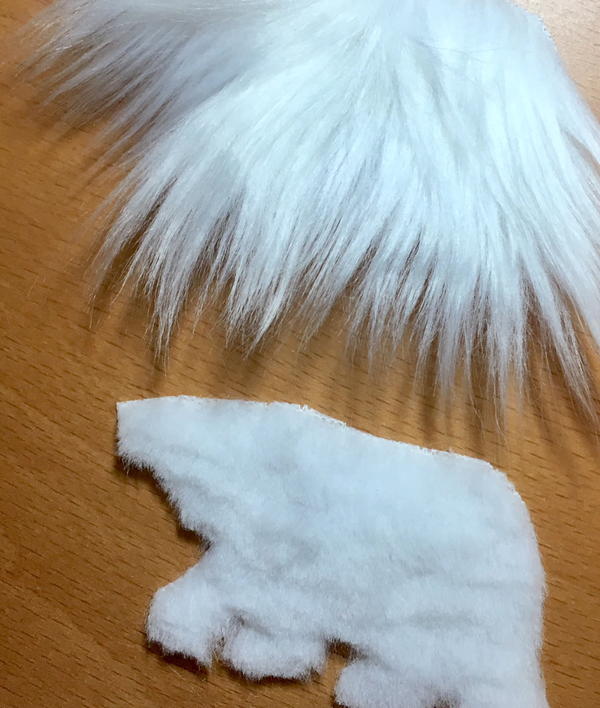
Step 5: Lay out the materials on a table
Next, lay the fake fur fabric right side down on your table. Make sure that you’re happy with the shape of the polar bear and that your felt fabric lines up with the backing of the fur. Get your glue and string ready for the next few steps.
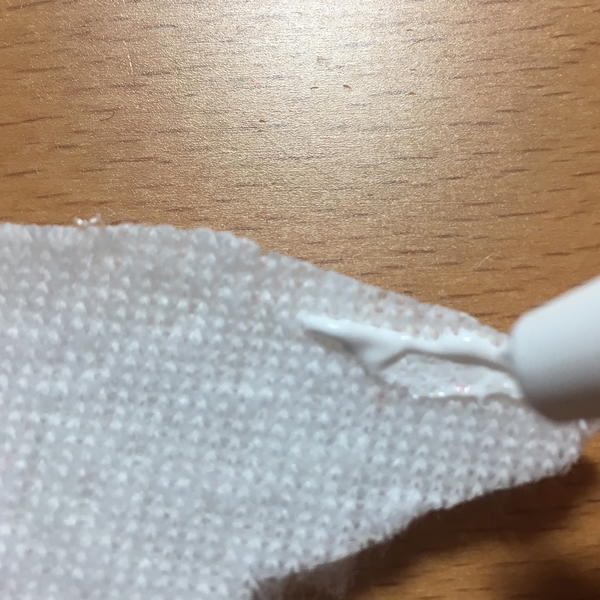
Step 6: Glue the fabrics together
Now it’s time to join the fake fur and backing felt together. If you want to make the ornament stuffed and more three-dimensional, apply glue only around the very edges where you’ve cut the design out (leaving a pocket). For a flatter ornament you can put glue all over the back of the fur and skip right to adding the string loop before applying the felt. Be careful not to get glue on the fake fur in front!
Step 7: Let it dry
Wait an hour or two to let the glue dry. Different glues will dry at different rates, so it can vary a bit. Letting it at least set will help it stay together when you add the stuffing in the next step.
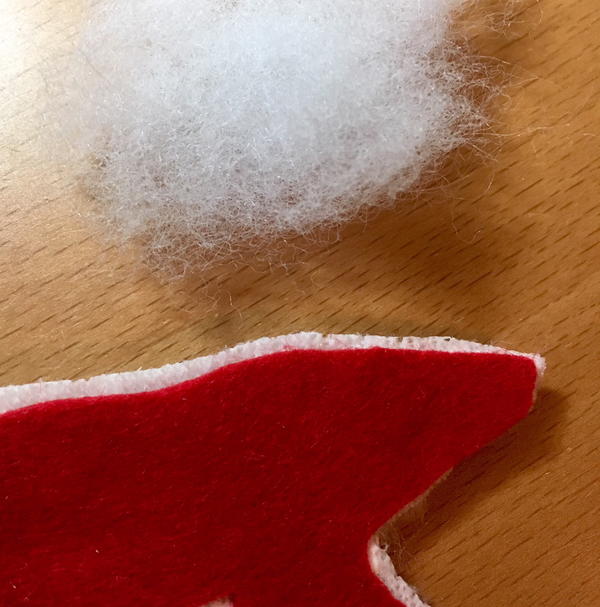
Step 8: Add polyester stuffing
For a puffier ornament, add a small amount of polyester stuffing to the pocket left when you glued around the edges. It will probably not be possible to get down into the paw areas because it gets so narrow, so focus on the center region. Do this slowly and carefully so you don’t rip open the glued areas. You don’t want the ornament to be overstuffed or hard- just puffy enough to add some dimension.
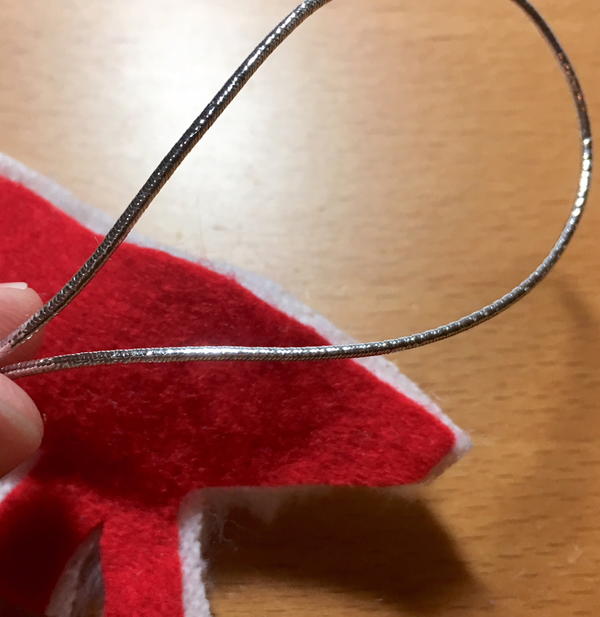
Step 9: Place the string in the ornament
Next, create a loop shape with the string and measure (by eye) how long you want it to be on the ornament. I recommend about 3” when looped, but it’s personal preference. You want to leave enough of a loop to be able to put it on your Christmas tree or wherever else you’d like to display the ornament. Place the looped string into the top of the ornament (between the two layers of fabric). Push the string about 3/4” down from the top to keep it from slipping out.
Step 10: Add a little more glue to seal the ornament
Once you've positioned the loop in the ornament, add a bit more glue and seal the top. This is an important step because you want the string to be secure. Fabric and craft glue doesn’t dry immediately (like superglue does), so you’ll have time to re-position it a bit right after you’ve added the glue.

Step 11: Cut out the eye and nose shape
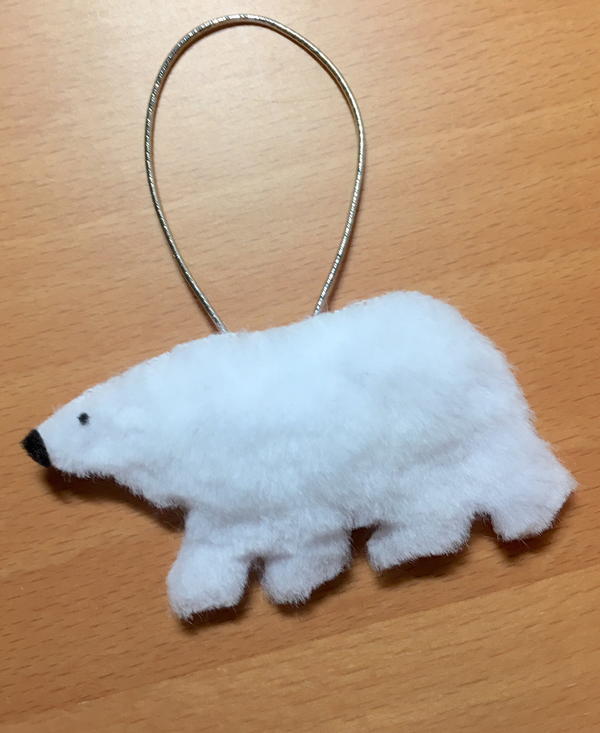
Using a bit of black felt (or similar) fabric, make a tiny ball for the eye and a small crescent shape for the nose of the polar bear. The size will vary somewhat based on the size of your ornament, so place them on the bear to check that they’re in balance. Refer to the finished ornament in this post to get a good idea of where to place the eye and nose shapes. You can use tiny beads instead of felt if you prefer.
Step 12: Attach the eye and nose
Once you’ve determined the eye and nose are the correct size for your bear ornament, it’s time to attach them! Use a toothpick or something small to apply glue to the fur where you want them, being careful not to get too much glue on the fur. Apply just enough to stick the felt pieces on securely.
Step 13: Trim any excess fabric and clean up the shape
You’re almost done! Now is the time to clean up the ornament. Trim the fur evenly (so it’s not choppy) and make sure the backing fabric isn’t showing on the front side.
Step 14: Let it dry (again)
Leave the ornament to fully dry for a day or so. This will keep the bear shape from falling off the string and ensure that it will stay together.
Now your polar bear ornament is complete! Store it carefully when not in use and this fun holiday decoration will bring joy for years to come.
What is your favorite winter animal?
Your Recently Viewed Projects
Thanks for your comment. Don't forget to share!
Marilyn B
Nov 04, 2017
These are such great and detailed instructions! I could see using this same technique for a penguin, owl, otter or other furry creature for your tree! If you have them and no worries of little ones, you could also securely glue on googly eye for a different look great project and idea! ..
Mistress of All Ev il
Nov 03, 2017
Awww. This little polar bear is so adorable! And most of these supplies are already here at my house. I know which ornament will be gracing my tree this year! I think it would also work well as a gift. For Secret Santa each year, I like to include an ornament with the gift to sort of commemorate the year, and this would be the perfect addition this year. Thanks!
Report Inappropriate Comment
Are you sure you would like to report this comment? It will be flagged for our moderators to take action.
Thank you for taking the time to improve the content on our site.