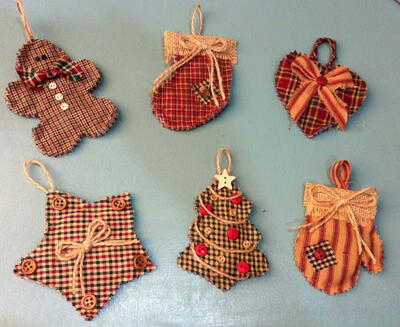
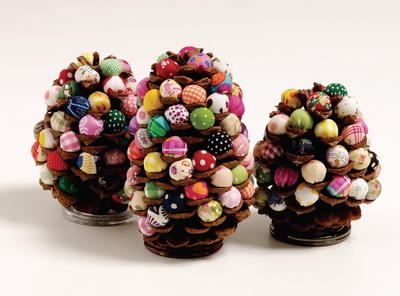
Cabin Christmas Quilted Ornaments
Each ornament about 4" - 5" tall

About Homespun Fabric
Homespun is a yarn dyed fabric meaning that the design comes from the colors of the thread. It is not a printed fabric so it has no front or back side. Both sides are the same. The threads are often somewhat coarser than traditional cottons and the weave is sometimes looser. These are the characteristics that make homespun so perfect for rag style projects.
Although most homespuns are manufactured internationally now, this type of fabric is called homespun because the technique is very similar to the way that pioneer women used to create their own fabrics. The threads will occasionally have nubs and imperfections in them which is the nature of the fabric.
After the first wash, homespun fabric will shrink about 10% and become very soft and supple and the loose weave will tighten up. About ¼ cup of table salt in the first wash will help set the color in any 100% cotton fabric and prevent color bleeding. A liquid fabric softener will also help loosen the strings for rag projects. With this particular project, however, there is no washing involved so other cotton fabric may be appropriate.
A very wide selection of homespun is available at: www.JubileeFabric.com
Materials List
- Assorted homespun fabric scraps; preferably in Christmas colors
- Burlap scraps or off white solid cotton scraps
- Low loft cotton batting scraps or thick felt batting
- Assorted small buttons, snaps and embellishments
- Thin jute string or cotton twine
- Thread
- Tools: Pinking shears, regular scissors, hot melt glue gun and/or fabric glue
Assembly Instructions:
-
Cut out the pattern pieces. These will be the templates that you trace onto the fabric. If you are going to be making very many, you may want to print these onto cardstock or make your templates with something similar. A stiffer template is just easier to trace and more durable.
-
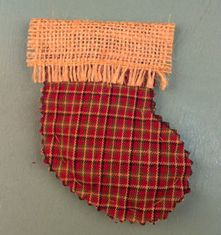
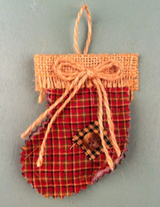
Choose an ornament design to begin with. In this case, we will do this step by step instruction for the stocking ornament. All designs are assembled basically the same and then embellished individually.
-
You can totally be creative in how you choose to embellish these ornaments. We have included examples below but feel free to explore ideas and make these ornaments uniquely your own by being creative!
-
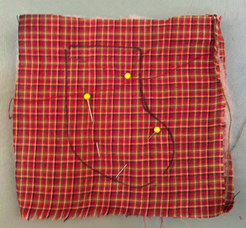
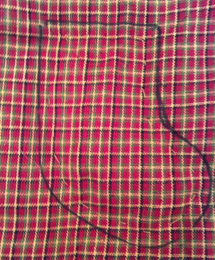
Trace the stocking template onto a piece of fabric using a sharpie or marker. A sharpie is good for dark fabrics but a lighter mark will be easier to hide when it’s cut out.
-
Place a piece of similar size batting under the fabric and then place another piece of fabric under the batting. This forms a sort of “sandwich” with the fabric on the outside and the batting in the middle. Pin in place.
-
Using a contrasting color thread (or it can match if you want to hide the stitching) stitch by hand around the inside of the ornament about ¼” from the edge. We like to use larger, child-like stitches which looks cute and makes it go much faster. However, smaller finished stitching may be used as well
-
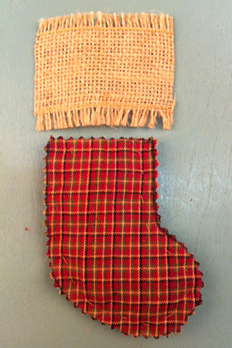
Cut out the stocking with pinking shears. Try to cut on the line or slightly inside the line so that your ink marks won’t show but be very careful that you don’t cut into your hand stitching!
-
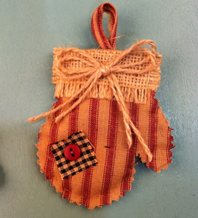
Now cut a 2” tall strip of burlap or solid off-white fabric for the cuff of the stocking. Make it just slightly wider than the top of the stocking. Other ornaments don’t have this step except for the mitten which has a cuff also.
-
Fold the burlap lengthwise and hot glue it over the top of the stocking.
-
Make a hanger for the back by tying a knot with a jute string. Hot glue this to the back of the stocking cuff. You may also choose to make this hanger with a tiny strip of coordinating fabric as shown in some of our examples at the end.
-
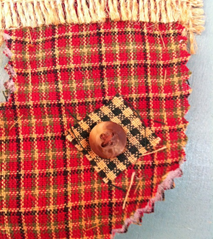
Cut a tiny “patch” out of a complimentary fabric scrap and glue it to the front of the stocking as embellishment. Add a small random button. You can use hot glue for this but I think the fabric glue is kinder to your fingers when doing the small embellishments. Buttons may be either stitched into place or glued.
-
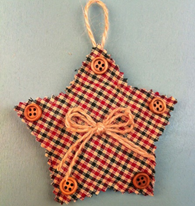
Cut two lengths of jute string and tie them both into a bow at the same time. Pull the loops down small and then trim the tails to your preference. This makes a cute little double bow. Now glue this to the front of the cuff. It also looks cute plain without the bow if you prefer.
-
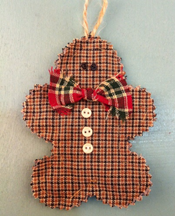
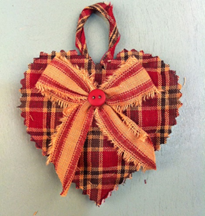
Now you are finished! The rest of the ornaments are created the same way except for the embellishing which is unique to each ornament. Shown below are some sample embellishment ideas but I encourage you to be creative with these and make each one your own unique creation.
-
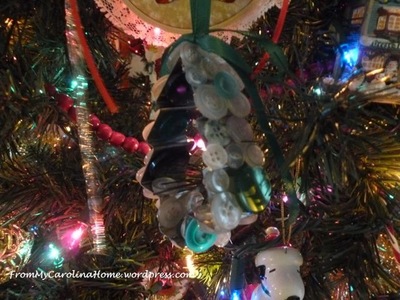
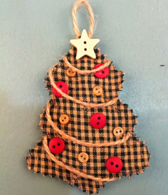
*For this Christmas tree , cut a long string of jute and glue one end into place at the top back of the tree. Then wrap it around the tree several times and glue the other end on the back side of the tree. Now glue the jute to the tree in random spots to keep it securely in place.


For I know the plans I have for you, declares the Lord...plans to give you hope and a future. Jeremiah 29:11
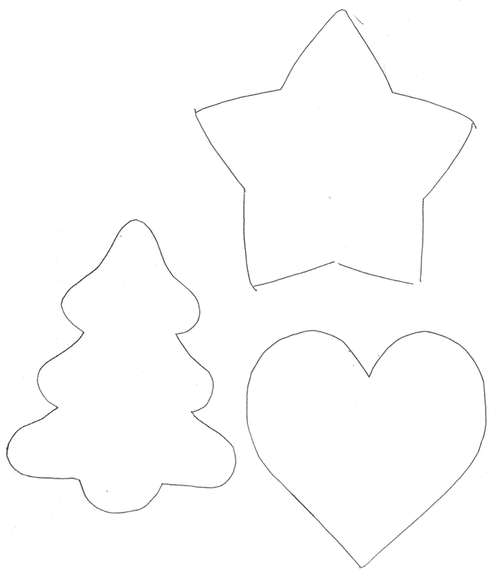
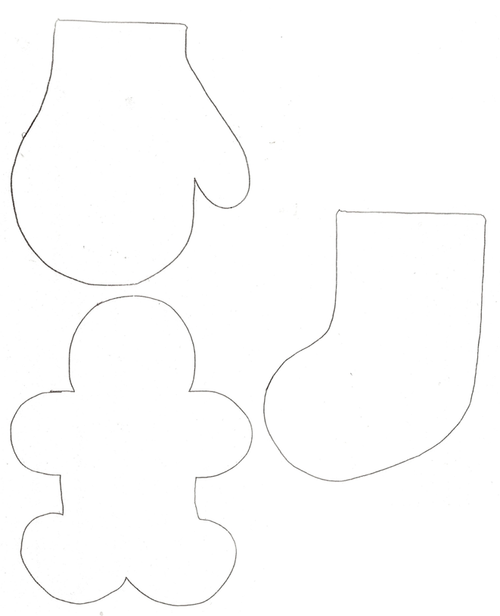
Patterns
-
Print this page and cut out these templates