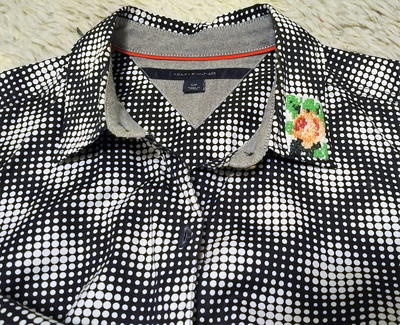
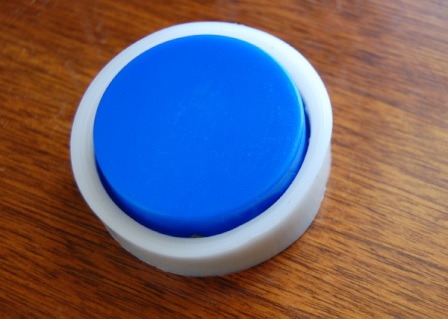
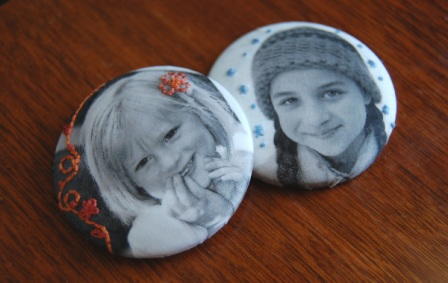
Photo Fabric Button Magnets
Corinne of So September shares this clever little gift idea for Mother's Day. Transfer personal photos onto fabric and then use to make fabric button magnets. Embroidery adds a bit of lovely decoration to the magnets.

Materials:
- Inkjet iron-on transfer paper for fabric (the kind used for making your own t-shirts)
- cotton fabric (I used plain white )
- embroidery floss, needle and hoop
- button cover kit (I used sz. 75 or 1 7/8 inches but any size is fine)
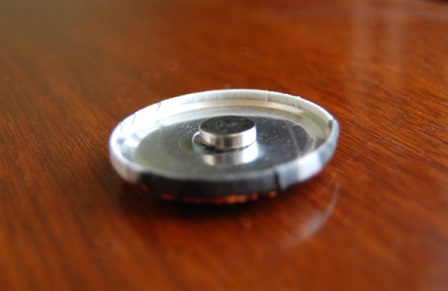
- magnet (I use "super magnets" made by "the magnet source" brand that I get at my local hardware store)
- strong glue like E6000
If you are using a light colored or thin fabric you may want to use a piece lightweight interfacing on the back so that there is no glare from the metal button underneath)
Directions:
- Choose the photo you want to use. If you do not already have a digital file of the photo you will need to scan it. Your button cover kit instructions will tell you what size your fabric needs to be in order to make the button. You will want to resize your photo to fit that size. This is the point when you will want to do any photo editing. For example, I made my images black and white at this point.
- Review the instructions that came with your inkjet transfer paper. Most will instruct you to reverse your image. If so, then reverse your image at this point.
- I always print out a test sheet on plain paper before I print onto my transfer paper just to make sure everything looks okay. If it looks allright then go ahead and print out your image onto your transfer paper.
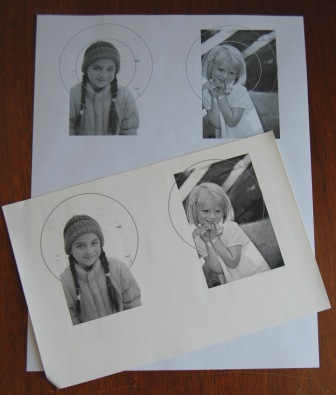
- Trim the image to the correct size (the circle size indicated on your button kit).
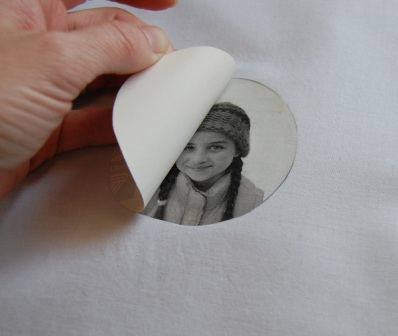
- Iron your image onto your fabric according to the instructions that came with your transfer paper. Allow the fabric to cool.
- Peel off backing paper.
Place fabric in your embroidery hoop and embroider any details and embellishments you choose.
- Remove fabric from your embroidery hoop.
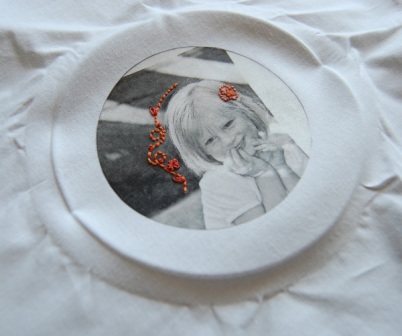
Trim excess fabric.

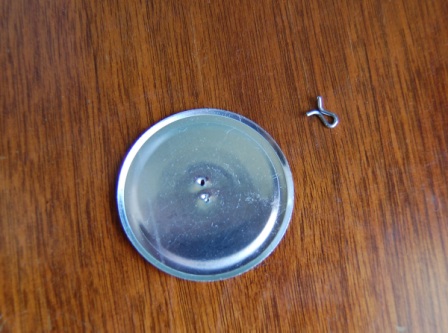
- Using a pair of pliers remove the shanks from your button backs.
- Center your fabric circle on your button maker and place button front on top. Use the plastic presser to push the front down.
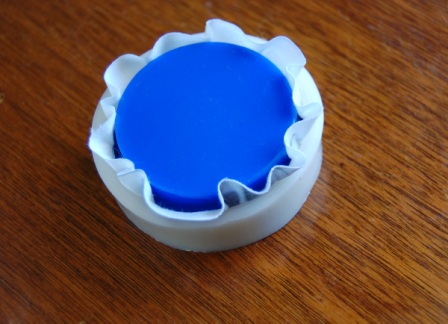
Tuck all your surrounding fabric toward the center and place the button back on top.
Use the plastic presser again to press the back down until it pops into place.
Push your button out of the rubber positioner.
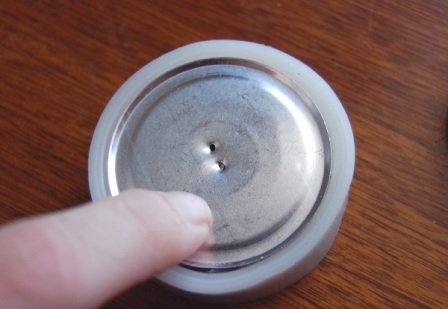
- Use a strong glue to attach a magnet onto the back. Allow to dry for several hours (I usually wait overnight) before use.
Find this project and many more Mother's Day crafts in the free eBook 15 Mother's Day Craft Projects from our Favorite Bloggers.
Read NextPunch Needle Rainbow
Your Recently Viewed Projects
Thanks for your comment. Don't forget to share!
Report Inappropriate Comment
Are you sure you would like to report this comment? It will be flagged for our moderators to take action.
Thank you for taking the time to improve the content on our site.