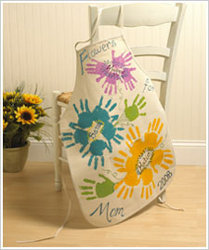
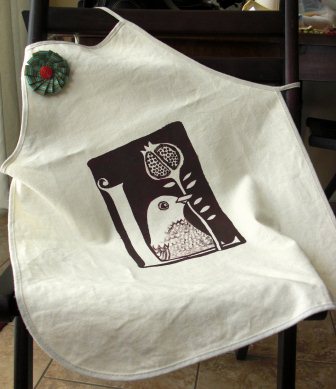
Stencil Painted Apron
For the Mom who loves to cook, use a freezer paper stencil to help paint a unique apron this Mother's Day. Rachael completes the apron for Mom with a homemade ribbon brooch. Like Rachel, you can find an image on the web incorporating an initial or monogram for personalization, or you can use a favorite theme such as birds.
Materials:
- Apron
- Fabric paint (make sure it’s not puffy paint)
- Freezer paper (thicker than wax paper and only has one waxed side–I bought mine at Walmart)
- Pencil
- Black marker
- Scissors or exacto knife (for cutting out stencil)
- Iron
- Cardboard
Instructions:
-
Before you being, wash whatever you’re going to stencil to remove the sizing and help the paint adhere a bit better (but do not use fabric softener). Also read the directions on the paints that you will be using and adjust any of the painting steps to follow directions that might be different for that particular brand of paint.
-
Place the waxy side of the freezer paper down and trace/draw your image. I modified an image that I loved off of the Internet.
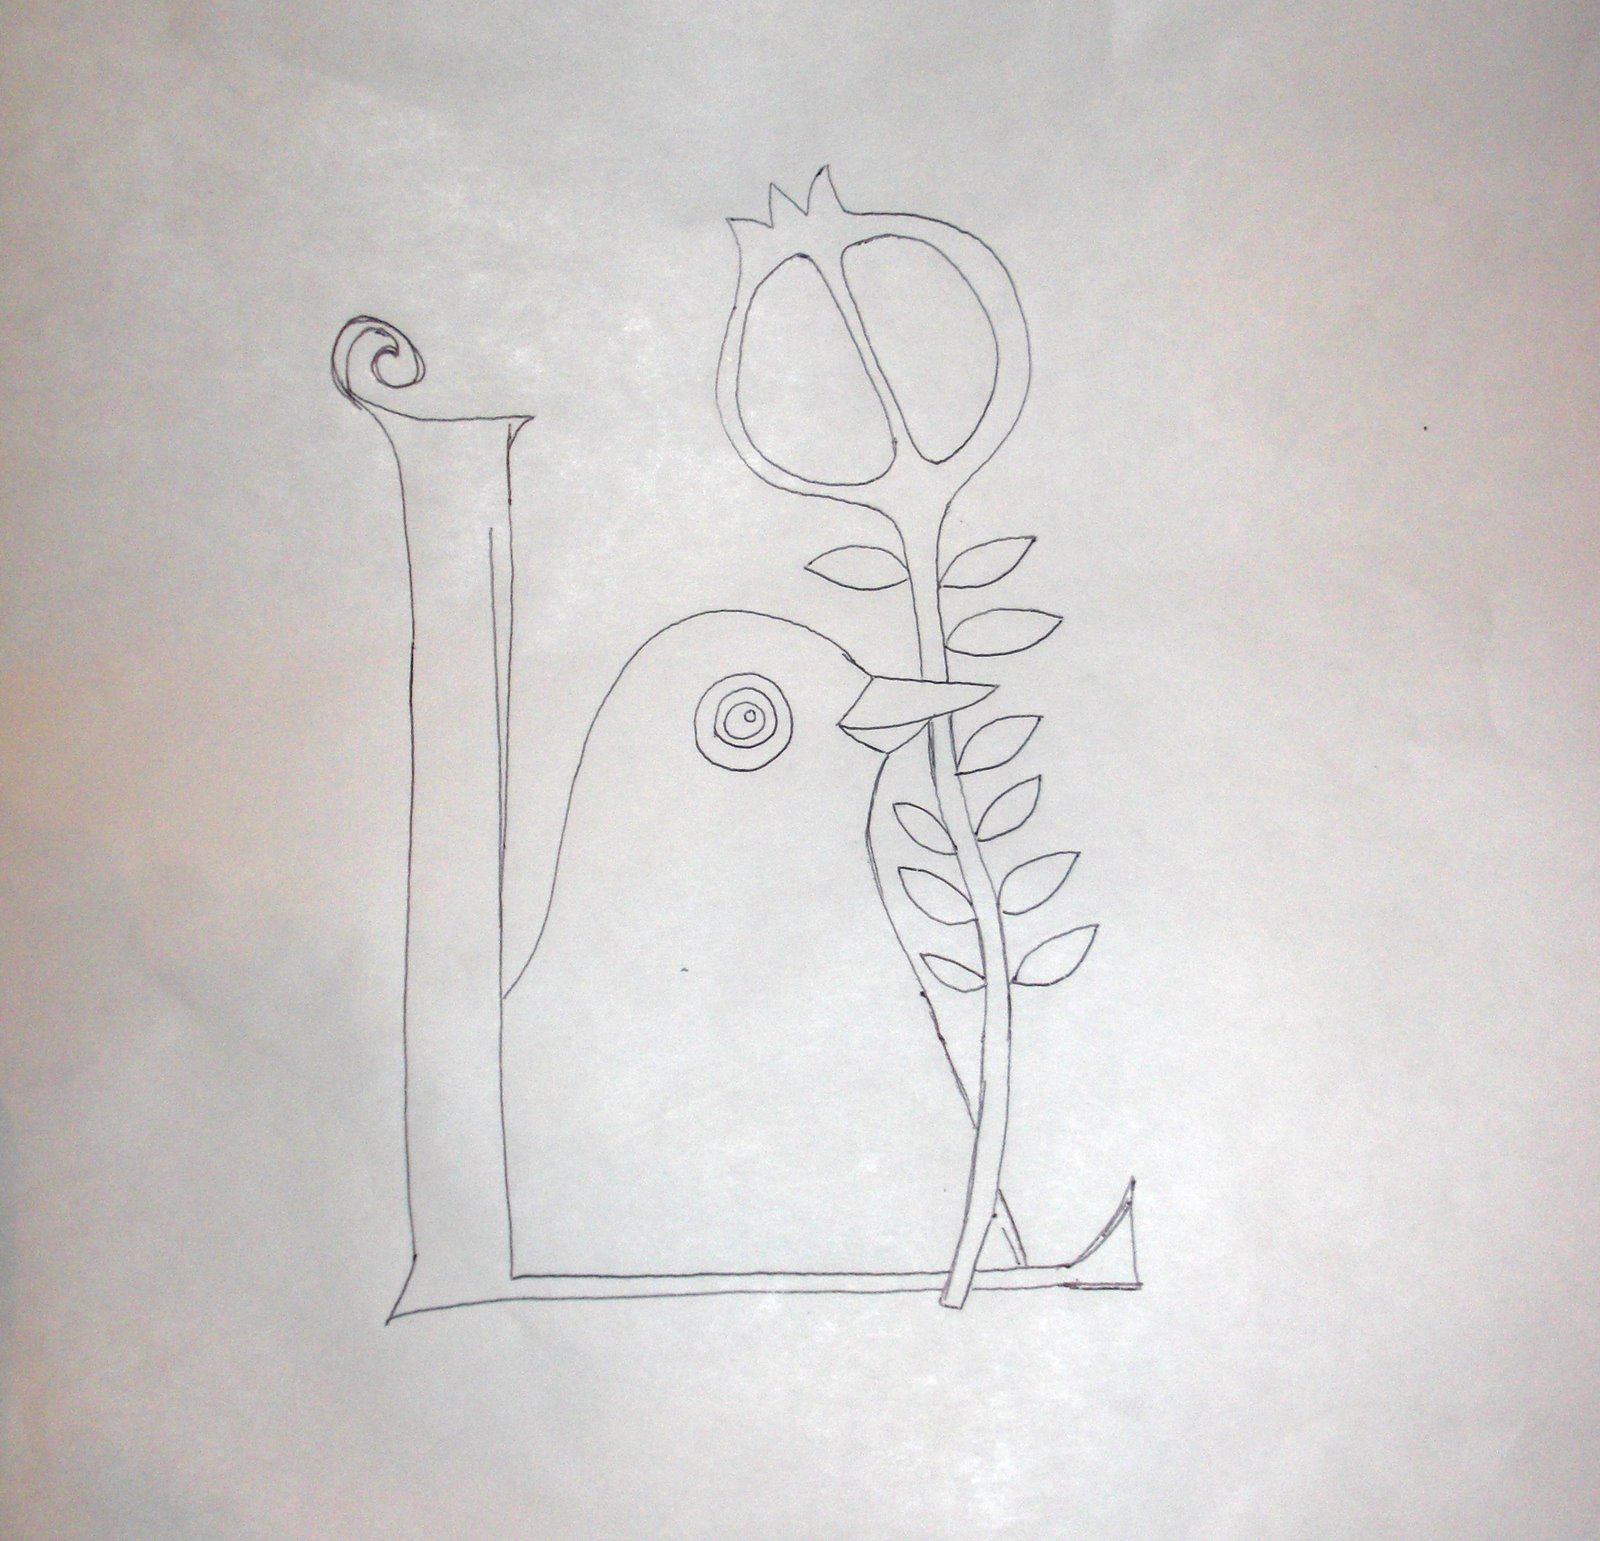
(Click for full-size image.)
-
If you are drawing your image (as opposed to tracing), trace a copy so that you have something to refer back to later on.
-
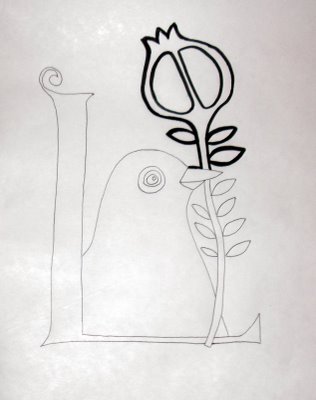
Use a black marker to fill in all the areas that you want the paint to go through.
-
Start to cut out your image. Save any of the cut out white pieces in an envelope.
-
You can throw out the black areas, though I usually keep them because I find that they can be a helpful reference later on.
-
Heat up your iron. Place the fabric with newspaper or cardboard underneath it onto your ironing board. Iron on the main stencil of your image, waxy side down. Make sure you place the iron straight down. You are likely to peel up parts of the stencil if you move it back and forth how you would normally iron.
-
Grab your envelope full of pieces. Refer to a copy of your image as you piece your image back together like a puzzle, ironing each piece down as you go. Make sure that you are placing the small pieces waxy side down so that they don’t end up sticking to your iron.
-
Iron on another piece of freezer paper on the inside behind your picture, so the grain of the fabric can’t shift and the paint can’t soak through the back. Slip a piece of cardboard underneath your design as well (if you haven’t already) for added protection and to help give you a surface to work on.
-
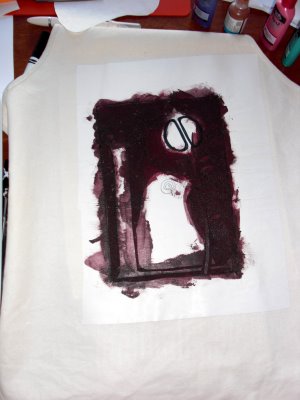
Start painting. It is better to dab at the stencil rather than use back and forth brush strokes, which are more likely to peel up the smaller sections of the stencil. Make sure to use a fairly thin layer of paint. (The thicker the paint, the more likely it is to smear in the wash and give you a splotchy finished result.)
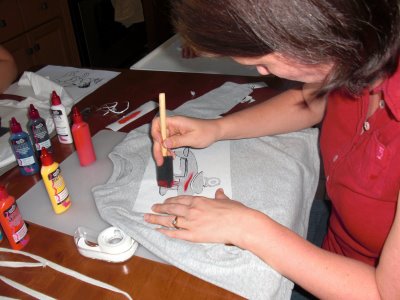
(My friend Madame A starting the painting process on a t-shirt for her son.)
-
Let the paint dry completely for 24 hours before peeling up the stencil.
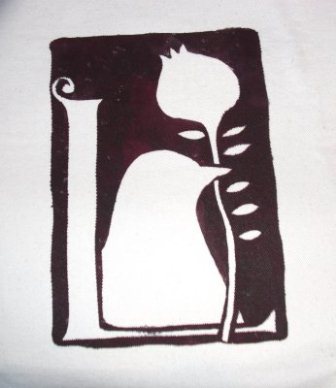
-
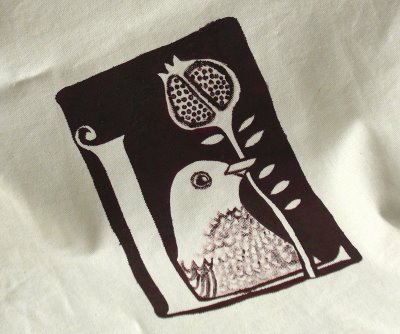
Paint in any additional details then let this paint dry completely for 24 hours.
-
Heat set the paint by pressing on each section for 20-30 seconds with the iron set on high.
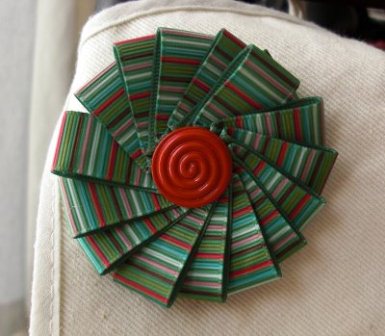
I thought the apron I made needed a bit of bling, so I made a little brooch using some grosgrain ribbon, a button, and a pin back.
Et voila! A personalized apron for your favorite foodie! Happy Stenciling!
Read Next101+ Mother's Day Crafts for Adults
Your Recently Viewed Projects
Thanks for your comment. Don't forget to share!
Report Inappropriate Comment
Are you sure you would like to report this comment? It will be flagged for our moderators to take action.
Thank you for taking the time to improve the content on our site.