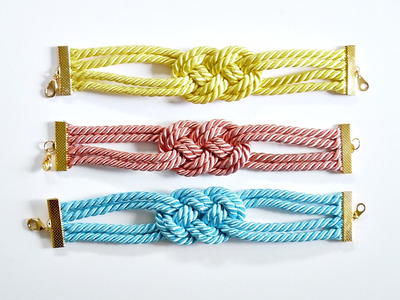
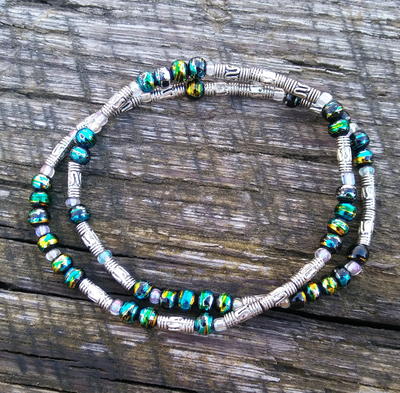
Knotted Cord Bracelet

"These bracelets cost only $1-2 to make and would make fabulous gifts!"
Project TypeMake a Project
Time to CompleteUnder an hour
Bead Technique UsedStitched

Materials List
-
Cord (two strands approximately 22" long each)
-
Two 1" gold ribbon crimp ends (they also come in silver)
-
Lobster clasp with tag connector and two jump rings
-
Needle nose pliers
-
Gel Epoxy (E-6000 glue works too)
-
Toothpick & scrap cardboard (to mix the epoxy)
- Scissors
- Tape
Instructions
-
Before you get started, open up the crimp ends a little, using pliers.
-
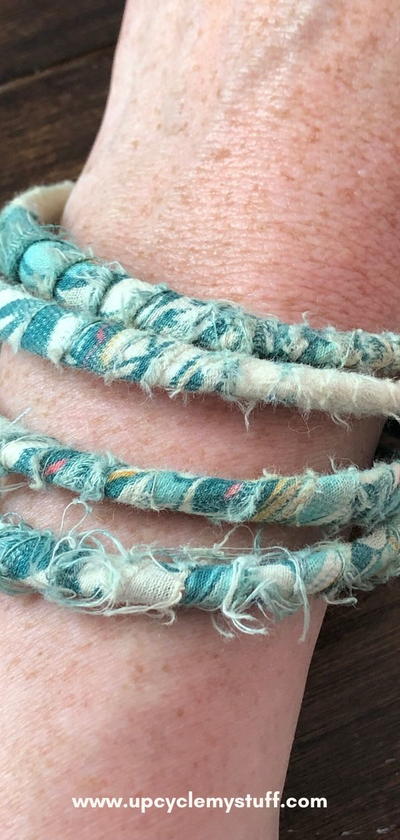
Take one length of cord, fold it in half. Lay it down on your work surface so it forms a loop. For my bracelets, I used 2 pieces of cord, each 22" long, and that made a 6" long bracelet (including the clasp). Use more cord if you have thicker cord or want a longer bracelet.
-
Sneak your second length of cord (also folded in half), under the loop.
-
Loop the bottom cord over and then under the tails of the loop you made.
-
Then wrap it over one half of the loop, then under itself and then over the second half of the loop.
-
Gently pull the knot tight, shaping it a bit so it lies flat and the ends are even.
-
Measure how long you would like your bracelet (don't forget the clasp adds length). Place tape all the way around the four strands where you want to cut them.
-
Using sharp scissors, cut all four ends after the tape so the tape holds the cord together. This type of cord unravels quickly, so we immediately added epoxy to the ends. Some tutorials show gluing on the sides of the cord but then it shows, so we glued the ends and only a millimeter between each cord to hold them together invisibly. We mixed the two-part epoxy with a toothpick and used the toothpick to spread on the glue and coax a little between the cords. Let the epoxy dry for a minute, just so it's tacky but not hard (this epoxy dries rock hard).
-
Place the cord into the opened ribbon crimp and use a toothpick to push it all in. It's wriggly and will try to escape, but the epoxy (still pliable but not totally glued) will help hold it together. Close the crimp with needle nosed pliers and let dry 24 hours.
-
Add a clasp using two small jump rings.
Read NextSummer Painted Driftwood Necklace