Sweetie Pie Greeting Card
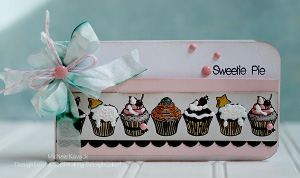
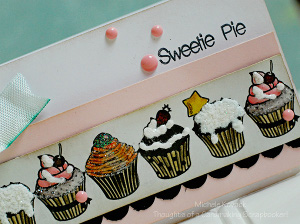
Show someone you care - don't just tell them. The best way to express your gratitude is through greeting card crafts ideas, so gather up your favorite scrapbook paper, adhesives from PLUS America and embellishments. A Sweetie Pie Greeting Card says it all and takes no time to make.
Materials:
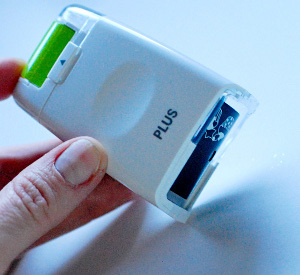
- Plus America Decoration Roller (Cupcake)
- Cardstock: Papertrey Ink (black, pink, light grey, cream)
- Corner rounder: SU!
- Scalloped border punch: SU!
- Seam binding: Schiff
- Epoxy pearls: My Mind's Eye
- Pink twine: The Twinery
- Glitter: Martha Stewart
- Liquid Applique: Marvy
- Glossy accents: Ranger
- Ruler
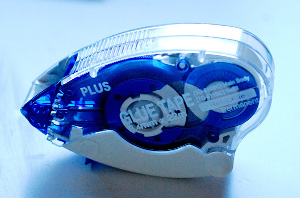
- Plus America Adhesive Glue Tape
- Ink: Memento (brown for distressing)
- Copic Markers
Instructions:
-
Cut cream cardstock, use corner rounder. Ink edges.
-
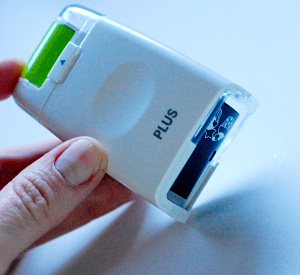
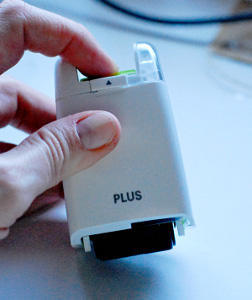
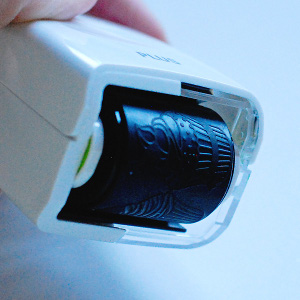
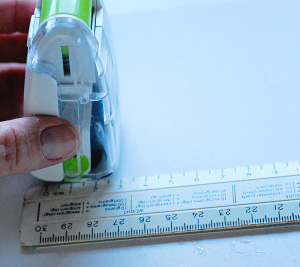
The Plus Corporation roller stamps are so fun and easy to use! Just push the top and the stamp becomes exposed. One tip I learned is that I tend to roll uphill or downhill. To prevent this use ruler and Plus Corporation Cupcake Stamp to ensure straight rolling.
-
Cut row of cupcakes to fit front of card.

-
Color cupcakes with Copic Markers.
-
Add liquid applique to frosting of cupcakes.
-
Heat and while still hot, sprinkle glitter.
-
Add glossy accents to cherries and stars. Add epoxy pearls.
-
Use border scallop punch on black paper.
-
Use PLUS America adhesive to adhere cupcakes to black punched paper and strip of pink paper. This adhesive has a nice smooth applicator and doesn't get gummed up. It offers a nice sturdy hold.
-
Attach entire piece to front of card.
-
Tie seam binding to left side of card into a bow.
-
Tie an additional seam binding bow using pink twine. Glue to other bow.
-
Add epoxy pearl to center.
-
Stamp sentiment. Add epoxy pearls as a finishing touch.
Read Next64 Handmade Cards for Every Occasion

