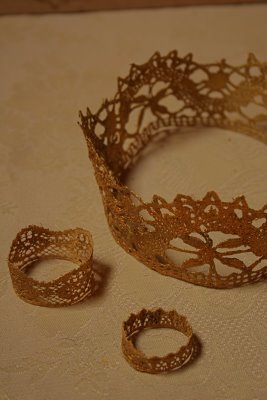
Gold Lace Crown
Use lace and a touch of gold paint to create a regal "gilded" crown for a homemade Halloween costume or dress-up anytime. This beautiful crown would perfectly complete any royal homemade Halloween costumes, including princesses. Kids can help make the crown for their own costume or as a fun activity anytime. A smaller crown would work as decoration for a fairy or doll house or even as a tree ornament.

Materials:
- Lace
- gold acrylic paint
- gold leafing powder
- modpodge
- scissors
- paintbrushes
- wax paper
- (optional) hair dryer
Instructions:
- Take your lace and make a crown shape. The laces I used have one flat side. That really helps the structure. The width of the lace and the pattern will help you determine the size of your crown.

- Trim lace to size with a 1/2 inch or more overlap, matching pattern.

- Paint with gold acrylic paint. Be sure to cover all surfaces. Paint both sides of the lace.Let dry. You may want to do more coats of gold paint. I mixed an iridescent gold and a flakier gold for a deeper look.


- Place on wax paper.

- Coat with ModPodge until well saturated. I recommend you seal with, at least, 3 more coats of Modpodge. Move it around while its really wet, to keep the holes in the lace from becoming windows.

- Enhance the color with gold leafing powder dabbed onto wet Modpodge with dry brush. You can skip this step, but I really think it makes all the difference.

- Dry completely flat. A hair dryer can speed the process. Brush dry crown with a dry brush to remove excess leafing powder. Peel off of the wax paper.

- After all of ModPodge dries, use craft glue to attach the ends of the lace together to form the crown.

- Pinch ends with fingers until set, wait overnight, until dry. If this crown will see heavy use, some stitches on a sewing machine might also be a good idea.

- Place crown on head and have fun storming the castle.

Find more great crafting ideas at Bitter Betty Blogs.
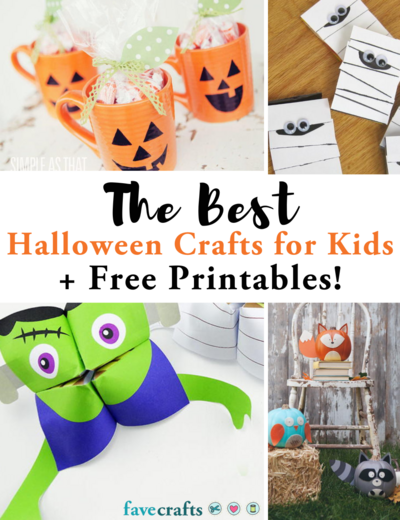
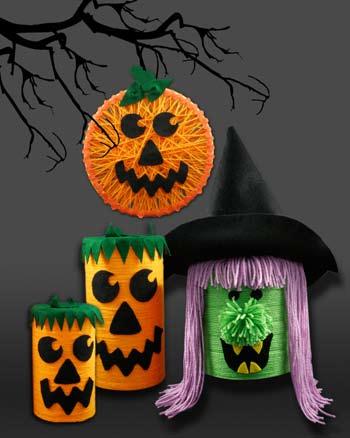
Read NextHalloween Yarn Crafts
Your Recently Viewed Projects

Thanks for your comment. Don't forget to share!
gypsydj530
Jan 27, 2011
THAT IS SOOO KEWL! I don't about the little girls, but this 42 year young girl is going to have a BALL with it! ; ) LOL
kcisis
Jan 16, 2010
Absolutely gorgeous! Headed for my lace bin now to start a crown for my great-niece's birthday will be on the lookout for some that is suitable for a young prince for my grandson. Thank you so much for a lovely idea that incorporates stuff most veteran crafter's have on hand outshines any store bought crown.
BAnkeney
Jan 05, 2010
I love your articles...and I save them to file...but it takes a lot of steps for me to save the webpage into a PDF format...it would be great if you provided a link to click on that would automatically put the patternsarticles in PDF format.
Report Inappropriate Comment
Are you sure you would like to report this comment? It will be flagged for our moderators to take action.
Thank you for taking the time to improve the content on our site.