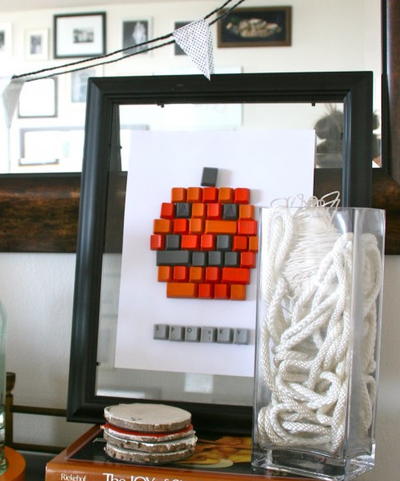
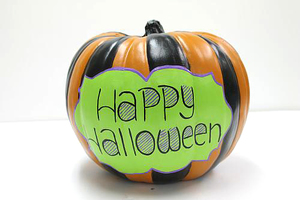
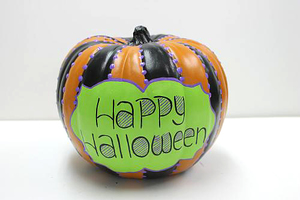
Happy Halloween Painted Pumpkin
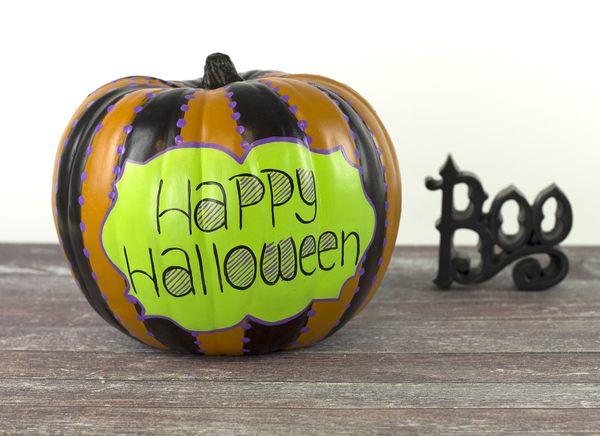
Bypass all the mess of carving a pumpkin with the Happy Halloween Painted Pumpkin pattern. You can put this masterpiece outside on your porch or windowsill or keep it indoors as a decoration in order to get into the Halloween spirit. With the free pattern, this craft is quite simple to make and mainly requires acrylic paint. Because this craft uses a foam pumpkin, you can store it with the rest of your decorations until next Halloween, unlike carving a real pumpkin and dealing with the decay.
Primary TechniquePainting

SeasonFall
Materials:
- Americana Multi-Surface Acrylics: Chartreuse, Lavender Fields, Black Tie
- Water container
- Palette or plastic plate
- Paper towels
- Tracing paper
- Transfer paper
- #12 flat brush
- Black Sharpie® & regular marker
- #1 round brush
- Pen
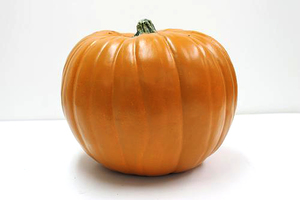
- Medium foam pumpkin
Instructions:
- Make sure the foam pumpkin is clean and dust free.
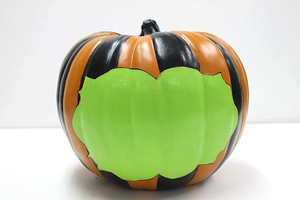
- Use a pen and the tracing and transfer papers to trace and transfer the pattern for the label from the "Happy Halloween" sign only. Go over the pattern lines with a black marker to make them more visible.

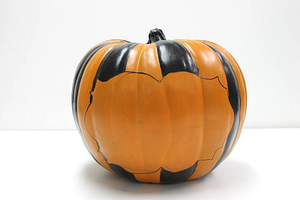
- Use a #12 flat brush and Black Tie to paint every other stripe on the pumpkin. Rinse brush.
- Use a #12 flat brush and Chartreuse to fill in the label. (You may need to use a #1 round brush around the pointed parts of the label.)
- Use a pen and the tracing and transfer papers to traceand transfer the words "Happy Halloween" to the center of the label.
- Use the #1 round brush and Black Tie to paint on the words "Happy Halloween." Rinse brush.
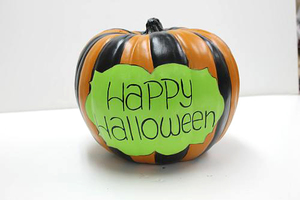
- Use the #1 round brush and Lavender Fields to add diagonal lines inside some letters and then outline the label. Rinse brush.
- Use the handle end of a #12 flat brush and dip in Lavender Fields to add dots to the edges of all Black Tie stripes. Wipe off the handle end.

For more great home decor projects and paint craft ideas, check out our eBook Painting the Seasons with Americana Multi-Surface Acrylics from DecoArt. You'll find DIY craft projects for all season.
Why This Halloween Craft is Scary Great!
1. No mess, no stress: Say goodbye to the messy cleanup that comes with carving a pumpkin. With the Happy Halloween Painted Pumpkin craft, there's no need to deal with slimy pumpkin guts or sharp carving tools. Simply grab some acrylic paint and let your creativity flow!
2. Long-lasting decoration: Unlike traditional carved pumpkins that start to decay after a few days, the foam pumpkin used in this craft will last year after year. This means you can enjoy your Happy Halloween Painted Pumpkin as a festive decoration for seasons to come, without worrying about it rotting away.
3. Easy and fun for all ages: Whether you're looking for a fun art project to do with your kids, a relaxing craft to enjoy on your own, or a creative way to get into the Halloween spirit with friends, the Happy Halloween Painted Pumpkin is the perfect choice. The free pattern makes it simple to follow and the painting process is open to endless possibilities, making it a fun activity for crafters of all ages and skill levels.