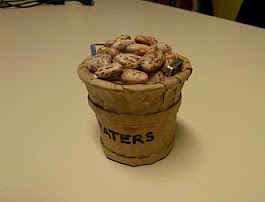
Mini K-Cup Bushel Basket
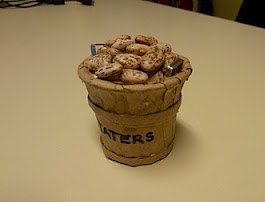
Recycle K-cups the crafty way! You can make these mini k-cup bushel baskets to put on your knick-knack shelf and add some whimsy to your kitchen. This craft from Crystal Donnelly is a great way to use up those mounting k-cups.
Materials:
- An empty K-cup
- A Paper bag (thinner lunch size work best)
- A compass
- Scissors, ruler, pencil
- Tacky craft glue
- Small amount of pinto beans
- Black marker
- Two unused staples
Instructions:
- Remove the filter and wash and dry the used K-cup.
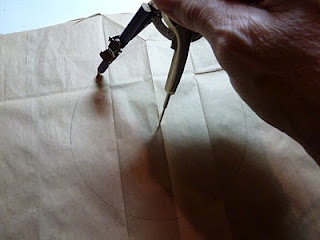
- Cut open a brown paper bag and smooth it flat. Using the compass draw a 3-inch diameter circle and cut out.
- Set the K-cup in the center of the circle and mark around with a pencil. (I used a marker so you can see it better) Use this circle as a guide and cut slits all around just up to the line. Spread some tacky glue in the middle of the paper circle where you marked it and attach the K-cup.
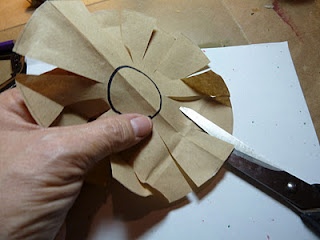
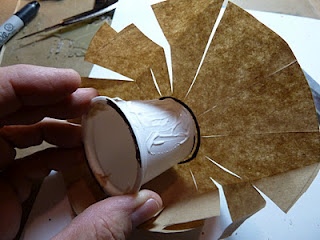
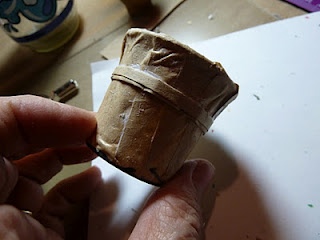
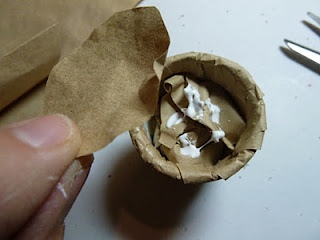
- Spread some tacky glue on the K-cup and press on each of the slits, working around the K-cup. Turning under at the top. Make sure you liberally spread the glue on the K-cup and on the edge of the previous slit. (See photo) When you have finished covering the entire K-cup, let dry.
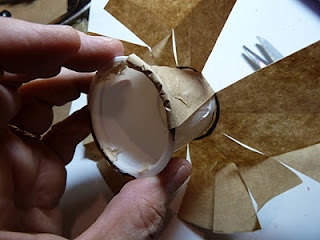
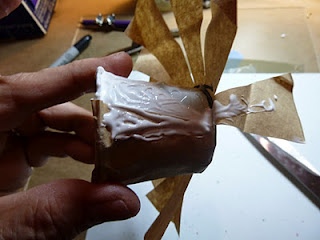
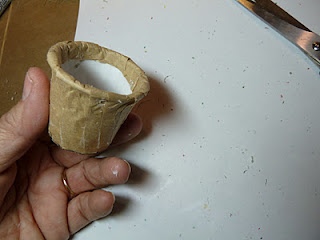
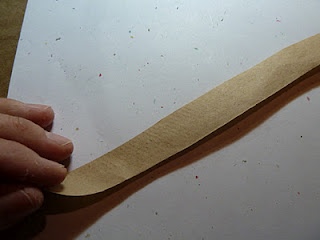
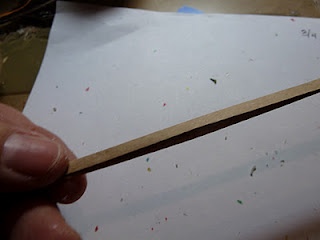
- Cut two strips of brown paper ¾” x 7.” Fold in half and then fold each edge to the center. Fold in half again. Glue on one strip around ½” from the top edge. Trim any excess. Repeat with the other strip around the bottom edge of the basket.
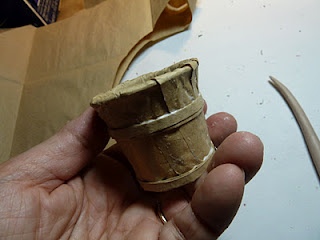
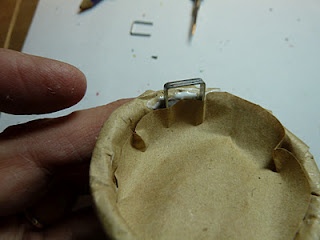
- Scrunch up some leftover paper bag and stuff the basket up to ½” from the top. Glue a staple to each side of the basket. Cut a circle the diameter of the top of the basket and glue on top of the paper stuffing, letting the staples poke out of the sides. Let dry.

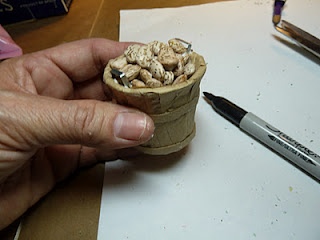
- Spread some glue on top of the paper circle and attach some pinto beans. Keep gluing one bean at a time until the basket appears full. Print “taters” with a permanent maker if desired.
Read NextQueenly Playing Cards

