Marbled Button
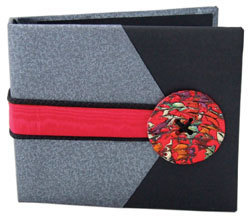
With a surprisingly easy technique using multiple colors of plastic, create a marbled button to use on gift albums, CD cases or decorative boxes.
By Liz Welch for AMACO
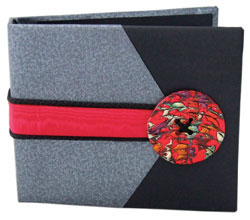
Materials Needed:
- Small shapes in assorted colors of Friendly Plastic®
- Metallic Red Friendly Plastic®, 1 stick
- Craft Marbling Comb
- Sugarcraft or cookie cutter 6cm (2½") diameter
- Bamboo shish-kebab stick
- CD or photo album
- Decorative paper and glue for covering
- Ribbon and cord
- Cotton perle embroidery thread
Steps:
- Arrange small shapes of Friendly Plastic® on Teflon sheet or aluminum foil; heat using heat gun or oven until soft.
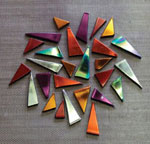
- Let plastic rest for 5 long seconds; then holding marbling comb at 20° angle from upright, drag through plastic pulling one color into next. Turn the sheet around; repeat in opposite direction. (Clean surplus bits of plastic from comb tines between each drag).
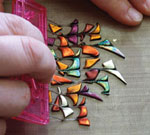
- While plastic is still warm, dip cookie cutter in cold water; cut out circle from the swirled plastic. Let cool completely; gently ease circle out. (Use scissors if necessary).
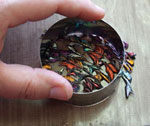
- Cut two pieces of red Friendly Plastic® slightly larger than circle; lay side by side on Teflon sheet so that they touch. Heat using heat gun or oven until soft.
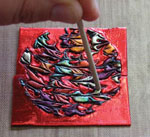
- Press swirled circle into hot plastic using flat end of a kebab stick until evenly embedded; cut out circle again through both layers of plastic. While plastic is still warm, work four holes into the centre of the circle using needle tool, pointed craft stick or a ball ended embossing tool.
- Cover a CD case or photo album with decorative paper; glue on ribbon and cord. Stitch center of button with thick cotton perlé embroidery thread; glue in place with silicone glue or strong glue dots.
Read Next76 Easy Craft Projects for Adults

