Coiled Wire Key Ring
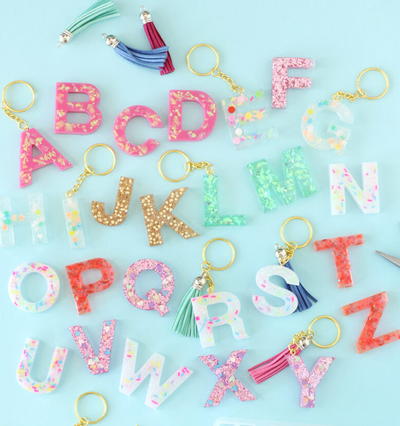
Make this unique coiled wire key ring from The Bead Studio, a great gift for dad!
Courtesy of Bead Studio
Materials:
- 1 Large Resin Bead
- 4" 14g Sterling Wire
- 18" 18g Copper or Silver Wire
- 3 ½ ' 20g Silver Wire
- 1 Charm
- 1 Key Ring
- 1 Key Ring Swivel
- Coiling Gizmo w/ Clamp
- Wire Cutter
- Round Nose Pliers
- Chain Nose Filers
Steps:
- Set up coiling gizmo according to instructions in package. We will only be using the smaller Mandrel on this project.
- Anchor the 20g wire to the smaller Mandrel.
- Wind the wire around the Mandrel until you have 4" of coiled wire.
- Remove the 4" of coiled wire from the Mandrel and trim off any excess wire ends. Both ends of the coiled wire should appear as they do in the photo to the left.
- Anchor the 18g wire to the Mandrel and wind 6 times around and slide on 4" coil.
- Continue to wind the 4" coil onto the Mandrel until you have six turns of coil left.
- Glide the twisted coil off the Mandrel and trim excess wire. Open the coil up by winding counter clockwise.
- Slide one side on the coil end onto the 14g wire, place the bead in the center of coil and thread the 14g wire through the ball and out the outer end of the coil.
- Play with the coil around the bead until you achieve the desired look and make a loop on each end of the wire.
- Open loop gently to the side and add a charm on one side and the key ring with swivel to the other side. Just scroll back to the top of this page to see how our project turned out.
Read NextPocket Sized Hope Book
ksaugustsson
Oct 21, 2010
This item is really cool. Looks like something that would help me in my practice with wire working.
Report Inappropriate Comment
Are you sure you would like to report this comment? It will be flagged for our moderators to take action.
Thank you for taking the time to improve the content on our site.

