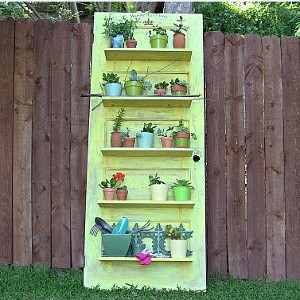
Stylish Planting Shelf
Learn how to paint a door so that it's ready for the garden. This Stylish Planting Shelf is a great way to turn an old door into a chic place to display your plants. When the plants are small and don't look too spectacular, turn to this tutorial and learn how plants can be dressed up just by resting them on a cute door. Door decorating ideas are great for rustic gardens, and you'll love showing friends and neighbors around the yard to adore your chic new decor.
 You can find this project, and many more just like it, in our new free eBook, How to Paint Furniture: 19 Upcycled Furniture Projects free eBook from DecoArt!

Materials:
Americana® Decor™ Chalky Finish Paint
- Delicate (ADC11)
- Heritage (ADC09)
- Lace (ADC02)
- Rustic (ADC25)
Americana® Decor™ Crème Waxes
- Clear (ADM01)
- Deep Brown (ADM07)
Americana® Decor™ Stencils
- The Flower Market (ADS08)
Other supplies
- Water container
- Palette or plastic plate
- Paper towels
- Sanding block
- Painter's tape
- 2" flat brush
- Paraffin
- #12 stencil brush (Americana Stencil Brushes - DABK20)
- Hand drill
- Hammer
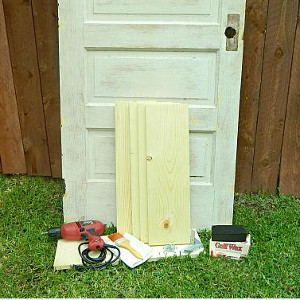
- Solid wooden door (flea market find)
- Five 1" x 12" x 24" pine boards
- Ten L-brackets with screws
- Clean white cloth
Instructions:
Let dry completely between painting steps.
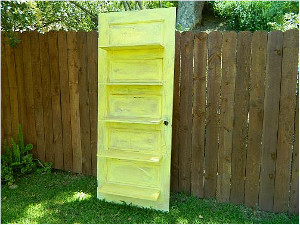
- Wipe the door down with a damp paper towel to remove any dust or residue.
- Rub the paraffin on the door and on the five pine boards, rubbing paraffin on all the areas where you want the original color to show through.
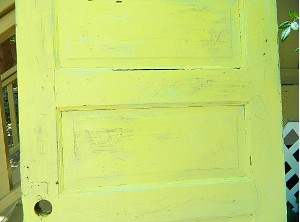
- Use a 2" flat brush to paint large areas of Lace and Heritage all over the doors and shelves. (No pattern or neatness are necessary; just make random patches.) Rinse brush. Let dry completely.

- Use paraffin again over the raised edges and details on the door and shelves.
- Use 2" flat brush to paint over the entire door and shelves with Delicate. Rinse brush.
- Use sanding block over the door and shelves to give them a layered and worn look. Dust door and shelves for any sanding residue with a damp paper towel and let dry.
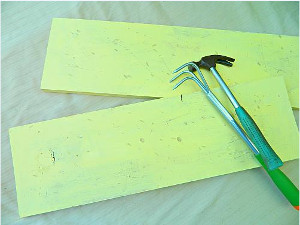
- (Optional) Use a hammer or any object to beat up the door so it has more scratches and dents.
- Use a 2" flat brush to apply Clear Crème Wax over the entire door and shelves. Rinse brush.
- Use the same brush to apply Deep Brown Crème Wax over the entire door and shelves and immediately wipe back with a clean white cloth. Let dry.
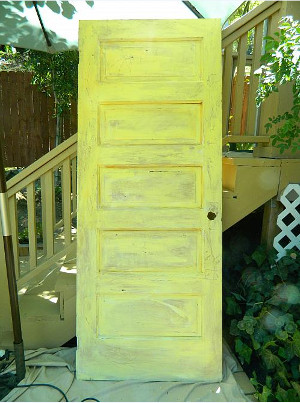
- (Optional) Once the door is dry, you can go back over it with a clean white cloth to buff to a satin finish.
- Center the "L" brackets on the shelves and screw into place.
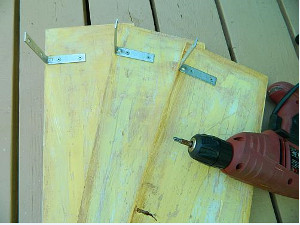
- Center the shelves on the door and screw into place.
- Use 2" flat brush with Delicate to paint over brackets and then wax them to blend in with the other pieces. Rinse brush between steps and at end.
- Use the painter's tape to attach the Flower Market Stencil to the top shelf.
- Use a #12 stencil brush to fill in the whole stencil or just part of it with Rustic.
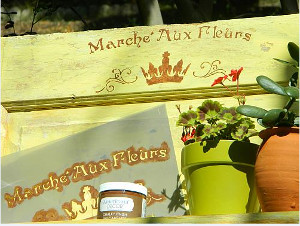
- Use a 2" flat brush to brush another coat of Clear and Deep Brown Crème Waxes over the stenciled image to blend into the rest of the shelf. Rinse brush in between steps and at end.
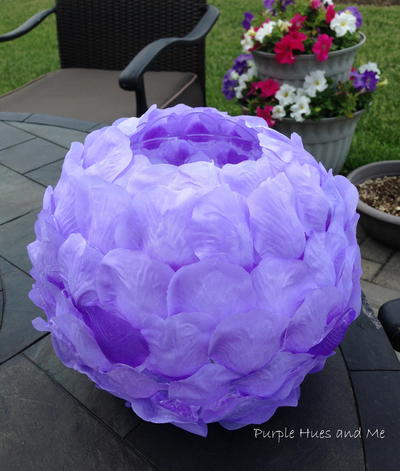
Read NextLilac Rose Petals Luminary


Thanks for your comment. Don't forget to share!
Report Inappropriate Comment
Are you sure you would like to report this comment? It will be flagged for our moderators to take action.
Thank you for taking the time to improve the content on our site.