This project was submitted by one of our readers, just like you.
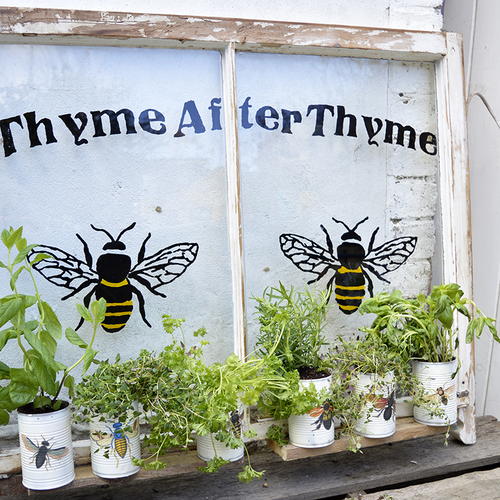
Herb Planter Tin Can Crafts
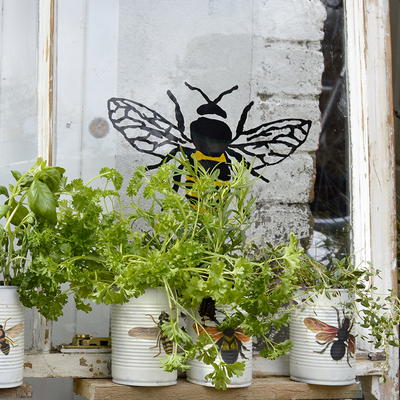
Transform soup cans into DIY planters with this upcycling garden craft.

Herb Planter Tin Can Crafts
Old soup cans become beautiful planters when you follow the step-by-step instructions for how to make these DIY planters. Soup can crafts are a great way to recycle waste while still making a useful final project. Lovely and perfect for your windowsill, these planters help keep herbs alive, allowing you to add fresh taste to all your summer snacks. The Herb Planter Tin Can Crafts are adorned with charming, buggy decals but you could easily decorate them to your liking with other mod podge craft ideas and accents.
In the Designer's Words: "These gorgeous tin can herb planters are really easy to make and look fantastic in your garden with these vintage insect images. The herb planters are really convenient too as they can be taken into the kitchen one by one as needed. They also cost very little to make as you are upcycling old tin cans. The herb planters look great in my garden and are really handy as they are very easily transported into the kitchen, for cooking or cocktails. If you go to my blog you will see how I upcycled an old window to display these herb planters in the garden."
Estimated CostUnder $10
Time to CompleteIn an evening
Primary TechniqueRepurposing

Project TypeMake a Project
Materials List
- Six tin cans
- Cream spray paint
- Cavallini Insect wrapping paper (easily available online)
- Waterproof mod podge or waterproof PVA glue.
- Drill
- Scissors
Instructions
-
Spray paint the outside of your cans cream and drill four holes in the bottom for drainage.
-
Carefully cut out individual insect images from your wrapping paper.
-
Using the glue decoupage one insect image to the front of each can.
-
Apply at least two coats of your waterproof Mod podge or glue to the outside of the can to provide a protective layer.
-
Before adding soil and herbs place a layer of gravel in the cans for extra drainage.
More Crafty Ideas For You
If you enjoy Herb Planter Tin Can Crafts, you might appreciate trying out a few new projects to expand your crafting repertoire. One idea could be to create a set of personalized tin can planters for your friends or family. You could use different herbs or plants that hold special significance to the recipient, along with decorative elements like colorful paint or ribbon to make each planter unique. This would be a thoughtful and practical gift for birthdays or special occasions.
Another fun project to consider is creating a themed herb garden by repurposing tin cans as planters. For example, you could group together a set of cans painted with different motifs, such as a beach theme with shells and sea creatures or a celestial theme with stars and moons. This would be a playful way to display your herbs and add a touch of whimsy to your garden.
If you're looking for a seasonal project, you could create holiday-themed herb planters using tin cans. For example, for Halloween, you could paint cans with spooky faces and plant herbs like black basil or purple sage. Or for Christmas, you could decorate cans with reindeer or snowflakes and plant festive herbs like pine or cinnamon basil. These themed planters would make great decorations for your home or gifts for loved ones during the holiday season.

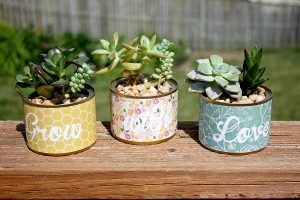
Read NextMini Succulent Planters
Your Recently Viewed Projects

Thanks for your comment. Don't forget to share!
princess6860504
May 03, 2017
This is an easy and rewarding garden DIY craft. The cute insect cut-outs are vintage inspired and not too cutesy. If you have no experience in DIY crafts then this project is suitable for you. You just have to know how to drill the holes in the cans and that is really it. The rest is a piece of cake.
Report Inappropriate Comment
Are you sure you would like to report this comment? It will be flagged for our moderators to take action.
Thank you for taking the time to improve the content on our site.