Robin’s Egg Painted Rock Magnets
Learn how to paint rocks to create your own DIY fridge magnets with this tutorial.

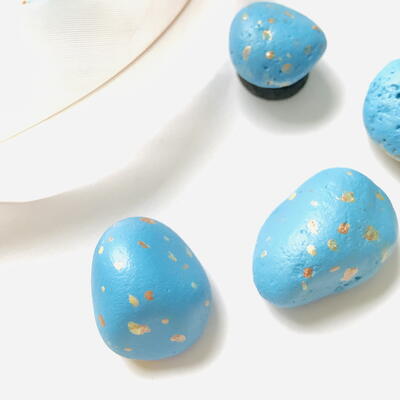
From the blogger: "Painting rocks can be a relaxing, inexpensive pastime and requires only a few basic materials. This tutorial turns hand-painted stones into little works of magnetic fridge art. Best of all, this design is inspired by a charming spring bird- the robin! Their eggs are the most lovely shade of speckled blue, and this effect is easy to recreate using acrylic paint. Follow these steps to turn your painted rocks into magnets that can be admired for years to come!"
Estimated CostUnder $10
Time to CompleteIn an evening
MaterialsNature Material, Paint

Materials List
- Rocks to paint (see below for tips)
- Magnets (glue or stick on preferred, small size)
- Acrylic craft paint (in blue and white for the base color, and brown / gold / copper for the speckles)
- Small paintbrushes
- cup of water (for rinsing brushes)
- Paper plate or paint palette
- Superglue
- Paper towels
How to Make Robin’s Egg Painted Rock Magnets:
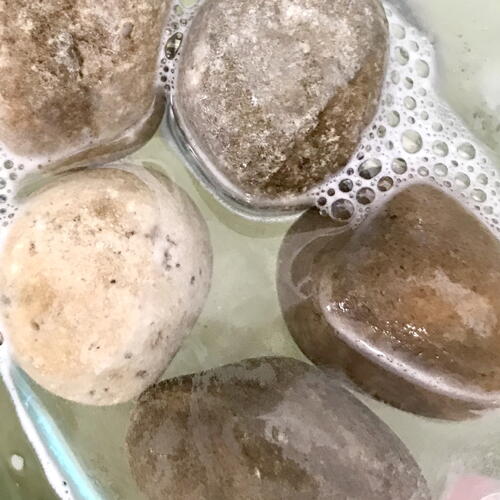
Choosing Rocks:
- Picking the correct rocks to paint is an important step. For this project, the ideal rocks are small in size (about 1.25 - 1.50” (inches) long) and relatively flat on at least one side. Since they will resemble a robin’s egg, look for rocks that are smooth and oval in shape.
Instructions:
-
After you’ve selected the rocks, make sure they are thoroughly cleaned of all dirt and debris. Warm water and a bit of dish soap should get everything off of the rocks, and a scrub brush can be used for stubborn dirt. Allow the rocks to dry fully before moving on to the next steps.
-
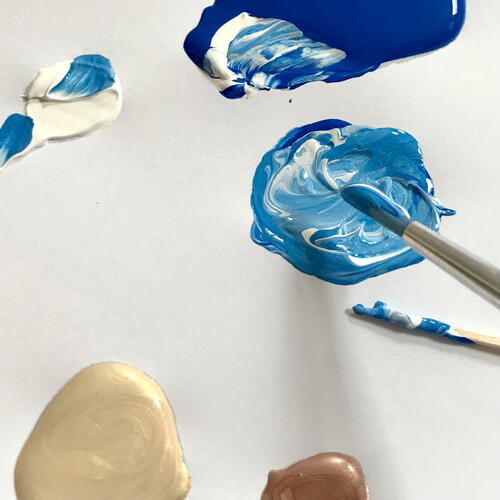
Set up the acrylic paint on a covered workspace. For this tutorial a paper plate can be used if you don’t have a paint palette. Squeeze out a few dots of blue and white paint onto the palette surface.
-
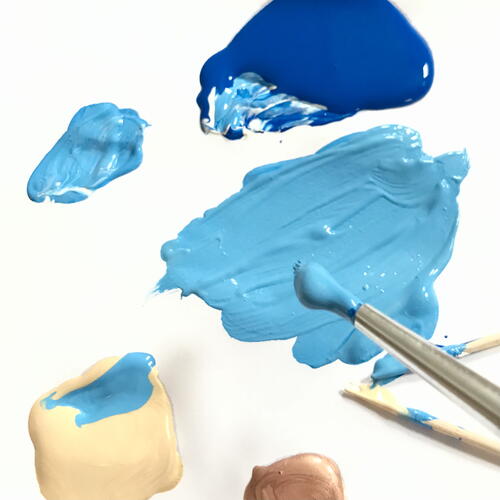
Using a small brush, mix a little white paint into the blue until it reaches a robin’s egg color. This might require a bit of yellow or green paint mixed in, depending on the particular blue paint being used. If you find a pre-mixed robin’s egg blue paint even better, and you can skip this step!
-
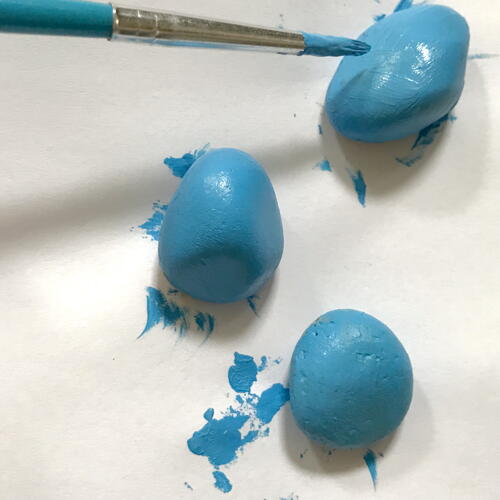
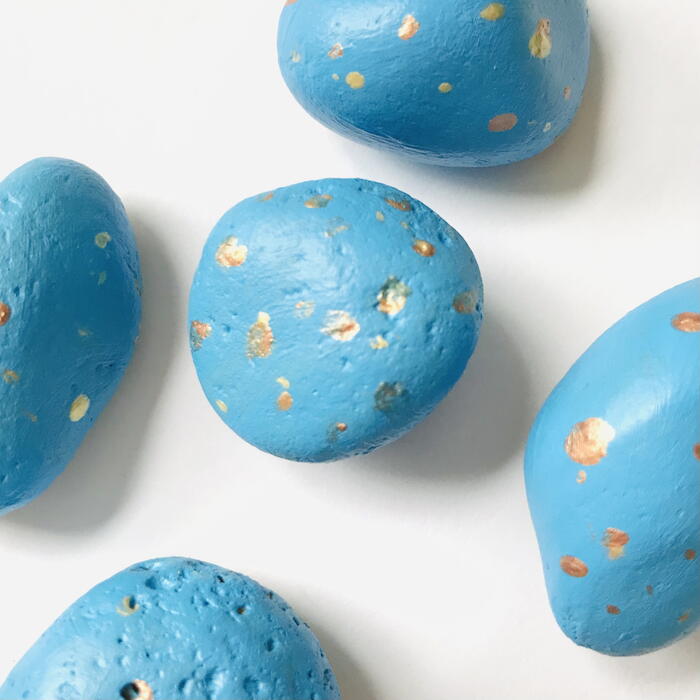
Now it’s time to create the egg design on the rocks! Using a small paintbrush, gently cover the whole rock with the blue paint. If you want to leave some of the back unpainted that is okay- it will be covered by the magnet at the end. Just be sure that the blue paint goes over the sides of the rock. Covering the edges will make it look more realistic.
-
Set the rocks aside to dry. Apply a second coat of blue paint if needed.
-
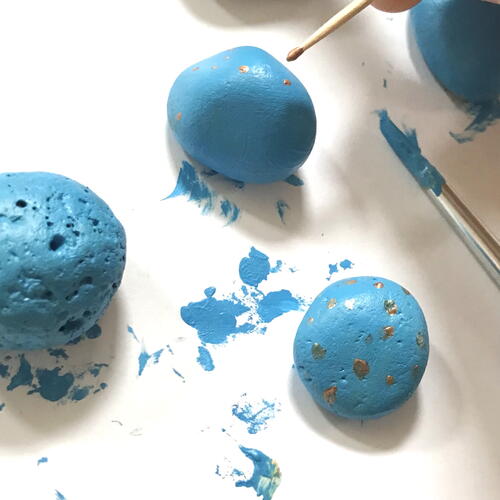
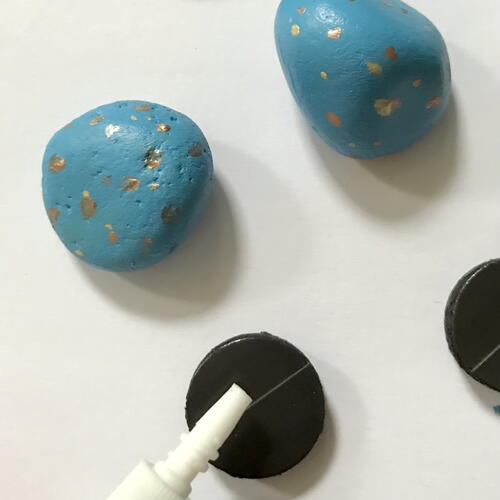
Next, add the speckles to the eggs! This step can be done with any colors you prefer. For this tutorial gold and copper paint were used to add more dimension. Since the speckles are so small, a toothpick might work better than a brush. If you have a metallic permanent marker or paint pen that can be used as well.
-
Allow the paint to dry completely. If you want to use an (optional) sealant or topcoat that can be applied now.
-
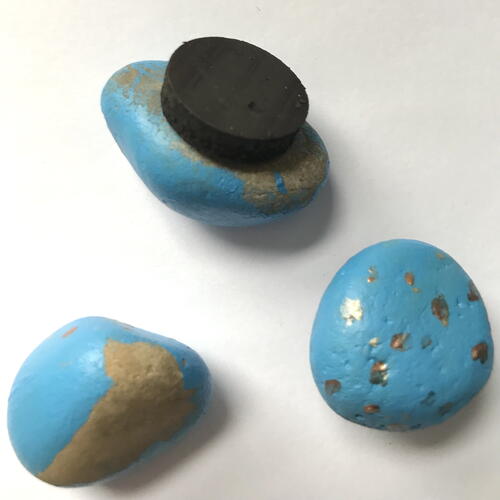
Finally, glue on the magnets! Using the superglue, carefully apply it to one side of the magnet and then press the painted rock onto it. Repeat this for all of the faux eggs.
-
Wait about 24 hours for the superglue to fully set before using them.
-
Enjoy your new fridge magnets!

Read NextDawn Powerwash Refill Recipe