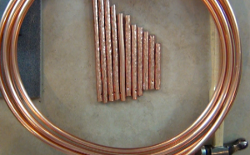
Copper Garden Chimes
Nothing says spring quite like garden craft ideas. Brighten up your space and add some sweet sounds with your own handmade Copper Garden Chimes from Candace Jedrowicz. Use colorful embellishments to decorate your chimes and unleash your inner creative goddess.

Materials:
- Refrigerator ice maker kit or 3/8″ copper pipe
- Jewelery saw or pipe cutter
- Jeweler’s block or concrete floor
- Chasing hammer or any hammer with a rounded side
- Drill with 1/16″ drill bit
- Wooden skewer
- Nylon filament
- 24 gauge wire
- Electrical wire or metal ring for hanging
- Hanging frame – I used a bracelet
Instructions:
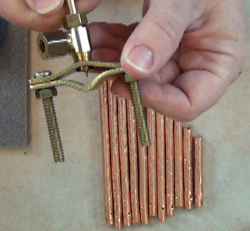
- I chose copper pipe because the metal is soft and easy to manipulate. Cut as many lengths as you want. I started at 2 1/2″ and cut 11 lengths at 1/4″ increments. A jewelry saw is a small hack saw with very thin blades. I had no trouble at all cutting the pipe.
- This handy dandy gizmo came with the ice maker kit. You can use it to start each hole. You put the pipe in and crank the handle until the tip makes an indentation. Complete by drilling straight through the pipe sections.
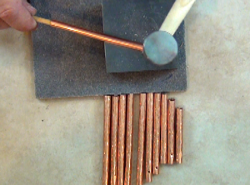
- Insert the wood skewer into each pipe before you begin texturing. This will keep the pipe’s shape. Turn the pipe as you tap it to make sure you don’t flatten one side.
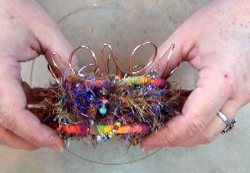
- I chose a bracelet to use as my frame. It was the right size and I love all the color. Before you choose, decide whether your chimes will hang outside or inside.
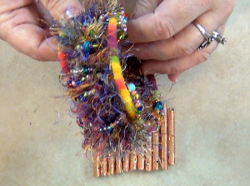
- I made a sort of skeleton out of 20 gauge wire with 11 loops to go inside the bottom of the bracelet. I used this to string up the chime pieces. This balances the profile of the chimes. In other words, the bracelet will be the widest part. I used 24 gauge to “sew” the wire piece into the bracelet.
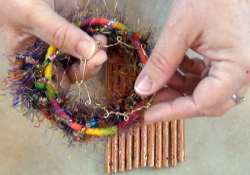
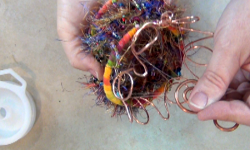
- I had a pieces of electrical wire that I’d been shaping for something else and decided to use it like a crown for the chimes. I used the 24 gauge wire to attach this as well.
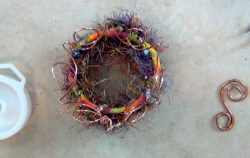
- I made this curly que to use as my hanger. Think outside the box when you’re looking for parts!
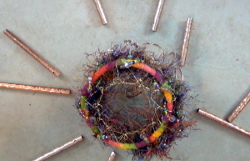
- I used one long piece of filament to string the top to the hanger. I started with one end tied to the hanger and wove the filament in and around the top, looping on the hanger between each “stitch”. Tie the other end of the filament to the hanger. You can make adjustments easily by tugging here and there.
- The chime pieces should be strung the same way – with one long piece of filament – but it will be easiest if you hang the frame up to work with it. Tie of the string and tug the chimes to adjust the pieces.
For a comprehensive video tutorial of this project, check out How to Make Your Own Chimes.
Read NextCraft Outside: 84 DIY Garden Ideas