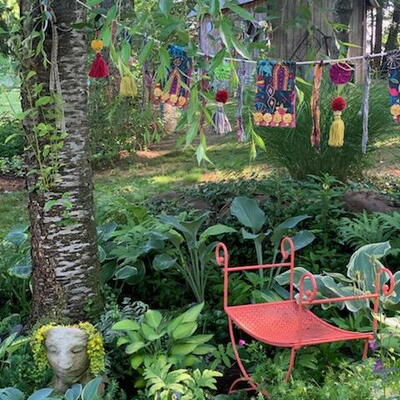
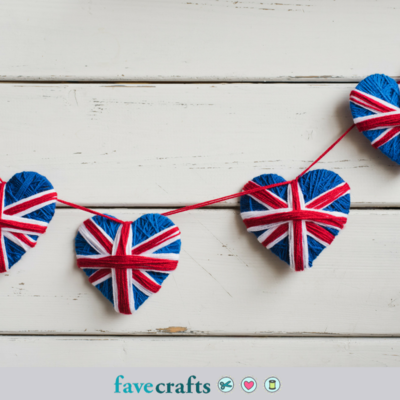
Union Jack Yarn Heart Garland
Planning a Royal Wedding viewing to celebrate Harry and Meghan? This adorable DIY heart garland is easy and fun!

As Lorde once said, "and we'll never be royals"; but we can sure party like them with the sweetest Union Jack Yarn Heart Garland. Help commemorate the upcoming coronation of Charles III and his wife, Camilla, as king and queen of the United Kingdom and the other Commonwealth realms. If you're having a party or simply want to add a bit of pizzazz to your home or work area, you are going to love these yarn crafts.
It's a simple project that uses scrap or recycled materials. It's easy enough for kids but a fun craft for adults as well. You can even turn each yarn heart into an ornament instead of garland if you prefer. There are actually several different uses for this easy-peasy craft project.
The Union flag pattern lends itself well to the shape of a heart, however, you could easily choose other colors or one color of yarn for occasions other than royal weddings, especially as an even easier yarn craft for kids.
PLUS! These Union Jack Cupcakes on RecipeLion are the perfect complement to this garland. Check them out and get decorating!
Estimated CostUnder $10
Time to CompleteUnder an hour
MaterialsRecycled Materials, Yarn
Primary TechniqueGeneral Crafts

Project TypeMake a Project
Materials List
- Red, white, and blue yarn (light, medium, or bulky weight)
- Cardboard
- Scissors
- Heart template
- Pen or pencil
- Tape (optional)
- Yarn needle
Union Jack Yarn Heart Garland
Click any image to enlarge.
Plus, check out the live video walk-through that we made on FaveCraft's Facebook:
How to Make the Yarn Hearts:
This tutorial explains how to make one Union Jack yarn heart. Repeat the process to make more. After this, you will learn how to turn them into a DIY garland.
Note: Although both sides of the heart should be able to be shown, try to keep all knots on one side of the heart. Then the other side is perfectly clean and can be the focal side.
-
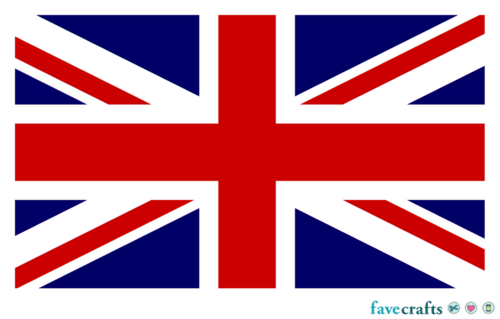
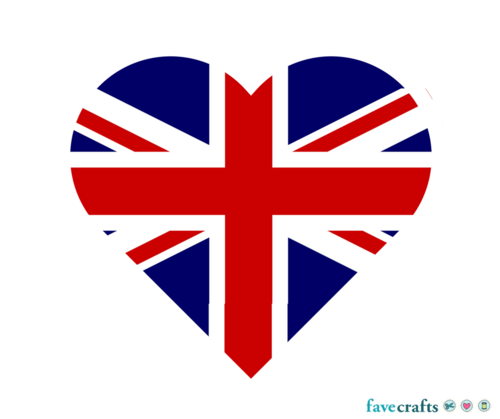
First, take a look at the Union Jack and what a Union Jack heart would look like to prepare. As you can see, the pattern is simple but does take some care to recreate. The "X" is behind the "+". The white also has to be added before the red for each. When it becomes the heart, you aren't seeing much blue between the X and + but there is a bit. The + is also thicker than the X.
There is no need to get it exactly right but these are small differences that help you get it more precise. -
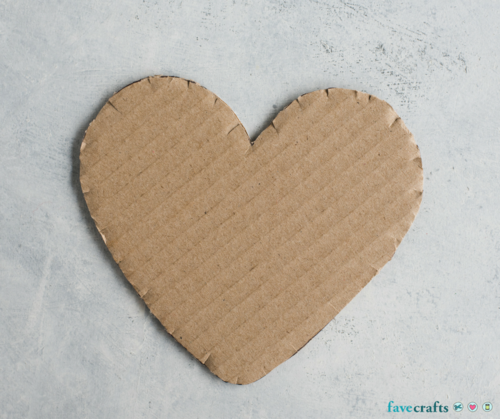
With a pen or pencil, outline a heart (use our template, a cookie cutter, or draw one freehand) onto a piece of cardboard. Cut out the heart.
Note: If you are comfortable, you can skip the drawing part and cut out the cardboard hearts without a template. -
Optional: Use the scissors to cut out tiny snips around the edge of the heart. This will help the yarn wrapping process.
-
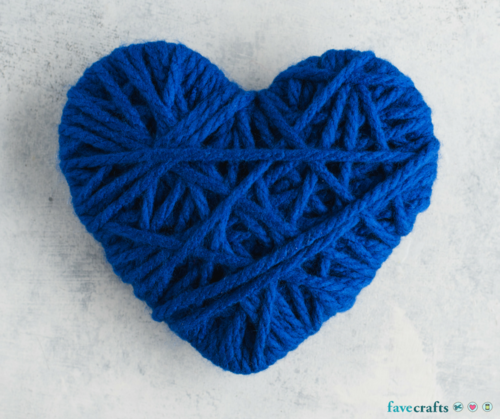
With the blue yarn, wrap the cardboard heart. Keep it tight and move diagonally to help the yarn stay in place. You don't have to cover every single piece of the cardboard since a lot of it will be covered in later steps, but get a good layer or two of blue.
Once it is to your satisfaction, cut the tail and loop it around one or two of the yarn pieces wrapped around the heart. Add a small knot to secure.
Tip: For more stability at the beginning, you can tape the end of the yarn onto the "back" of the cardboard heart. This is beneficial for children. -
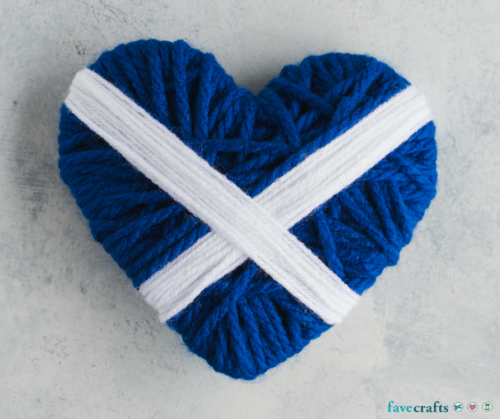
With the white yarn, create a diagonal cross or "X" shape across the heart. You will want to wrap the yarn around tightly several times so that there is no blue coming through the white. Start with the right side and then do the left side.
Once each section is to your satisfaction, cut the tail and loop it around one or two of the white yarn pieces. Add a small knot to secure. -
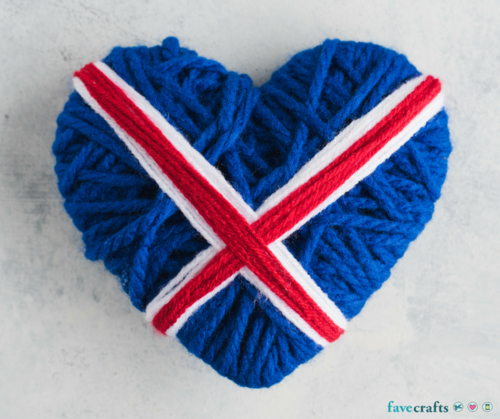
With the red yarn, create a diagonal cross or "X" shape over the white "X" across the heart. You will want to wrap the yarn around a few times, leaving white on either side of the red. Start with the right side and then do the left side.
Once each section is to your satisfaction, cut the tail and loop it around one or two of the white yarn pieces. Add a small knot to secure. -
With the white yarn, create a cross or "+" shape around the heart. You will want to wrap the yarn around tightly several times so that there is no blue coming through the white. Start horizontal and then do the vertical.
Once each section is to your satisfaction, cut the tail and loop it around one or two of the white yarn pieces. Add a small knot to secure. -
With the red yarn, create a cross or "+" shape around the white "+" on the heart. You will want to wrap the yarn around several times so that there is no white coming through. Start horizontal and then do the vertical.
Once each section is to your satisfaction, cut the tail and loop it around one or two of the white yarn pieces. Add a small knot to secure.
Your Union Jack yarn heart is complete! Repeat Steps 2-8 for create more hearts.
See the next section to learn how to make these into a garland.

How to Make the Yarn Heart Garland:
This tutorial explains how to turn your yarn hearts into garland that can be hung on a wall, attached hanging from a table, or even splayed across a table.
-
Cut a long length of yarn (or another string-like material). This tutorial used a doubled-up length of red sport-weight yarn.
-
Thread the tail of the yarn for your garland through the yarn needle. Then feed the needle through the yarn in the dip at the top of the heart. You add more stability by looping the needle through again.
-
Repeat this process for each of the hearts, with the desired space in between each one. Hang by tacking or tying the ends.

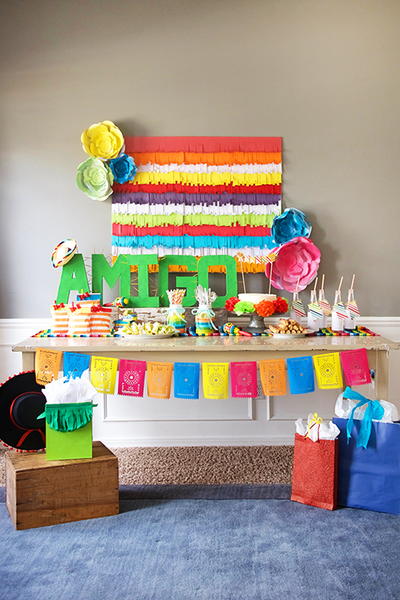
Read NextCinco De Mayo Celebration Crafts
Your Recently Viewed Projects
Thanks for your comment. Don't forget to share!
princess6860504
May 14, 2018
Heck! I won't even wait to use these only for the Royal Wedding... this is the kind of thing that I like year round, all the time! I think I am part English inside -) I have a friend whom this would be perfect for. I like making things for my friends because I cannot keep EVERY SINGLE thing I make for myself, you know? You can take this concept and create smaller hearts for a pendant necklace or for a keychain .
Report Inappropriate Comment
Are you sure you would like to report this comment? It will be flagged for our moderators to take action.
Thank you for taking the time to improve the content on our site.