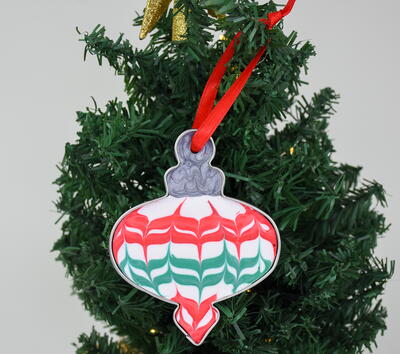
Liquid Sculpey Ornament

This Liquid Sculpey Liquid Ornament is the perfect project for beginners to work on. Using different clays and tools, you can make this gorgeous Christmas ornament. Add a ribbon for the finishing touch and gift it to all your friends.

Materials List
-
CLAYS:
Liquid Sculpey® 1 oz. White - 1 Bottle
Liquid Sculpey® 1 oz. Silver - 1 Bottle
Scraps of clay - this can be any kind of oven bake clay that you may already have. This clay will be wasted in the process.
-
TOOLS:
Sculpey ToolsTM Clay Blades
Sculpey ToolsTM Clay Tool Starter Set
-
ADDITIONAL SUPPLIES:
Paper towel
Ornament shaped cookie cutter
Glass baking surface
Alcohol ink in red and green
Silicone baking cups
Dremel drill or spring powered hole punch or leather hole punch and hammer
12” coordinating ribbon
Liquid Bakeable Medium:
Please make sure your work area is covered and you are not working on an unprotected surface. We recommend working on the Sculpey® Oven Safe Work Mat, wax paper, metal baking sheet, or disposable foil. Uncured Liquid Bakable Medium may damage unprotected furniture or finished surfaces. Be sure to cover your crafting area appropriately.
Baking:
- It is important to use an oven thermometer when you bake the liquids so that you can ensure your oven is at the correct temperature.
- Do not microwave the liquids. They must be baked in a preheated oven at 275 ºF (149 ºC) for liquid colors and 300 ºF (163 ºC) for Clear. Do not exceed baking temperatures.
- If you are using the liquids as a glaze or in thin pieces less than ¼”, bake for 15 minutes. For thicker pieces that are ¼” or above, bake for 30 minutes.
- If you are baking on a ceramic tile, then you will also need to bake at 30 minutes since it will take longer for the tile to heat up. This will ensure the proper fusing of the liquid material.
- When baking these liquids you may experience some vapors or a slight odor. This is not harmful and will not affect your creation.
- If your liquid project has become yellowed or discolored in the oven, when you remake it, tent it by placing either folding an index card in half and placing your project under it; or by using aluminum foil over your project.
-
Getting Started:
Gently stir the bottle of liquid bakeable medium. Thin with Sculpey® Liquid Clay Softener as needed. Wash hands after use (we have found that baby wipes work best).
-
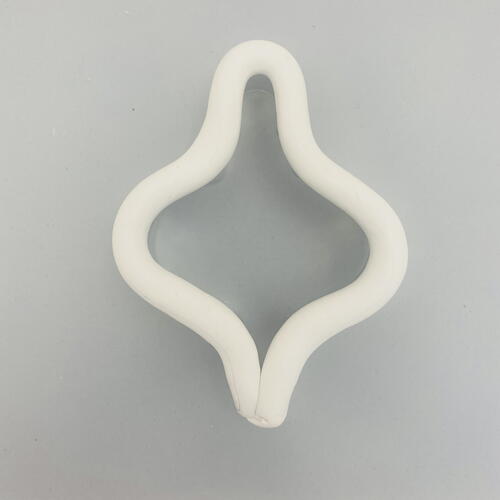
Roll a thick rope of scrap clay long enough to go around the entire perimeter of your ornament cutter. In the photo, my scrap clay is white. Press the rope of clay lightly onto the cutting edge of the cutter.
-
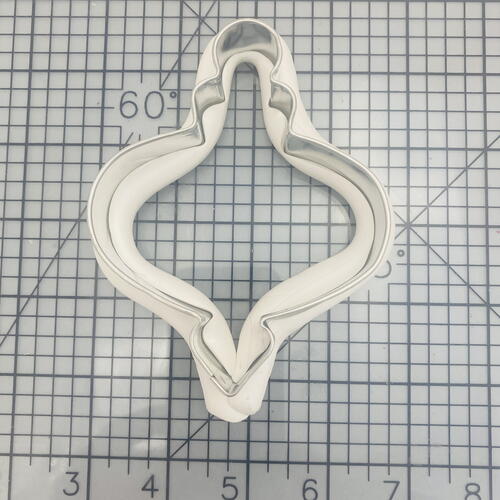
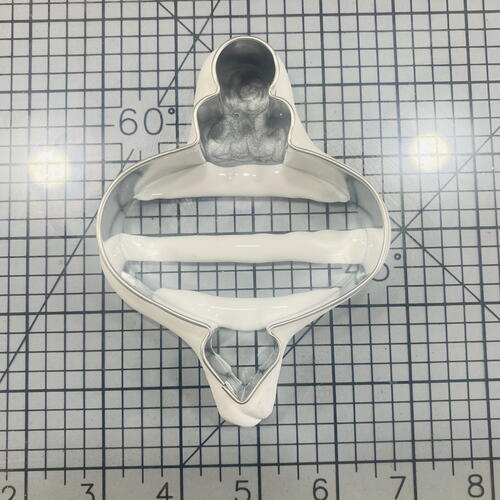
Press the cutter with the clay edge down onto a glass baking surface allow the metal cutting edge to cut through the clay to the glass. My glass just happens to have a grid on it, however, this grid is not necessary. We just want the clay to create a dam between the metal cutter and the glass.
-
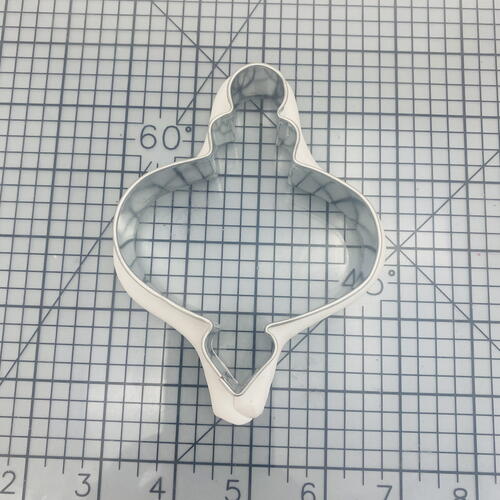
Remove the scrap clay that is on the interior of the cutter, but leave the clay on the outside in place. The outside clay will keep the Liquid Sculpey® from oozing out under the metal cutter. Double check that the outside clay is sealing any space between the metal cutter and the glass.
-
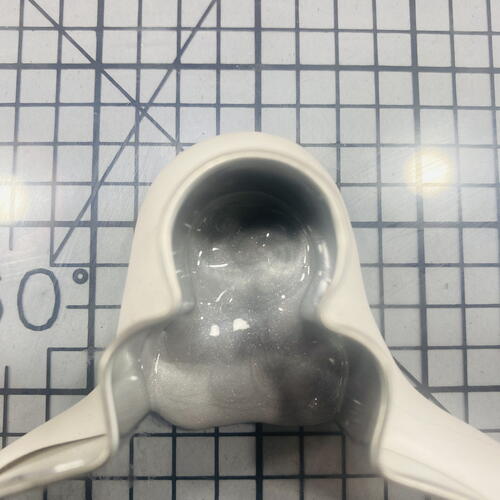
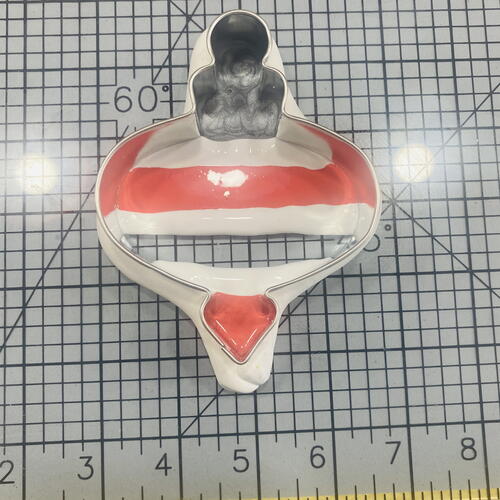
Squirt Silver Liquid Sculpey® (LS) into just the area that represents the hanger. Bake to set the Silver LS in place so that it does not get mixed in with the more colorful LS.
-
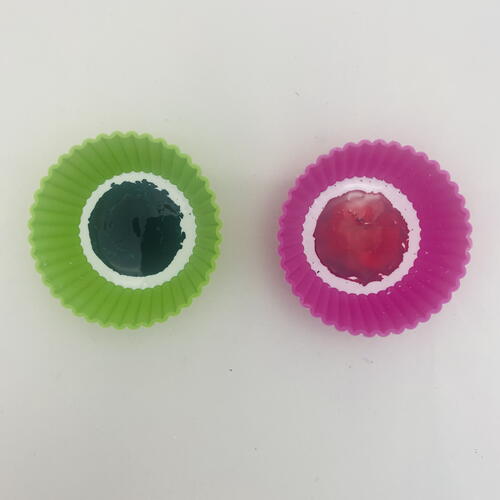
While the ornament is in the oven you can work on tinting White LS to red and green. In two small silicone baking cups, squirt White LS in the bottom. In one of the cups add 2-3 drops of green alcohol ink. In the other cup add 2-3 drops of red alcohol ink.
-
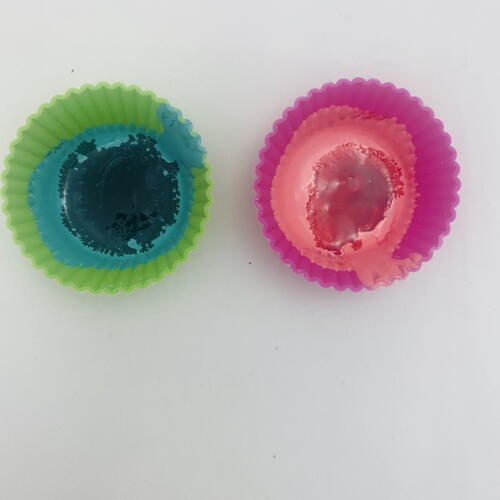
Stir well with one of the tools from the Clay Tool Starter Set. Check the colors. We want them to be true green and true red, so more ink may be needed. Add more ink, stirring completely between additions.
-
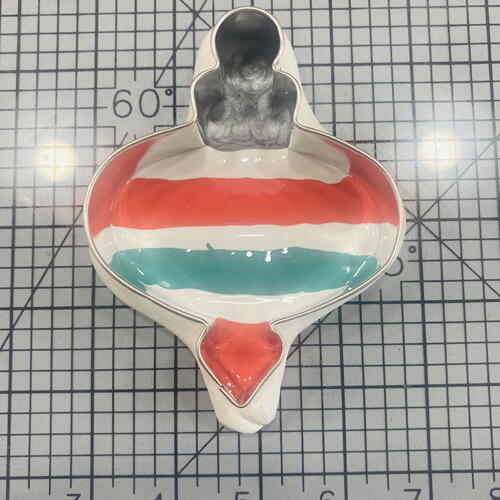
When the ornament and the glass are completely cool, it is time to add the decorative design to the ornament. Start by placing stripes of White LS horizontally across the ornament.
-
Add Red tinted LS next between lines of White LS.
-
Add Green tinted LS next.
-
If the bands of Red and Green are fairly wide, you can add more White LS over the top to divide the color bands into stripes.
-
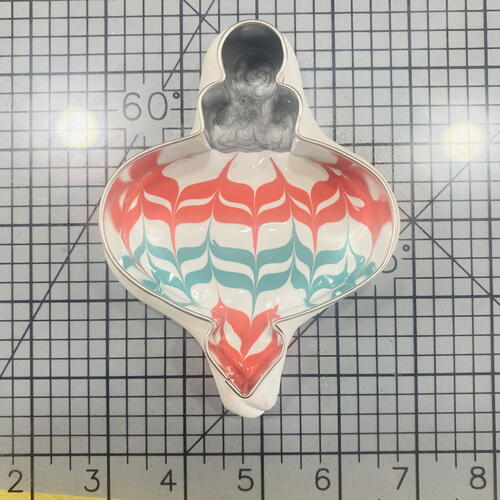
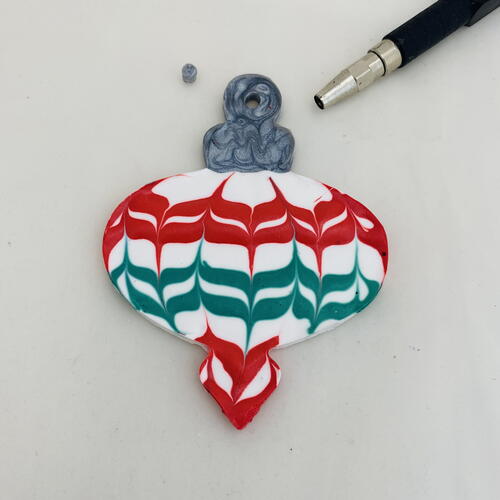
Starting from the top center, dip the Needle Tool into the LS and drag it down through the stripes without picking up the Needle.
-
Lift the Needle Tool out and wipe with paper towel. Then dip again next to the first drag and going in the opposite direction, from bottom to top, dragging the colors the opposite way. Continue dragging in opposite directions working from the center outward to create a cool marbled effect all the way across the ornament.
Bake the ornament again following the baking instructions. -
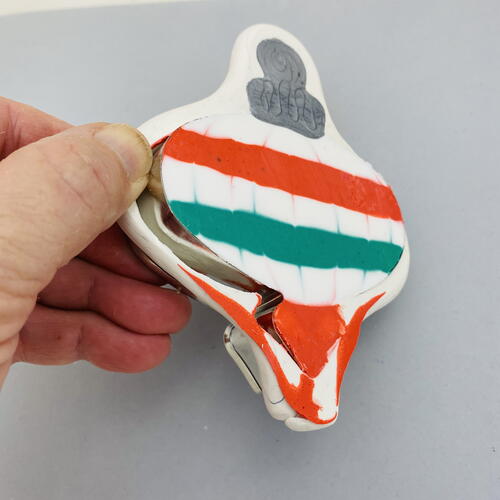
When the ornament is completely cool, carefully lift it from the glass and remove the outside edge of scrap clay.
-
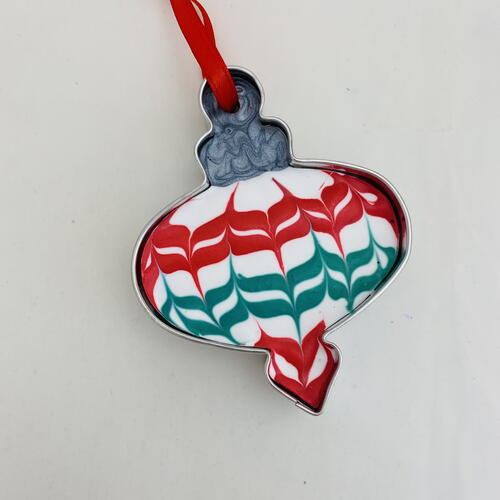
Carefully remove the LS ornament from the metal cutter. Use a hole punch and hammer, or a spring punch, or a Dremel tool to drill a hole in the top.
-
Replace the LS ornament back into the metal cutter and add a ribbon for hanging on the tree.


Read NextCinco De Mayo Celebration Crafts