Easy Silhouette Portrait
Great for giving as a gift for Mother's Day or Father's Day, this Easy Silhouette Portrait is a sweet and simple way to show off your family. Easy to make and decorate with, these beautiful silhouettes are great for crafters of all ages. They would make a lovely and meaningful gift for a newly married couple, as well as a fun way to show off how your children have grown throughout the years. With a few simple materials, you can easily create these lovely silhouettes to help decorate any room in your home.
Materials:
- Fingertip Swivel Detail Knife
- Micro-Tip® Scissors (No. 5)
- Queen Bee Mother's Day Brunch
- Photo of subject in profile
- Marker
- Contact paper
- Notebooks
- Freezer paper
- Fabric paint
- Fabric scrap
- Frame
Instructions:
- I took some photos of my children in profile (which, as anyone with children knows, can be harder than it sounds) and after selecting the best and re-seizing them to fit my notepads, I printed them out onto paper. Since I would be cutting this photo up, I printed in black and white on a draft setting.
- After drawing around the profile with a marker to get a nice clean cutting line to follow, I took my MicroTip Scissors No. 5 and carefully cut around the shape following the pen lines. I recommend accentuating the eye lashes and a few tufts of hair for a cute artistic effect.
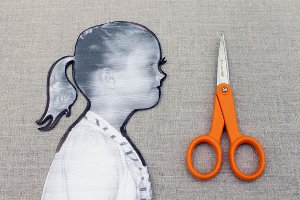
- Next, I placed my cut out onto the front of a sheet of adhesive backed vinyl and drew around it, before cutting it out. I found I got cleaner lines when cutting on the front of the adhesive backed paper, inside the pencil lines. Depending on the paper you use, you may want to do the cutting on the back.
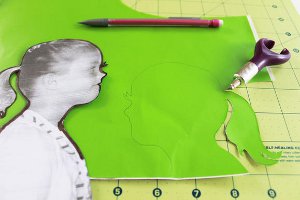
- To cut the paper, I found that my small scissors worked great on the straighter lines, but my Fingertip Swivel Detail Knife worked excellently to get into the smaller places and work on the finer details of the portrait.
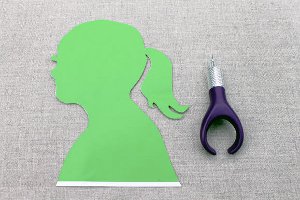
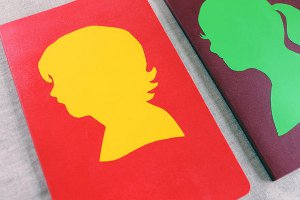
- Once I was happy with the cut out, I simply peeled off the backing paper and stuck it to the cover of my notebook. I really like the bright, contemporary look of these colorful portraits, but for a more traditional look, you can use black.
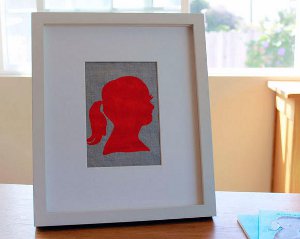
- To make the framed portrait, I used my photo to make a stencil on the paper side of a piece of freezer paper and cut it out carefully with my craft knife.
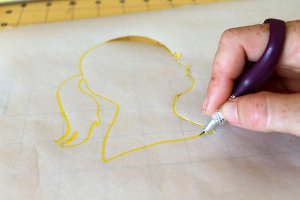
- Next, I ironed the freezer paper stencil to a piece of linen with a hot dry iron. The freezer paper’s waxy side will stick to the fabric.
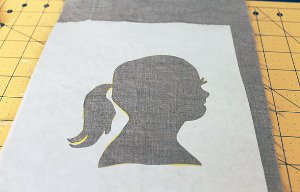
- I now had a template applied to the fabric so that I could use fabric paint to paint in the design. Do not remove the template before the paint has completely dried.
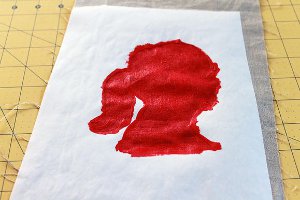
- Once fully dry, peel back the freezer paper and mount the portrait in a suitable frame.


