This project was submitted by one of our readers, just like you.
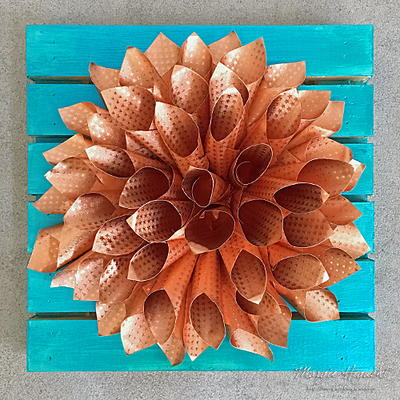
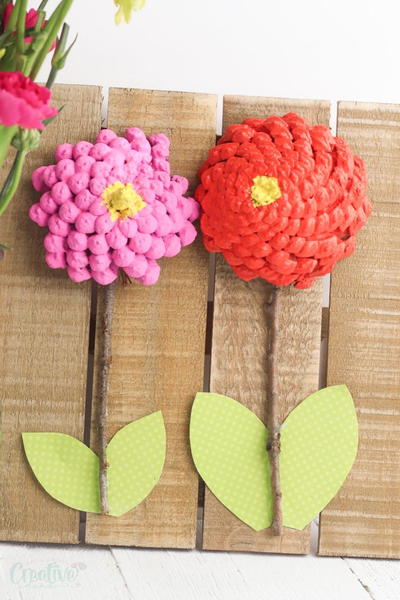
Dahlia Wall Art

Dahlia Wall Art
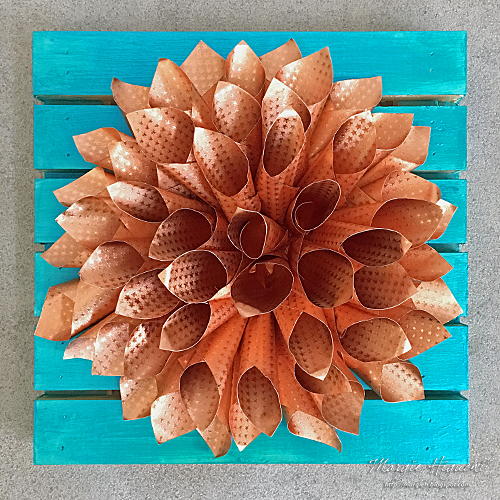
From the Designer: "Create a stunning wall art piece by just rolling beautiful Rinea foil papers in a circular layered pattern to create a dimensional floral centerpiece. To highlight the copper tone in the paper, a wooden palette was painted in an aqua color. This paint is unique as it gives off a brilliant metallic luster of colors as the light changes! Thus, its name Color Shift by Plaid. Make this wall art for any room in the house by following the tutorial!"
Time to CompleteIn an evening
Primary TechniqueGeneral Crafts

Project TypeMake a Project
Materials List
- Rinea: Copper Starstruck (Crafter's Pack of 12 6 x 12-inch sheets)
- Plaid®: Plaid's FolkArt® Color Shift™ Paint (Aqua Shift)
- Plaid®: Apple Barrel Paint (White)
- Plaid®: Fantasy Paint Brush
- Spellbinders® Paper Arts: Grand Circles Nestabilities Etched Dies (Ret.)
- Scrapbook Adhesives by 3L®: Adhesive Dots Small
- Scrapbook Adhesives by 3L®: Adhesive Lines
- Scrapbook Adhesives by 3L®: Adhesive Dots Large
- Other: Ivory Cardstock; Wooden Palette
Instructions
Dahlia Blossom
-
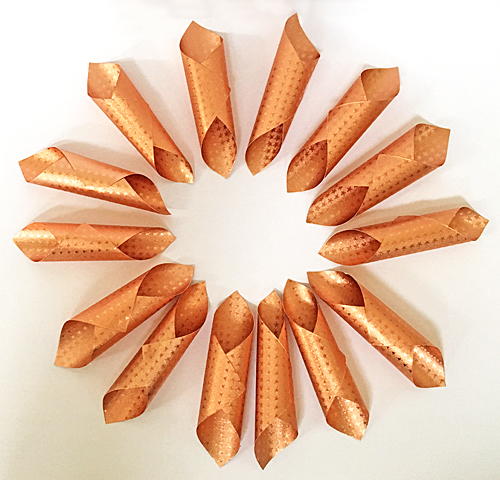
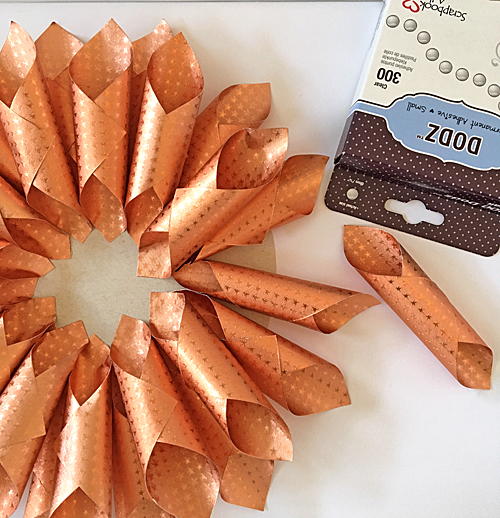
To create my petals, I needed to cut about 64 3-inch squares with Copper paper. With the 6 x 12-inch sheet, you can cut eight squares per sheet.
-
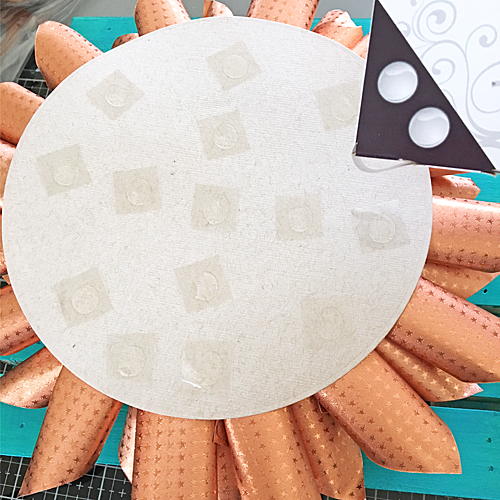
Next, I rolled each of the squares like a cannoli and secured the end with Adhesive Dots Small (see circled area).
-
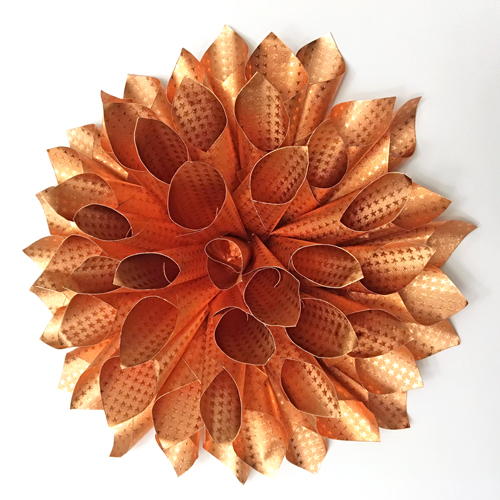
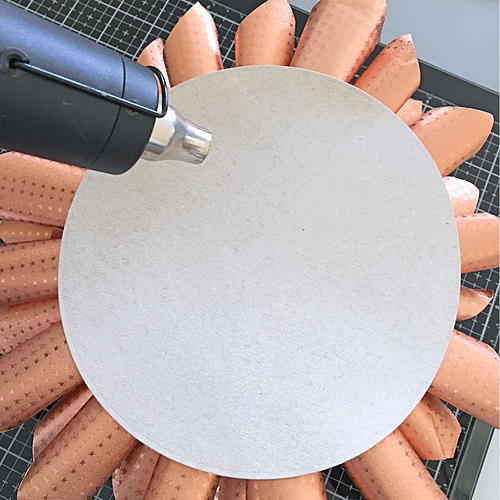
Die-cut a 7-inch circle out of cardstock (any color is fine since it won't show) and place petals in the desired configuration. Note: Think the circle as a clock face. Start placing the petals at the 12, 3, 6 and 9 o'clock position, and fill in with other petals in between. Adhere to each petal with an Adhesive Line on the back and place on the circle. Repeat until the first layer is complete.
-
For the second layer, place the petal between the petals on the first layer. Apply an Adhesive Dots Small on the bottom end of a petal to secure to the circle. Repeat until the second, third layers and so on until a full blossom is completed. Set aside.
Dahlia Base
-
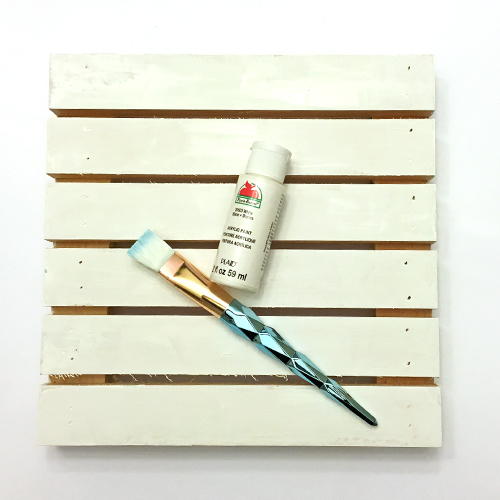
Instead of a canvas, I used a wooden palette to adhere my paper Dahlia for a little bit of interest. Using Apple Barrel acrylic paint in White, I brushed on two coats (make sure to dry between coats) to make a light base coat.
-
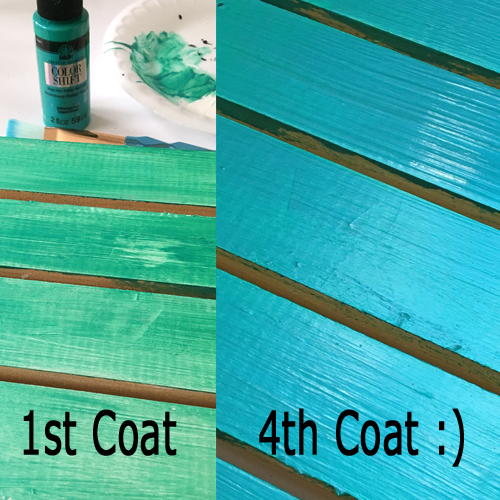
Then load the paint brush with Color Shift Acrylic Paint in Aqua Flash and covered the palette surface. LOVE the color!
Assemble the Wall Art
-
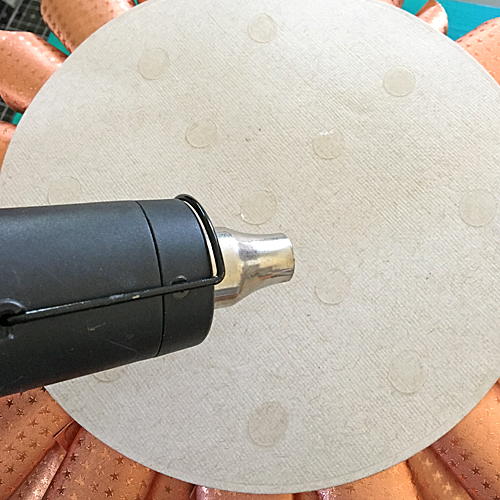
I hit the healing tool at the bottom of my flower base to warm the Adhesive Dots and used an end of a paint brush to push and secure the paper base for a secure hold. Then I placed Adhesive Dots Large to the bottom of the paper base, hit the heating tool again and adhered to the wooden palette.
-
Now it's ready to hang!

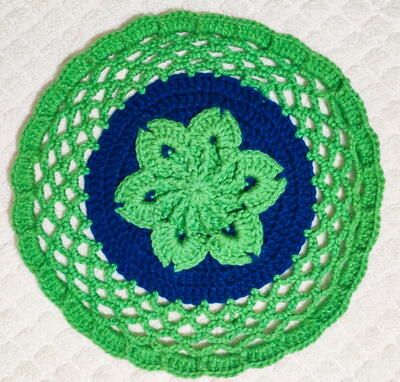
Read NextRound Crochet Flower Floor Rug