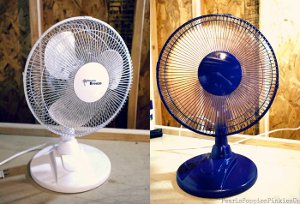
DIY Retro Fan
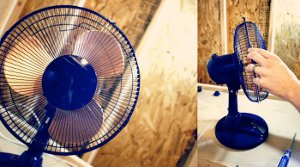
Turn one of those old white fans into a fabulous DIY Retro Fan in the color of your choice. With this awesome tutorial from Lauren Tien, you'll be able to create a fun accessory for your home that will help add a pop of color, style, and fun to any room in your house. Make sure you have plenty of room to work before starting this project. The more space you have to lay out your supplies, the better.
Materials:
- Plain white fan
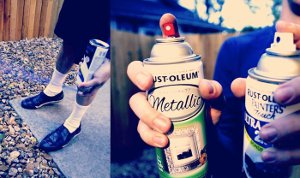
- 2 cans of spray paint
- Various tools to take fan apart
- Dry dusting rag
- Tape
- Plastic shopping bags
Instructions:
-
Use a dry dusting rag and/or a shop vac to clean the fan. Make sure all dust is removed, or else the paint will not have the right finish.
-
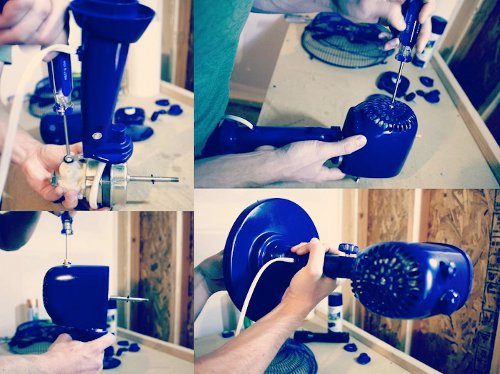
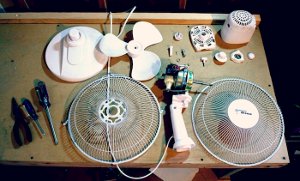
Disassemble the fan parts. Create an array of bits and pieces. Unscrew every last bit. This way your hardware and plastic parts are separated out, giving you the option to paint what you want how you want it (I left my screws and hardware in their metallic state, forgoing their first considered spray painted fate)
-
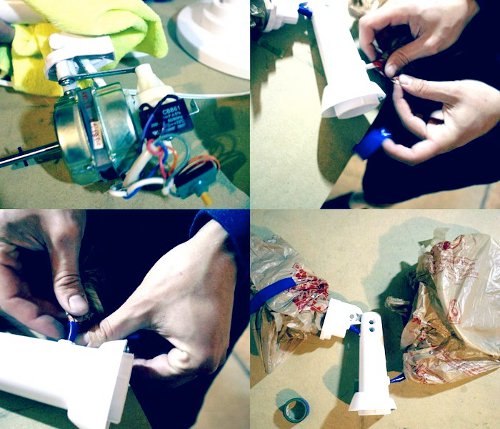
Using electrical tape and a plastic bag, cover the fan motor (to protect it!). Tape and cover the cord. Also be sure to cover any piece that is threaded (the parts that turn in place to keep the fan together. If paint gets on them, it could effect how they screw together in the end).
-
Lay the pieces out on your drop cloth.
-
Apply the first coat of spray paint. For a smooth application, hold the can of spray paint equal distance from the piece you are painting and move in a left to right, right to left fashion TIP: Be sure that the coat on the fan blade is not too too heavy. This is the piece that actually needs to be in motion, so the lighter the better.
-
Allow the coat to dry for a few hours or over night.
-
Rotate / Flip over the fan pieces and repeat the spray painting process on the opposite sides.
-
Allow the time to dry and check once more for touch up painting.
-
Take plastic bags and tape off protected pieces once everything is dry. TIP: To keep your paint cans from getting clogged and dried in the spraying tip in between paint applications, hold your can upside down and press the nozzle. Be sure to hold aiming away from you as paint will spew out. Keep holding down the nozzle until nothing more comes out. This will take care of any clogs and keep your spray paint nice, neat, and ready to go for next time.
-
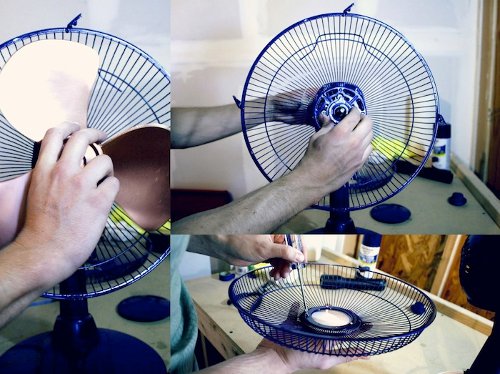
Putting the fan back together. If you were the one who took it apart, reassembling the fan shouldn't be too tricky. Simply use the same screw drivers and think of it like a puzzle. And get ready for your newly made over beauty!