Easy Stitch Felt Stocking
Get ready for Christmas with an easy sewing project that you can reuse every year. Follow this pattern to make a stocking that you can customize and hang in no time.

Materials:
- Yarn
- Craft needles
- 3D Paint
- Felt
-
Optional: Pins, chalk pen, or other erasable marker
Instructions:
-
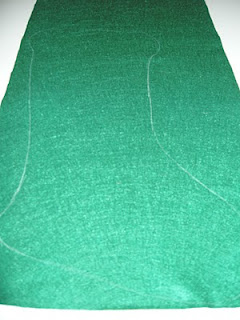
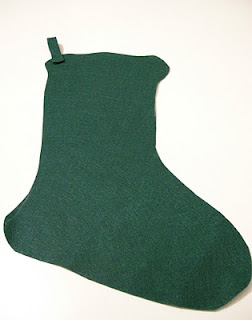
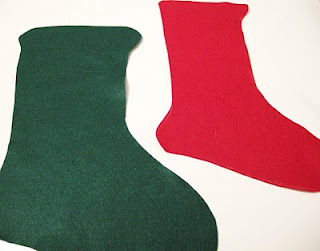
Decide which colour will be your front and which your back. Draw the outline of a stocking shape onto the piece of felt for your back. My felt pieces were .3 metres (12 inches) wide but you can make these any size you want. While you're at it you can cut a small rectangle for a hanger. None of these measurements are exact. Mine is about 1" X 6".
-
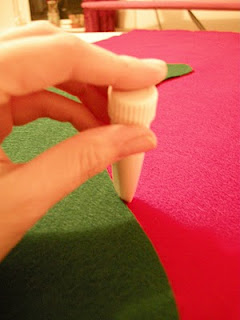
Place your backing felt on top of the piece you will use for the front of your stocking. Trace around the back. Now measure an inch in so that this piece will be slightly smaller. Cut out the front of your stocking.
-
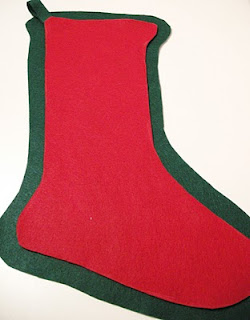
Stack your pieces with the front on top and the hanger in between in one corner.
-
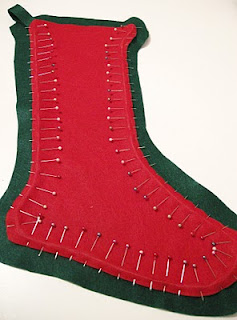
This next step isn't really necessary, especially if you're doing this with kids, but I didn't want to be known my whole life for wonky stitches so I measured everything out for a blanket stitch. I measured a half inch in from the edge and marked it with my chalk pen, and then I placed a pin in the felt every half inch so that I'd known where to place my stitches.
-
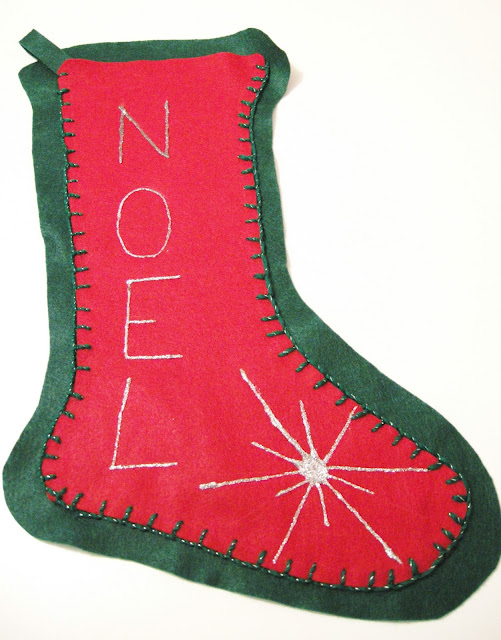
Now all that's left is to stitch it up with your yarn, (you'll need a needle with a big enough eye to fit the yarn though, a darning needle will usually work) and then decorate it with fabric paint. I used a nice glittery silver to pick up on the glittery green yarn I used.




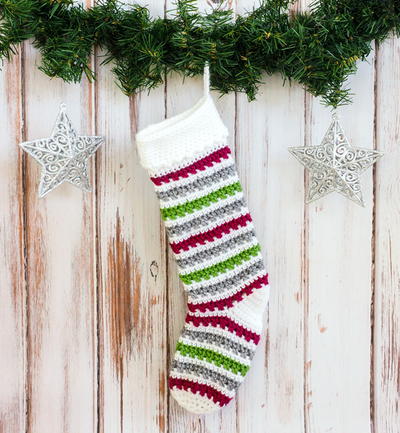
![Striped Christmas Stocking Pattern [Knit and Crochet Versions]](http://irepo.primecp.com/2019/08/421962/Striped-Stocking-Crochet_Large400_ID-3353163.jpg?v=3353163)


