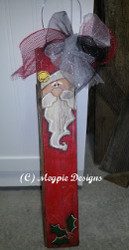
Wooden Santa Claus
Find out how to make a Santa Claus out of wood. This Wooden Santa Claus is an ingenious way to use up any old barn wood. Scan through these craft instructions to find out how far a little paint and sealer will take you. It's a lot easier than it looks and by the end you'll be thrilled to have a new Santa. This is one of those DIY projects which will give you a great decoration every Christmas.

Materials:
- Wood Plank
- Power Drill & 1/8" Drill Bit
- Baling Wire (12" length)
- Fabric Scraps or Tulle for bows
- Acrylic Paints: Flesh, Red, White, Black, Brown, Light Green, Dark Green, Metallic Gold
- Sponge Roller
- Paint Brush
- Pink Powder Blush
- Cotton Swabs
- Oil Based Wood Stain or sealer of choice
- Clean Rag (to apply stain)
- Sanding Block
- Tracing Paper (for pattern)
- Transfer Paper
- Stylus
Instructions:
-
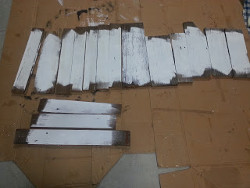
Squeeze some white acrylic paint onto a paper plate and use a sponge roller to apply several coats of paint to the planks. Don't paint all the way to the edges so that the barn wood can show through.
-
Drill two small holes in the top corners of each plank, so you can thread some wire through for hanging when finished.
-
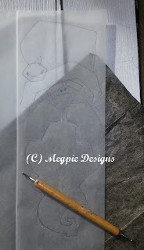
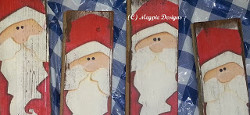
Make a pattern by sketching out a skinny Santa face onto a piece of tracing paper; and transfer the pattern to each plank using a stylus and transfer paper.
-
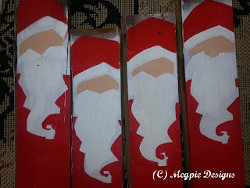
Paint the hats and suits with red acrylic paint, and the hat brims and beards with another coat of white paint. Paint the faces flesh tone.
-
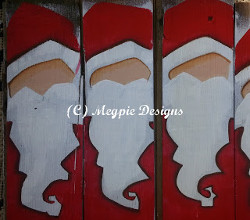
Next, shade around the beards with a chocolate brown paint, and I shade underneath the hat brims with a golden brown paint.
-
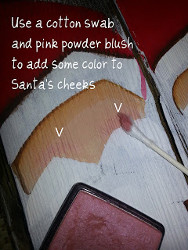
To give the cheeks a little color, use a cotton swab and pink powder blush.
-
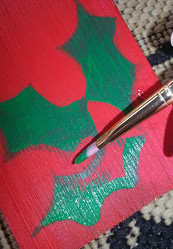
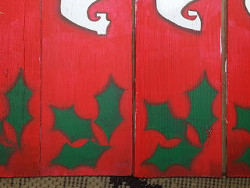
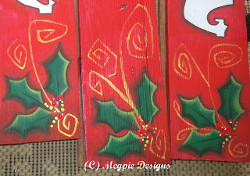
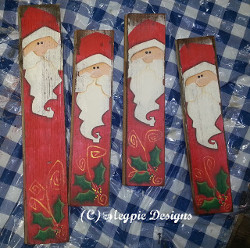
Next, paint three holly leaves onto the bottom of each Santa plank. The green paint over the red paint never really achieves opacity; but once you've shaded and highlighted each leaf, the blotchy base coat actually looks really good.
-
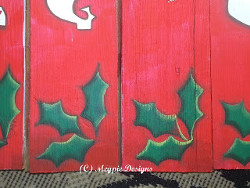
Shade around each holly leaf with chocolate brown paint.
-
Next, shade the lower and left sides of each leaf, and then highlight the top and right sides of each leaf with a lighter green paint.
-
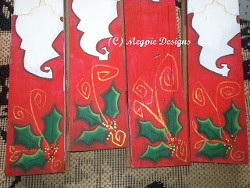
Use a liner brush and metallic gold paint to add swirly stems and curls. Add metallic gold and red dip dots.
-
Use a hand sander to remove some of the paint from each plank, then dot the eyes and highlight the tops of the noses. Shade under the mustaches.
-
Stain each piece with an oil based stain.
-
Add a jingle bell to the hat by painting a 1" flat wood circle with metallic gold paint, outlining with black paint and a thin liner brush, and then attach it to the hat with a 1/2" nail. Add some white outlines on the beard, the mustache, and the eyebrows. Thread some baling wire through the holes you drilled earlier, and curl the ends to secure the hanger.
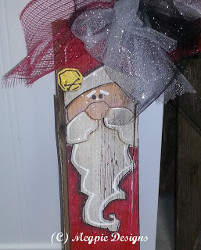
- Add a tulle bow.
Read NextVintage Christmas Mini Trees