This project was submitted by one of our readers, just like you.
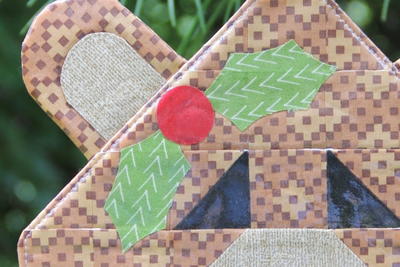
Woven Clay Check Mitten Ornament

"I love making handcrafted ornaments for the holidays! And you're going to love this woven clay check mitten ornament tutorial I'm sharing with you! It looks complicated but you won't believe how easy it is! I got the idea by combining the woven pie crust technique using strips of colorful clay to weave and a cookie cutter to make this awesome looking ornament! And the best part, you can use colorful clay to make just about any woven design including the trendy buffalo check pattern!"

Materials List
- Oven Bake Clay (Sculpey)
- Mitten shape cookie cutter
- Parchment paper
- Rolling Pin
- Pizza cutter
- Skewer stick
- Hanging ribbon
Instructions
-
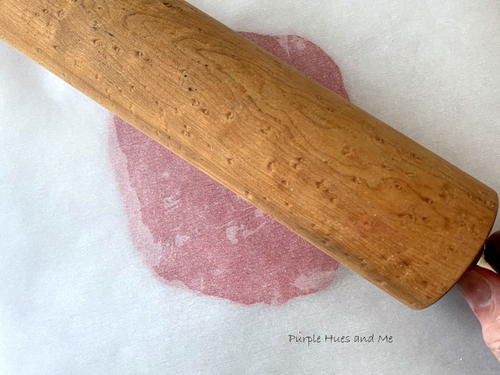
Lay a sheet of parchment paper on your work surface and knead the clay to get it soft. Do the colors separately and use separate sheets of parchment paper, too, for each color. The color clay bleeds. After kneading clay, lay another sheet of parchment paper on top.
-
Roll out the clay using a rolling pin into the largest piece possible.
-
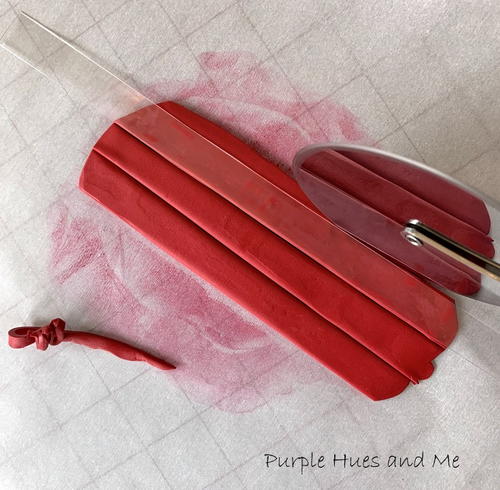
Using a pizza cutter, begin cutting 1/2" strips.
-
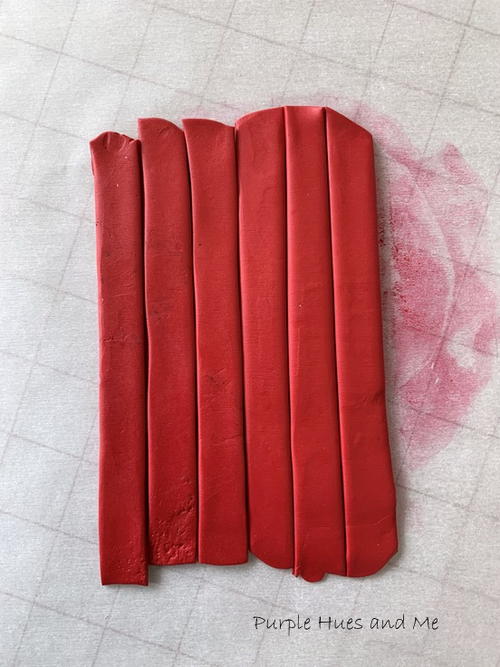
You can only get so many strip from 1.7 ounces of clay - six to be exact. Group the same color strips together. The pieces should be large enough when grouped together to accommodate the mitten cookie cutter.
-
To weave the strips: Starting with the green strips, lift every other strip and fold it gently back.
-
Place a strip of red horizontal across the green flat strips, then bring the folded strips back down.
-
Do the same thing for the next row, alternating strips, lifting every other strip and folding them gently back, and then placing a strip down over the flat strips.
-
Continue following the same steps for each row folding the strips back repeating the pattern of laying a strip down horizontal until all the strips are woven together.
-
Then lay parchment paper on top and gently roll the strips with a rolling pin to make the weave tighter.
-
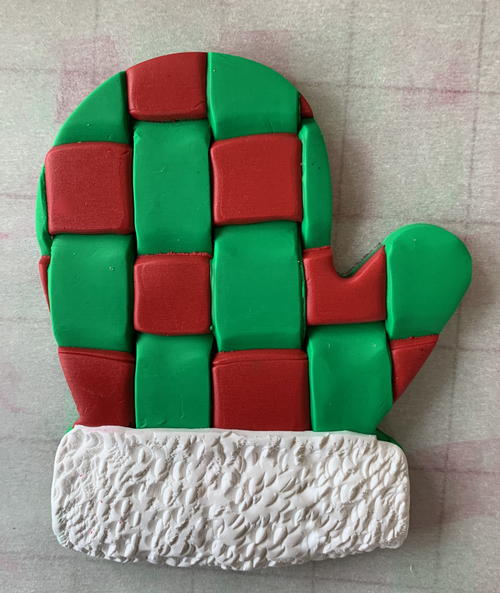
Next, place the mitten cookie cutter down on the woven clay and cut out the mitten, removing the excess clay from around the cookie cutter.
-
Then, roll out a small section of white clay and use just the cuff of the cooke cutter to cut out and place on the bottom of the clay mitten. Press down to seal the pieces together.
-
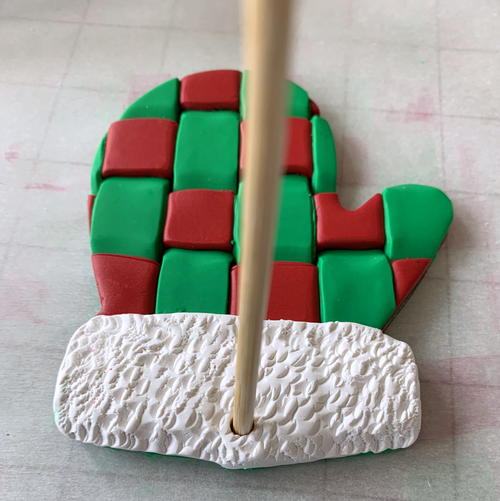
Use the flat end of a skewer stick to fluff up the white clay to mimic a fur cuff.
-
And finally, use the skewer stick to make a hole in the middle of the cuff for hanging.
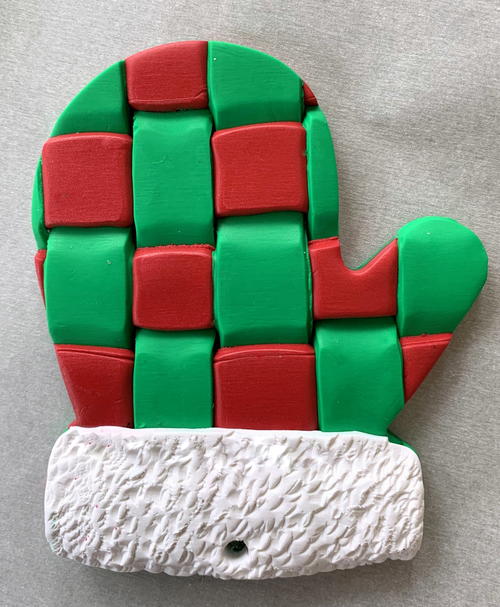
NotesThe woven clay check mitten ornament is perfect for your Christmas tree or adorning a present!
Celebrate With More Christmas Craft Ideas
If you loved creating the Woven Clay Check Mitten Ornament, here are three more Christmas craft ideas that you might enjoy:
1. Clay Snowflake Ornaments: Use white and blue clay to create beautiful snowflake ornaments. Roll out the clay, cut out snowflake shapes, and add intricate designs using toothpicks or other tools. Once baked and cooled, add a ribbon for hanging on the tree.
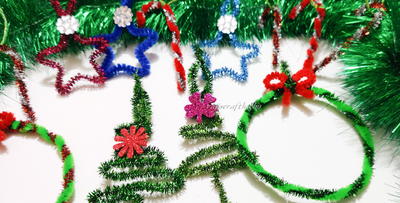
2. String Art Christmas Trees: Create a modern and stylish Christmas decoration by making string art Christmas trees. Hammer nails into a wooden board in the shape of a tree, then wrap green string around the nails to create the outline of the tree. Add colorful beads or buttons as ornaments for a festive touch.
3. Felt Gingerbread Men Garland: Cut out gingerbread man shapes from brown felt, then decorate them with colorful buttons, beads, and embroidery floss. Attach the gingerbread men to a string or ribbon to create a charming garland that can be hung on the mantel or staircase.
These crafts are all fun and creative ways to add a handmade touch to your holiday decorations. Have fun crafting!

Read NextChristmas Star Mug Rug