Sensational DIY Advent Calendar
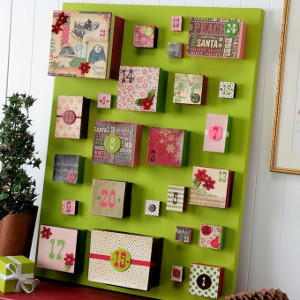
Recently, DIY advent calendars have become extremely popular. If you don't own one, you should consider making this Sensational DIY Advent Calendar and start a new tradition in your home. This cool calendar can be painted, decoupaged, or however you feel like decorating it. Keep track of the days until Christmas with this fun advent calendar idea. Once you see how this looks in your home, you won't be able to take your eyes off of it. Gather your kids around this Sensational DIY Advent Calendar for a season to remember.
Primary TechniqueGeneral Crafts

SeasonWinter
Materials:
- Large canvas – 30″ x 40″
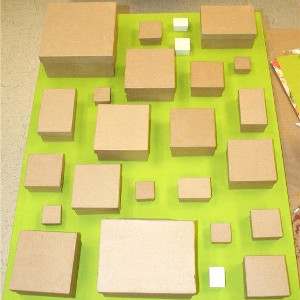
- Paper mache boxes – 25 in various sizes, mine are from AC Moore. They come in some great sets!
- Mod Podge Gloss
- FolkArt Acrylic Paint – Asphaltum, Grass Green, Pink, Red Velvet, Yellow Citron
- Scrapbook paper – Making Memories Noel Collection, enough to cover all of your boxes
- Cardstock – Bazzill Basics in coordinating colors
- Sizzix eclips machine with the Tween and Look At Me cartridge (to cut your numbers, or buy the numbers pre-cut/as stickers)
- Prima poinsettias
- Wood or chipboard circles – various sizes
- Rhinestones – red and brown
- Buttons – pink and brown
- Paintbrushes – multiple sizes
- Craft glue
- Hot glue gun
- Craft knife and mat
- Ruler
- Pencil
- Mini sticky notes (optional)
Instructions:
- Take your FolkArt paint and create a wash. To do this, pour some paint into a bowl and add water until it’s soupy. Paint the entire canvas with several coats. If you do this, you’ll only have to use two bottles of paint rather than ten. Allow the canvas to dry.
- Lay your canvas onto a table and spread out your 25 boxes. At this point you need to decide the layout and then take a picture of it so that you can remember where each box goes.
- Lay out your papers on top of the boxes, cutting small pieces for the smaller boxes. Arrange the papers so that no two that are alike are right next to each other. Remember that the smaller boxes only use small pieces, so you can use scraps for those.
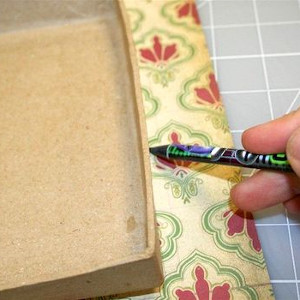
- For each piece of paper, lay the corresponding lid down onto the back side and trace with a pencil. Do one lid at a time.
- Use your ruler and craft knife to cut each sheet of paper to fit the lid. Work through all 25 boxes and then clean up your big paper mess. Or, don’t clean up until paper is everywhere and it takes twice as long to clean up.
- Decide what color you are going to paint each box. This is where the mini sticky notes come in handy.Write down the color for each box on a sticky note, place it on top and then check to make sure you don't have all the pink boxes right next to each other. Make a few adjustments on color choices after you lay the whole thing out.
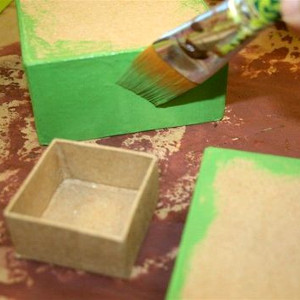
- Once you’ve made your decisions, paint the boxes. You don’t have to paint the entire tops of the lids, but you should paint the inside so that it’s pretty when you open it. Paint all of the boxes and allow to dry.
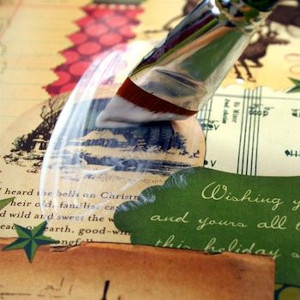
- Decoupage the papers down to the tops of the boxes. Work one box at a time. Spread a medium layer of Mod Podge on the top of the box and then smooth down the paper thoroughly. A brayer helps a lot in this situation. Wipe away any Mod Podge that comes out the sides of the paper with your brush. Allow to dry for 15 – 20 minutes.
- Mod Podge the lids of ALL of the boxes on top of the paper, then decoupage the boxes themselves.
- Paint your wood or chipboard circles with your coordinating paint colors. It gives the boxes some interest and texture, and also provides a place to put the numbers on some of the boxes with busier patterns. Allow your circles to dry and then Mod Podge them.
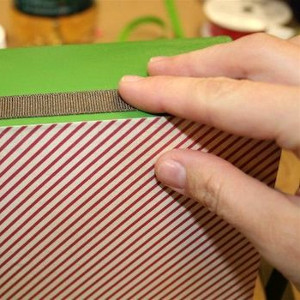
- Use your craft glue to add ribbon to some of the boxes. Again, you are adding interest. Not all of the boxes need ribbon, just some of them. Add ribbon across the tops of a few lids as well. Allow the ribbon to dry.
- Again, the mini sticky notes will come in handy if you want to tag your boxes with the color of cardstock you are going to use AND the number. Then you can make sure your colors and numbers are spread out evenly.
- Place a bit of Mod Podge on the center of each box (or wherever you are placing the numbers) and lay the numbers down. Mod Podge over the top and allow to dry. You can get creative with your placement.
- You are about to get serious with some hot glue. If you have a hard time remembering where the boxes go, remember that you took a photo at the very beginning of this project, so that should help.
- Some of the boxes deserve some floral embellishments. That’s where the craft glue and Prima flowers come in.
- Add rhinestones and buttons where desired with your craft glue and let the entire calendar dry.
- You can really have fun with where you put this advent calendar, and with all of the things you can put in it. That’s why some of the boxes are big and some are small. Candy can go into the smaller boxes and fun gift items into the larger boxes. #25 is the biggest box for that reason! Happy Holidays!
Celebrate With More Christmas Craft Ideas
If you enjoyed making the Sensational DIY Advent Calendar, there are plenty of other Christmas crafts you can try your hand at to keep the holiday spirit alive in your home. Here are three festive craft ideas to get you started:
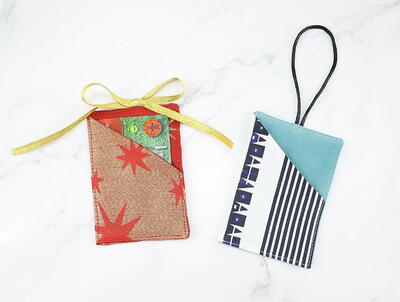
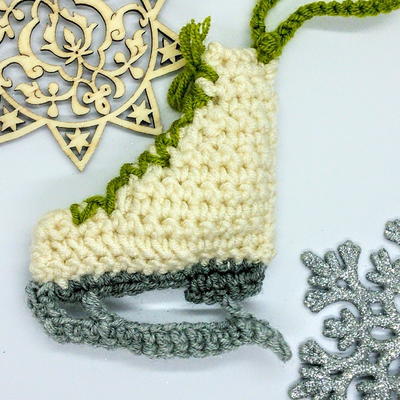
1. DIY Christmas Ornaments: Create your own personalized ornaments to decorate your tree or give as gifts to friends and family. You can use a variety of materials such as clay, felt, or even recycled materials to make unique and one-of-a-kind ornaments. Get creative with colors, shapes, and designs to truly make them your own.
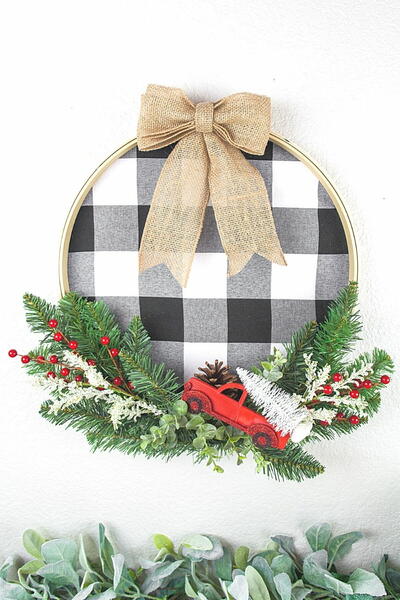
2. Holiday Wreath Making: Add a festive touch to your front door with a beautiful handmade wreath. You can use a variety of materials such as pine cones, berries, ribbons, and even mini ornaments to create a stunning wreath. Get the whole family involved by making it a fun and festive DIY activity.
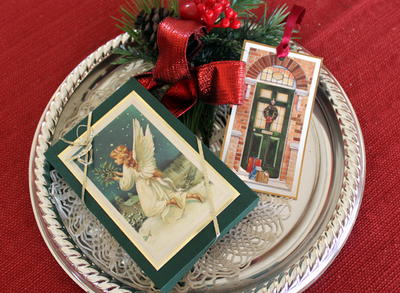
3. Handmade Christmas Cards: Show your loved ones you care with handmade Christmas cards that are sure to bring a smile to their faces. Get creative with different card-making techniques such as stamping, embossing, or collage to create unique and personalized cards. You can even add a special touch by including a heartfelt message or a family photo inside.
These Christmas crafts are perfect for those who enjoyed making the Sensational DIY Advent Calendar and are looking for more creative ways to celebrate the holiday season. Have fun crafting and spreading holiday cheer!
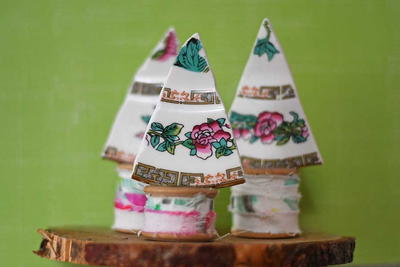
Read NextBroken China Plate Christmas Trees