Faux Wood Slat Stars

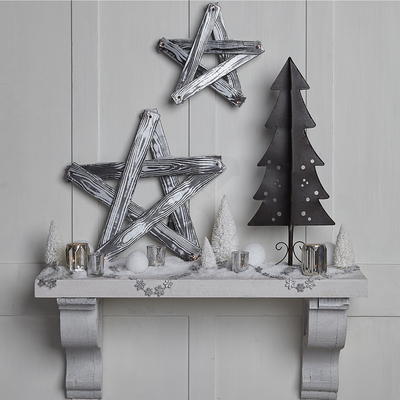
Add a touch of rustic glam to your holiday decor this year with these Faux Wood Slat Stars! This trendy DIY Christmas craft from Floracraft is a simple way to add some elegance to your home this season. These gorgeous stars look great hanging above a mantle or on a wall. The distressed faux wood finish on these stars looks so realistic - no one will have any idea these are made out of craft foam. While they make perfect decorations for your home, they also make great DIY Christmas gifts!

Holidaychanukah, Christmas, Hanukkah, Winter
Project TypeMake a Project
Materials List
- Floracraft Make It: Fun Foam Sheet: 1" x 12" x 36"
- Acrilyic Paint: Black and Metallic Silver
- Battery Light Strands: (5) 15-Light Strands
- 3/4" Screws
- Self-Adhesive Velcro
- Black Tape
- Low-Temp Glue Gun
- Wood Graining Tool
- Serrated Knife
- Screwdriver
- Paint Brush
- Spatula or Putty Knife
- Fine Grit Sandpaper
- Ruler
Project Instructions
-
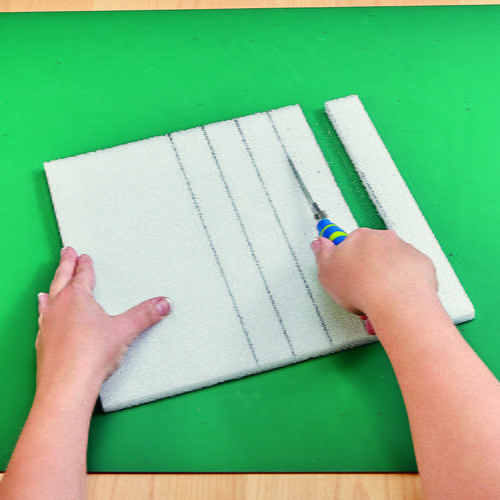
Cut the foam sheet in half to create two 18”x12” pieces. Cut five 2”x18” pieces from one half of the sheet. Cut five 1-½”x12” pieces from the other half of the sheet. Set aside remaining foam for a future project.
-
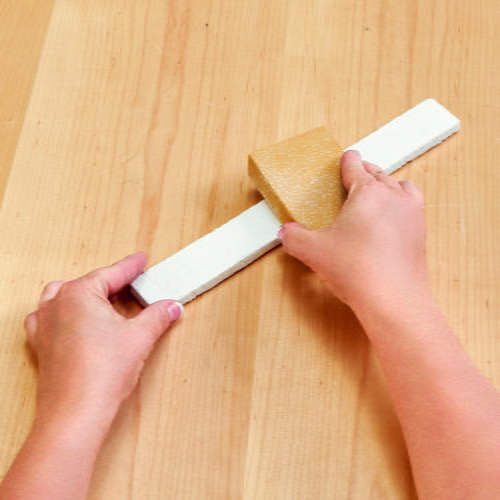
Use the spatula to apply an even coat of Smooth Finish to the ten slats of foam. Apply finish to front and sides of the slats.
-
Let the finish dry then sand smooth as needed. Apply a second coat to all the foam slats. Let dry and sand smooth.
-
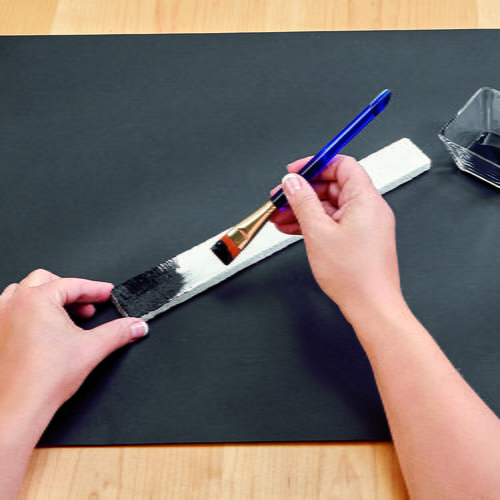
Apply a coat of black paint to all sides of the ten foam slats and let dry. Apply an even coat of silver paint over top of a black foam slat
-
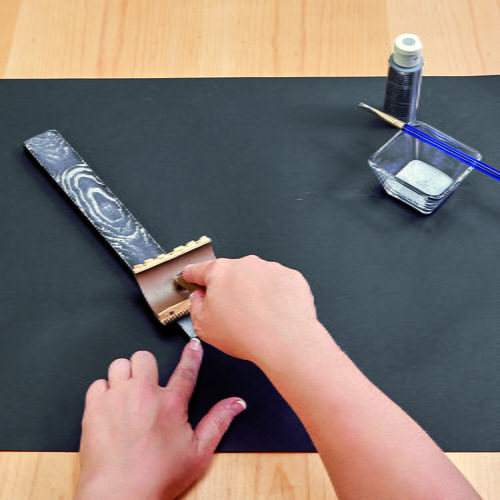
While wet, pull the graining tool down the slat through the wet silver paint to create the wood grain look. Rock the tool slightly to create different grain patterns. Repeat on all the foam slats.
-
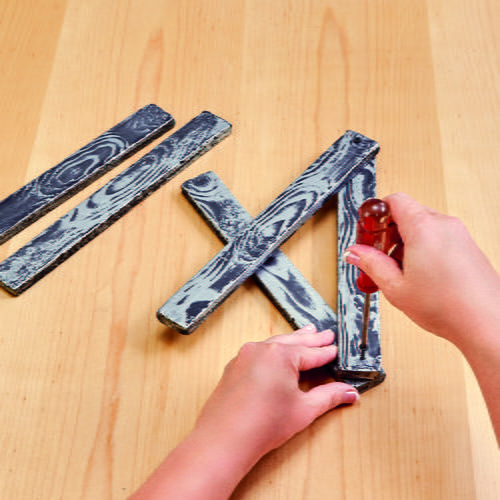
Lay the slats together to form the star shapes. Use the screws to secure the slats together.
-
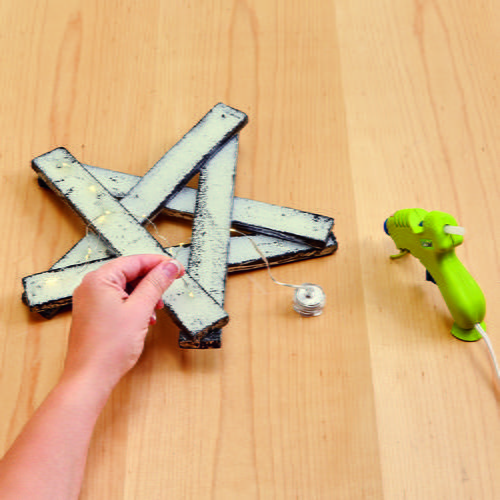
Use a toothpick to pilot holes for the lights through the points of both stars about ¼” in from the end. Secure the battery pack in place with Velcro near one point of the star. Glue the Velcro in place on the back. Bend the wire at the first light out from the battery pack. Thread the light through the toothpick hole at the first point. Add a dot of glue at the back to hold the light in place. Tack the light strand along the back of the star and up to the next point. You will have to skip some of the lights as you go around the star. Optional: You can cover the lights that are skipped with black tape. Continue around the star. Add a second strand when needed. Secure the battery pack with Velcro as before. Repeat to light both stars. The large star uses 3 light strands and the small star uses 2 strands.

Celebrate With More Christmas Craft Ideas
If you enjoyed making the Faux Wood Slat Stars, we have a few more festive Christmas craft ideas for you to try out!
1. Rustic Snowflake Ornaments: Create beautiful rustic snowflake ornaments using a similar faux wood finish technique. Cut out snowflake shapes from craft foam and distress them to give them a weathered wood look. Add glitter or sequins for a touch of sparkle, then hang them on your Christmas tree or use them to decorate gifts.
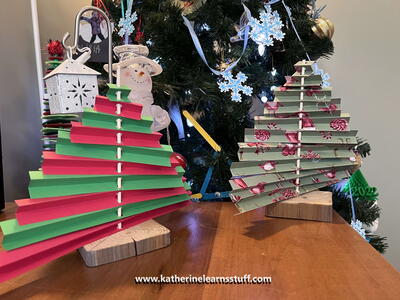
2. Plaid Fabric Trees: For a cozy and traditional Christmas look, try making plaid fabric trees. Cut out cone shapes from cardboard or foam and cover them with plaid fabric in various patterns and colors. Add a wooden star or bead on top for a finishing touch. These fabric trees can be displayed on a mantel, shelf, or as a centerpiece on your holiday table.
3. Birch Bark Candle Holders: Bring some natural elements into your holiday decor with DIY birch bark candle holders. Wrap glass votive holders with birch bark sheets to create a rustic and woodland-inspired look. Place battery-operated candles inside for a warm and inviting glow. These candle holders can be arranged on a mantel, dining table, or used to decorate a winter-themed centerpiece.
We hope these Christmas craft ideas inspire you to continue creating beautiful and unique decorations for the holiday season! Happy crafting!
Your Recently Viewed Projects
Thanks for your comment. Don't forget to share!
Report Inappropriate Comment
Are you sure you would like to report this comment? It will be flagged for our moderators to take action.
Thank you for taking the time to improve the content on our site.