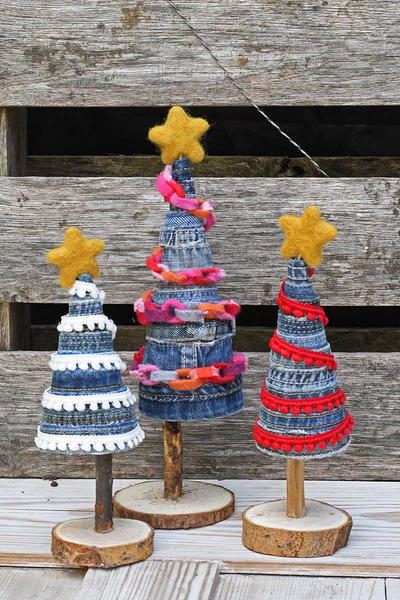
Easy Christmas Napkin Ring
This Easy Christmas Napkin Ring from Maria Chatzi is a great way to use up an old toilet paper roll. Decorate it with the colors of the season for a quick and fun napkin ring that everyone is sure to love. The great thing about this project is that you can easily adapt it for any holiday or occasion. Kids will also love creating these fun napkin rings. Have them help with the celebration by including them in craft time...and they'll be so proud to show off their work to all your guests!

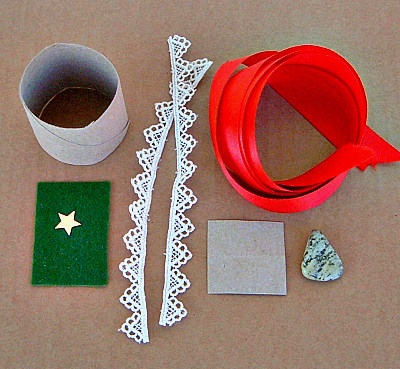
Materials:
- Paper ring (1.57 inches wide), cut from a toilet paper tube
- Square piece (1 x 1 inches) cut from the remaining paper tube
- Rectangular craft felt piece 1.4 x 2 inches
- Pointed edge lace ribbon 5.7 inches long
- Red satin ribbon approximately 0.78 wide and 20 inches long
- Small gemstone, color: light green, shape: triangular - (I used a serpentine beach pebble but you can purchase one from shops that sell stones for jewelry making)
- A small golden star (any material)
- Pen and scissors
- Measuring tape
- Glue
Instructions:
-
From one edge of your toilet paper tube measure and mark, with your pen and a dot, 1.57 inches. Repeat this measuring and marking all around the paper tube periphery. Then place your measuring tape’s edge on the dots you’ve made and draw a line to connect them, all around the tube. Cut with your scissors on the line and you will get the paper ring you need for your craft project . Put the other part of the paper tube aside for a while – you’ll need that later.
-
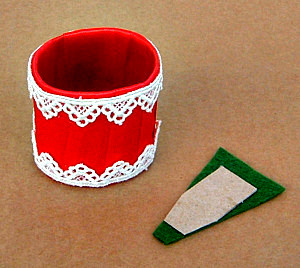
Take the red satin ribbon and wrap it around the ring. Start by gluing one end of the red ribbon inside the paper ring – let the glue dry. Continue wrapping it around, angling it slightly. Every new wrap has to overlap the previous one you’ve made – this holds the ribbon in place, without the need to put glue on the inside of your napkin rings. Keep the wrapping tight. Repeat till you cover the paper ring with your ribbon completely – make sure this second end of your ribbon gets glued to the inside of your napkin ring. If you reach the end and you don’t seem to be left with enough ribbon to wrap and glue on the inside, then you have to unwrap some part and do the wrapping again with less overlapping of your ribbon. After you’ve glued the second end to the inside, let it dry completely before you proceed.
-
Now tear open ( by following the seams) the other part of the toilet paper tube, which you had put aside for a while. Flatten it as much as possible (with your hands) and cut out a small square piece that measures 1.4 x 1.4 inches.
-
Fold this little square piece in half, place glue on one half. Fold the other half over it and press gently. Wait for the glue to harden. After the glue has dried, glue the piece on the back side of your green rectangular craft felt, in the center.
-
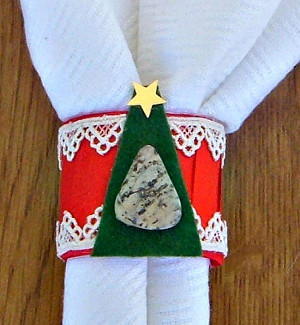
When the glue has dried, cut the craft felt piece (along with the toilet paper piece you glued onto the back side) into the shape of a triangular Christmas tree – do not make it very pointed at the top. Next, glue the tree on your napkin ring – press with your finger gently on the whole surface of your tree, from time to time, to make sure the glue has spread evenly.
-
After the glue has hardened, it is time for the final touch. First, glue your triangular gemstone on your felt tree. At this point, it is VERY IMPORTANT to wait till the glue has dried completely and hardened, so the gemstone won’t fall off. Then glue your golden star on the top of your green tree and your Christmas Napkin Ring is ready.
Tips:
- Stuff the center of a napkin inside the ring to keep your napkin ring standing upright for as long as it takes the glue to harden enough so it would be safe to store or use the napkin rings (I usually leave them for a whole day, just to be sure).
- For this project, you can use any light green gemstone or a light green triangular bead of the same size. Gemstones, of course, give more style and a touch of luxury to your Christmas table decoration, compared to synthetic beads.
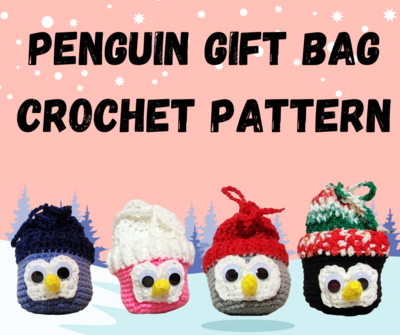
Read NextPenguin Gift Bag
Your Recently Viewed Projects
Thanks for your comment. Don't forget to share!
HegWitch
May 31, 2013
Not a good idea to use TOILET Paper Rolls anywhere you eat or items that go near a table and hand to mouth with the EColi that is in Toilet Paper Rolls. I would use Wrapping Paper Rolls or Rolls from Saran Wrap or from Foil.
Report Inappropriate Comment
Are you sure you would like to report this comment? It will be flagged for our moderators to take action.
Thank you for taking the time to improve the content on our site.