Keepsake Shadow Box
It doesn't take much to create a Keepsake Shadow Box from Linda Peterson. In fact, you only need a few scrapbooking supplies and a wooden shadow box to create this autumn craft. Display your favorite end of summer memories all year long.

Materials:
- Wooden shadow box
- Distress ink – color of choice
- Aleene’s Original Tacky Glue
- Flourish stamp
- Photograph
- Double stick adhesive sheets
- Sanding block
- Decorative papers
- Cardboard
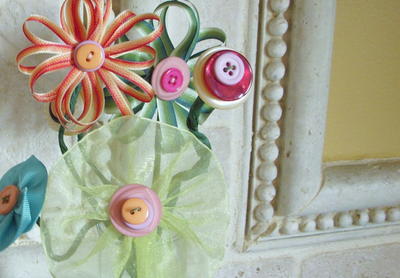
- Embellishments of choice – we used raffia, buttons and die cut flowers
- Glue
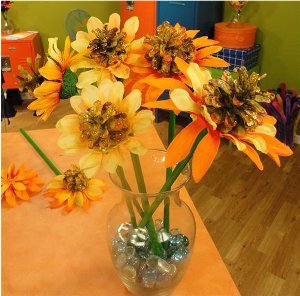
- Flowers of choice or die cuts
Instructions:
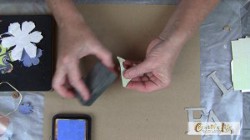
- Rub ink over surface of box to color.
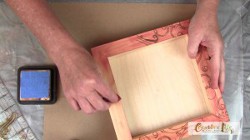
- Stamp with design.
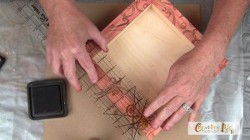
- Rub with brown distress ink to give it an aged look.
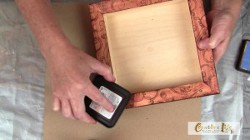
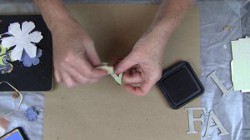
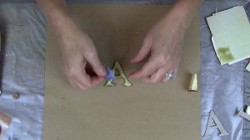
- Cut out desired letters from cardboard and patterned paper.
- Distress and ink edges.
- Embellish with raffia and glue on flowers.
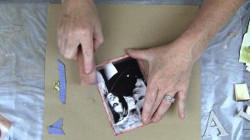
- Adhere photograph onto paper. Rub sanding block over edges of photograph to give it an aged distressed look.
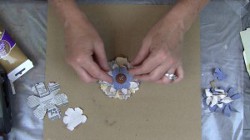
- Stack and glue flower shapes. Glue button to center.
- Cut out paper to size of backing. Arrange photograph and embellishments inside. Glue to secure.
- Glue letters to outside of frame.
For a comprehensive video tutorial, check out How to Make a Keepsake Memory Frame.
Read NextVintage Doily Pumpkins