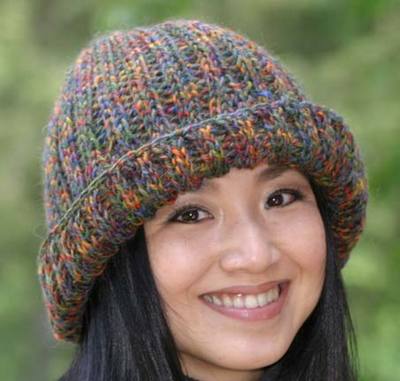
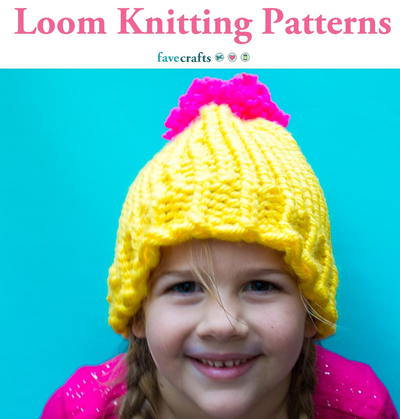
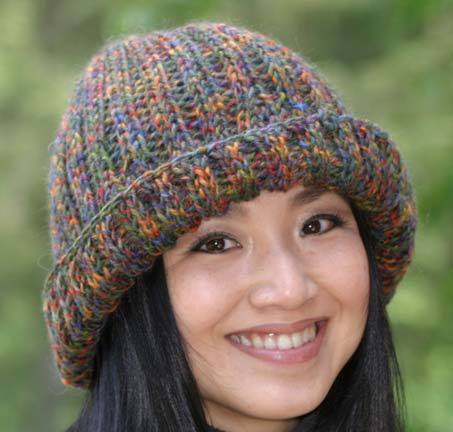
Cozy Ribbed Hat
Use a solid color or multiple colors of yarn to create this fun and cozy ribbed hat on a 10" inch knitting board or larger, from Authentic Knitting Board.


Find this beautiful pattern and more knit hats in 27 Free Hat Knitting Patterns.
Materials:
- 150 yds of bulky weight yarn. This one was knit with Brown Sheep Bulky.
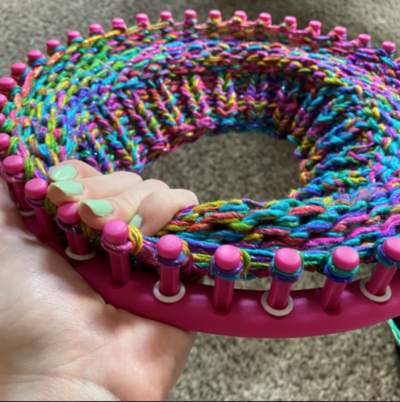
- Knittingboard with 22 needles
- Knit Hook
- Crochet Hook
- Sewing needle for sewing seams
This hat can be made in one continuous piece on a the 28” knitting board with 66 needles.
Make (3) of these pieces.
Instructions:
- Cast on 22 sts. You are starting at brim of hat.
- Be sure to place the ANCHOR YARN.
- Knit in rib pattern for 38 rows.
- Next row, decrease one st on each end of board.
- Start your weaving on the 2nd needle, and weave down to the 4th. Continue to work the rib pattern for this row. You want to do this shift so that the ribs stay in pattern.
- Next row, knit in rib pattern starting on the 2nd and down to the 4th. You want to do this shift so that the ribs stay in pattern.
- Next row, decrease one stitch on each end.
- Start your weaving on the 1st needle, and weave down to the 3rd needle. Continue to work the rib pattern for this row. Use this rib pattern for the rest of hat.
- Continue the rib pattern for another (2) rows.
- Bind off the (18) stitches with your crochet hook. This is done by starting at the end without the yarn attached. Slip loops from stitch 1, front and back, and stitch 2, front, onto crochet hook.
- Pull loop closest to hook thru the other 2 loops. Now, with one loop on the hook, lift next 2 loops, stitch 2 back, and stitch 3 front. Pull 1 thru 2. Continue to end of board until there is only one loop remaining on hook and your piece is free of the board. Cut yarn and pull tail thru the last loop to create the knot. Pull yarn tail into knit.
- Sew side seams of the (3) pieces with a whip stitch with matching yarn. You will have a circular piece once all (3) pieces are sewn. All the anchor yarns will be at the same end of circular piece. The decreased ends will be the top of your hat. Sew top of hat with matching yarn by picking up the edge stitches of the entire circular piece. Pull the yarn to gather the hat. Trim ends and tuck into knitting. These ends will also work to tie on a pompom if you desire this option.
- REMOVE THE ANCHOR YARN
- Crochet the stitches on the anchor yarn just as you did to remove the stitches from the board.
- Start at a seam. Pick up (3) loops, front and back of one, and one loop of next stitch. Pull 1 thru 2. Go around the entire hat to form one continuous chain. Once you get back to the starting point, tie ends together. Remove the anchor yarns. Trim your yarn tails and tuck into the knit.
- Roll the brim up for a Fun, Ribbed Hat.
Up Next:
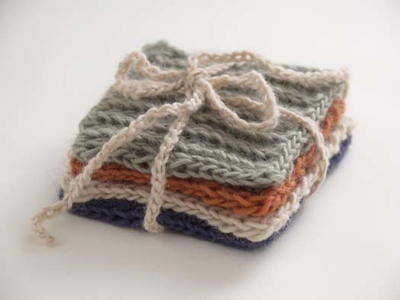
Read NextSet of Four Knitted Coasters
Your Recently Viewed Projects
Thanks for your comment. Don't forget to share!
Arachne53
Apr 17, 2012
I would like to try some of the loom knitting patterns but would love to find instructions for some of the techniques beyond the basics. The Cozy Ribbed Hat using instructions like Knit in rib pattern for 38 rows. Next row, decrease one st on each end of board. Start your weaving on the 2nd needle, and weave down to the 4th. What happens to the remaining stitches? What is rib pattern? What is ANCHOR YARN? Must be important since it is upper case in pattern. What does it mean to Crochet the stitches on the anchor yarn just as you did to remove the stitches from the board.? These are the types of instructions/information I need to find. Thanks, everyone! Kate
Report Inappropriate Comment
Are you sure you would like to report this comment? It will be flagged for our moderators to take action.
Thank you for taking the time to improve the content on our site.