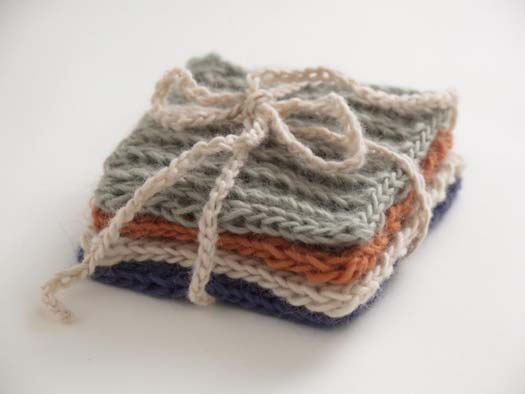
Set of Four Knitted Coasters
This set of four different-colored knitted coasters from Authentic Knitting Board is a fun and easy project to make, and it can be a delightful gift. Give these DIY coasters to a new neighbor to welcome her to the neighborhood or wrap them up for Mom on Mother's Day.
This Set of Four Knitted Coasters is also a great way to use up leftover yarn. Scrap yarn projects like this can clear up the clutter in your craft room and make space for more fun projects.

If you liked this easy knit coaster project, you should try this Cute Turtle Coaster Knitting Pattern.
Materials:
- Any worsted weight yarn
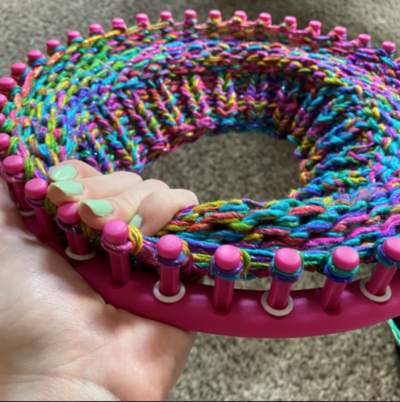
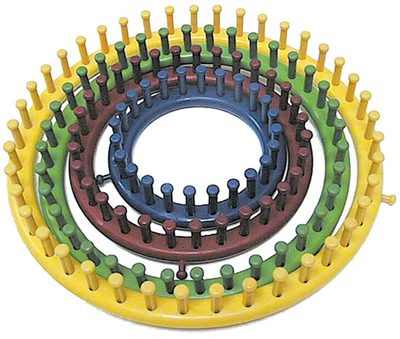
- Knitting board
Each coaster takes only 20 yds of yarn.
Finished size: 5” x 5”
Gauge: 4 sts = 1” (hoto shows rib stitch pattern)
Coasters are knit with small amount of space between the boards. By reducing this space, you decrease the size of the stitches. To achieve this smaller gauge, remove the bolts and wood adjustable spacers. Place washers between the boards instead of the wood spacers. (2) for each end of board. Store the wood spacers for later use. If you would like, you can also use a larger ¼” nut for the spacer instead of the wood spacers. Your wood spacers are used for adjustments from ½” to 1” to 1-1/4” for larger gauge or stitches. You may use board just as it is set when received for 6” coasters.
Instructions:
- Cast on 16 stitches.
- Knit in stockinette or rib stitch pattern. (see below)
- Knit for 16 rows.
- Bind off.
You can make a set of coaters with same color or all different, as with our sample of blue, green, orange, and tan. Our set of coasters looks especially festive with the crocheted rope to ‘gift wrap’ with Tie Bow. Simply chain the yarn on crochet hook for aprox 48”. Wrap around stack of coasters as you would a gift and tie bow at top. It’s ready to give!
Stockinette Stitch: Start your 16 stitches by weaving from your first needle down to the 2nd needle on opposite board. Continue weaving back and forth across both boards on every other needle. When you get to the end of your desired number of stitches, turn board around and weave back to tarting point covering the needles skipped. Hook the bottom loop over the top of needle. You will be back to a single loop on each needle. Weave again to place the 2nd loop on each needle. Hook over.
Ribbing Stitch: Instead of weaving from the first needle to the 2nd needle on opposite board, carry yarn to the 3rd needle on opposite board. Continue back and forth across both boards weaving on every other needle. When you get to the end, the last 2 stitches will be consecutive. Weave back to beginning covering all needles being used. Hook over.

If you have even more leftover yarn, try one of these 38 Ways to Use Up Yarn Scraps + 18 Scrap Yarn Projects.
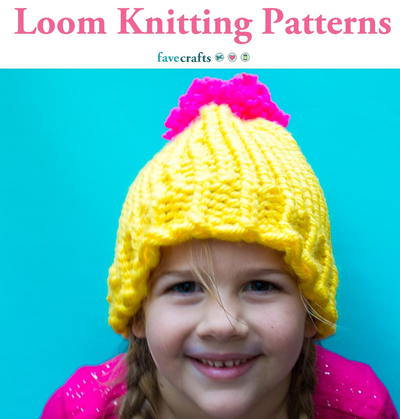
Read Next25 Loom Knitting Patterns


Thanks for your comment. Don't forget to share!
martha51
Nov 03, 2012
I have got 1 Loom,But I just don't how to use it as of right now.Id love to learn.My Loom is the long one around a foot and 1/2 and probably 3 in' wide.I guess its one to Make Scarfs with.Do you have any Learning ideals for the Loom?
Roxy K
May 02, 2010
I was wondering if it is possible to make your own knitting board or loom, and if you need to know how to knit to do these projects?
Report Inappropriate Comment
Are you sure you would like to report this comment? It will be flagged for our moderators to take action.
Thank you for taking the time to improve the content on our site.