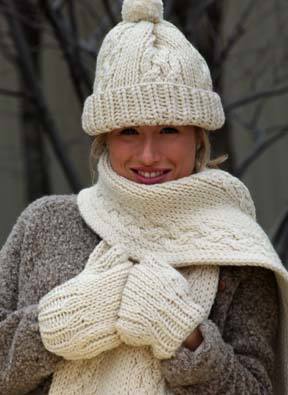
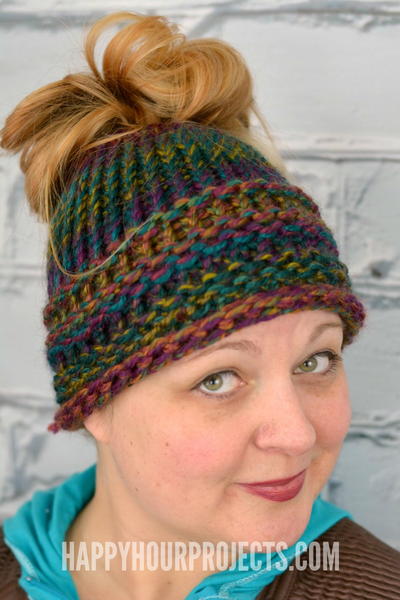
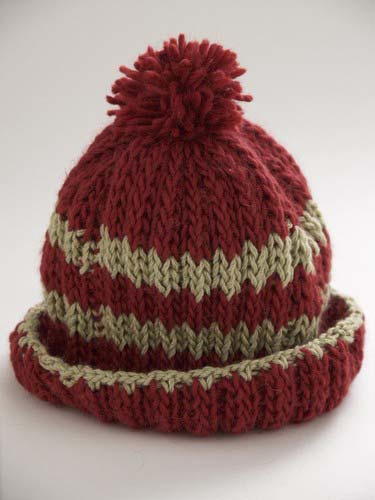
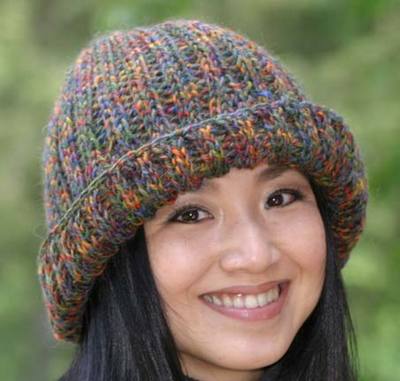
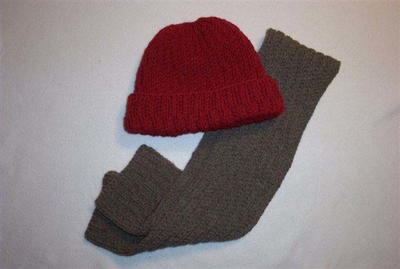
Broken Rib Hat and Scarf
This hat and scarf from Authentic Knitting Board is a fun and easy variation of the basic rib stitch. By shifting the wrapping pattern one peg to the right every five rows and then back again, the ribs stagger back and forth across the knitting, appearing to be broken. The pattern is subtle and shows up best if using a solid colored yarn. The hat can easily be adjusted to any size by changing the number of stitches cast on and rows knitted. Give it a try today!


Find this beautiful pattern and more knit hats in 27 Free Hat Knitting Patterns.
Materials:
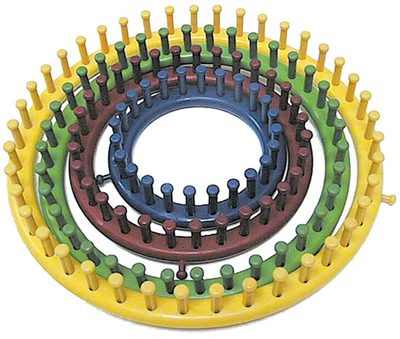
- Knitting Loom: Small gauge double sided knitting board with at least 48 pegs (youth/average adult hat), 58 pegs (large adult hat), and 18 pegs (scarf). The 10” and 28” Authentic Knitting Boards set at standard (1/2”) spacer setting were used in the sample.
- Yarn: 150 yards (youth/average adult hat), 216 yards (large adult hat) and 286 yards (scarf) of chunky/bulky weight yarn. Plymouth Encore Chunky was used in
- sample.
- Tapestry Needle
- Knitting tool
- Crochet hook
Gauge: 12 stitches by 12 rows over a 4 x 4 inch swatch in the ribbing stitch.
Abbreviations: Cast on—CO, Bind off—BO
Pattern Notes:
For the first five rows, the hat or scarf is wrapped with the normal ribbing stitch. This is what is referred to as the 1 to 3 ribbing stitch. To wrap the 1 to 3 ribbing stitch, after wrapping up to the 1st peg on the back board, wrap down to the 3rd peg on the front board. Continue wrapping every other peg. The last two pegs will be wrapped consecutively. Wrap directly across the board at the end, and then wrap back down the board, covering all the empty pegs. The last two pegs will again be wrapped consecutively. The next five rows are wrapped in what is referred to as the 1 to 4 ribbing stitch. To do this, after wrapping up the 1st peg on the back board, wrap down to the 4th peg on the front board. Then, wrap up to the 4th peg on the back board. Continue wrapping every other peg, taking the yarn directly across to the back board at the end and wrapping back down the board, making sure to cover all the empty pegs. This hat can easily be adjusted to any size by changing the number of cast on stitches and rows knitted. If you adjust the number of rows, keep in mind that you want to be able to divide the rows evenly so that both the 1 to 3 ribbing stitch pattern and the 1 to 4 ribbing
stitch pattern will both have an equal amount of rows in them. The number of rows in each stitch pattern doesn’t have to be five. Feel free to experiment with different combinations of rows to get the effect that you desire.
Instructions:
Hat Instructions
Finished hat sizes are youth/average adult and large adult.
- CO 48(58) stitches using the stockinette cast on, leaving a long tail for sewing up the seam later.
- Knit 5 rows in the 1 to 3 ribbing stitch. Then, knit 5 rows in the 1 to 4 ribbing stitch. (See pattern notes on how to wrap the ribbing stitches.) Continue alternating the two wrapping patterns until 30(35) rows have been knitted.
- Decrease half of the stitches. Do this by lifting stitch 1 onto needle 2 then stitch 3 onto needle 4. Repeat for the whole board, both front and back. You will end up with every other needle being empty. Wrap the row with the stockinette stitch, skipping the empty needles. Knit the bottom 2 stitches over the top stitch. You should now have 1 stitch on every other needle. Shuffle all the stitches together so that there are no empty needles.
- Knit 1 row in stockinette stitch.
- Repeat step #3, except you don’t have to shuffle all the stitches together after decreasing.
- Lift the stitches from the back board to the needle directly across from them on the front board. The back board will now be empty and every other needle on the front board will have two stitches on them. Knit over the stitches so that each needle has one stitch on it. Cut the working yarn, leaving a long tail for gathering the top. Thread the yarn tail onto a tapestry needle and slip the stitches from the board onto the tapestry needle. Remove from the board.
- BO the cast on edge. This is the bottom of the hat. Make sure to BO loosely so that the edge will have some stretch to it.
- Turn the hat inside out. Run the needle on the yarn tail at the top of the hat back through the slipped off stitches again, and pull tight. If you find that you have a hole at the top of the hat, you may want to run the needle around the top of the hat again about ¼”- ½” from the center and pull tight, or stitch the hole closed from the inside. Secure the top.
- Turn right side out. Using the yarn tail at the bottom of the hat, sew up the side seam with the Invisible Seam Stitch. This is done on the right side (outside) of the hat. (See http://www.knittingboard.com/stitchinvisible.pdf for step by step pictures of this technique.)
- Weave in loose ends, turn up brim, add pom-pom if desired, and you’re finished.
Scarf Instructions
Finished size is approx. 6”x 50”
- CO 18 stitches using the stockinette cast on.
- Knit 5 rows in the 1 to 3 ribbing stitch. Then, knit 5 rows in the 1 to 4 ribbing stitch. (See pattern notes on how to wrap the ribbing stitches.) Continue alternating the two wrapping pattern until the scarf measures approx. 50” (160 rows) or desired length, ending on row 5 of either wrapping pattern.
- BO both edges. Weave in any loose ends. Add fringe if desired.
Up Next:
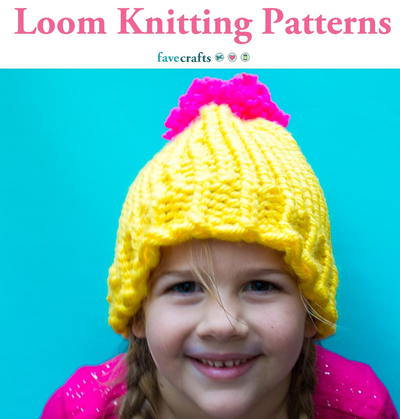
Read Next25 Loom Knitting Patterns


Thanks for your comment. Don't forget to share!
keithiscool19 0623 807
Dec 09, 2014
Can you start posting videos of projects, i find written instructions difficult to follow.
FaveCrafts Editor JL
Dec 09, 2014
Hi there, Unfortunately we don't have a video tutorial for this project. However, we do have a YouTube channel (search FaveCrafts on YouTube) and we have tons of great tutorials I know you'll enjoy. Thanks! - Julia from FaveCrafts
Report Inappropriate Comment
Are you sure you would like to report this comment? It will be flagged for our moderators to take action.
Thank you for taking the time to improve the content on our site.