This project was submitted by one of our readers, just like you.
Tiered Cupcake Stand

Tiered Cupcake Stand
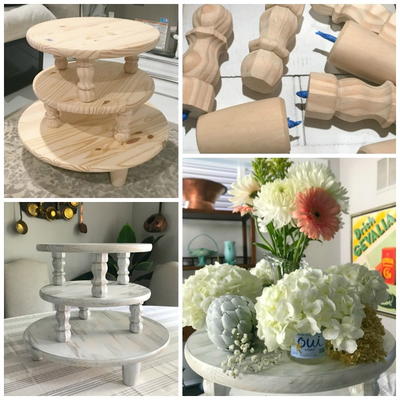
"Sure, you could buy an inexpensive cardboard cupcake stand for your next fancy bash, but why? It would only be used once, and it wouldn’t nearly make the same statement or garnish the compliments as a custom tiered cupcake stand you crafted yourself. And this one is easy to make (no saw needed) and will last for years. I just made this for a wedding reception, where it took center stage on my dining room table!"
Primary TechniqueWood Crafts

Materials List
- 24″ round pine board
- two 24″ round pine board
- six 6″ pine furniture legs
- three 4″ pine furniture legs
- gloss white spray paint & primer
- silver metallic wax
- sandpaper & drill
Instructions
-
For the bottom tier, attach three 4″ pine legs to the largest piece of wood. Space the 3 legs evenly on the underside of the wood and mark locations with a pencil. Using a drill bit close to the size but no larger than the screw embedded in the leg, make a shallow hole. Be careful not to drill through the board entirely. Screw in the legs and put aside.
-
Repeat this process for the other 2 smaller pieces of wood, using the fancier 6″ pine legs. When finished, the pedestals can easily be tiered on top of each other or even used separately.
-
Next, remove the legs to prepare all the pieces for painting. If you accidentally drilled through the entire piece of wood, don’t fret. It can easily be fixed with nail hole filler. Fill the hole, then let it dry. Once dry, lightly sand all the pieces of wood – the legs and the trays.
-
Cover the exposed screws in the legs with masking tape. Then spray paint all the pieces with gloss white spray paint & primer. It will take several coats. Let dry completely between each coat. *NOTE – As you know, sometimes an artist’s mistakes yield the most beautiful outcomes. For some reason, this paint did not cover as thoroughly as I originally wanted. Even after several coats, glimpses of bare wood still remained. However, I decided I actually liked that transparent look as opposed to a solid matte finish.
-
Once the paint was dry, I lightly sanded the pieces once again, smoothing away any drips or uneven spots. Then I added just a bit of silver metallic wax, applying it with my fingers to a small area then quickly buffing it out. I love the formal touch it lends to the wood.
-
Screw all the legs back into the 3 round pieces of wood. Now you are ready to use your new tiered cupcake stand.
-
My son and his fiancee had to postpone their large wedding due to Covid 19. So in the meantime, we threw a sixties’ style gathering with a few close friends in a neighborhood park. After the ceremony, we returned to my home for the reception. And this beautiful cupcake stand took center stage on my dining room table. Adding a vase of fresh flowers to the top tier makes an elegant statement. Around a base of pink and white flowers, I placed single white hydrangeas in Oui yogurt jars (see this post for more uses of these french yogurt jars). I also added artichokes I painted white and sprigs of Baby’s Breath.
NotesFor more photos, check out this tutorial on my blog.

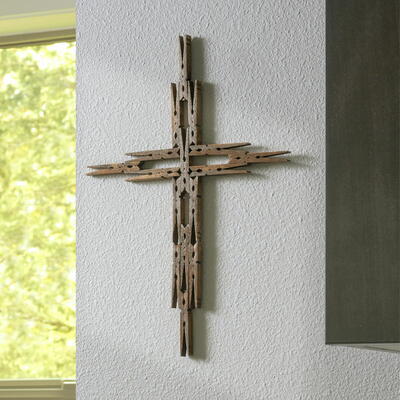
Read NextClothespin Cross Craft