Inspirational Coasters

The small wooden canvases you need for this project are readily available at local craft stores and are the perfect size for new pyrographers to tackle. It’s easy to transfer the artwork onto them, and they make for quick woodburning projects. Burning the small details can be challenging, but using the right burner tip makes a huge difference in your results.
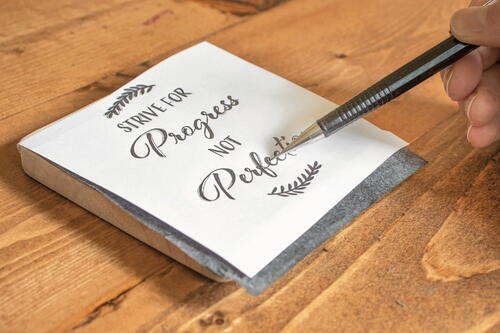
Inspirational quotes are a popular option to incorporate into décor pieces. I have several of my favorites hanging on my vision board to help me stay motivated and focused on my goals. For these coasters I chose four quotes that are particularly meaningful to me. I hope they resonate with you and serve as a reminder of your goals and the beginning of your pyrography journey.
Materials List
- Woodburning tool with a straight edge tip and a pointed tip
- Safety equipment: mask, fan and finger guards
- Templates
- Scissors
- Square wooden coasters (you can find these in your local arts and crafts store or online)
- Carbon paper
- Pencil
- Tape
- Gloves
- Sponge brush
- Danish oil
- Craft paper or cardboard to protect your workspace (optional)
About the Wood
Think about the style of the décor that will surround your coasters before choosing the canvases to make them. I chose simple square-cut pine coasters. These particular canvases have a rough-sawn surface that needed to be sanded before burning so it wouldn’t interfere with adding the small letter details. Sanding the surface of your coasters with a fine grit sandpaper is recommended, regardless of whether they’re rough-sawn or not. The design template will transfer more easily onto a freshly sanded surface and the designs will burn more smoothly.
Step One: Setting Up and Transferring the Artwork
-
Put a straight edge tip in your burner. Turn on your burner to medium and let it preheat while you set up your canvas in your workspace. You will be burning small lines in this project, and working with less heat will allow you to work at a slower pace and control the burner more easily.
-
If your burner doesn’t have heat settings, the default heat setting is likely too hot to achieve the best results. However, you can use your fan to temporarily cool the tip of the burner so it doesn’t scorch your wood. You may have to place the tip in front of your fan several times throughout the burning process, especially when you’re burning some of the smaller lines.
-
As we discussed in Chapter One, safety equipment is important. Have your mask, fan and finger guards nearby and ready to go.
-
Pull the templates and cut them down to size. Transfer the templates onto the wood using the carbon paper, pencil and tape. Once you’ve finished, remove the templates and carbon paper, and make sure you didn’t miss any lines.
-
Tip: Try to find coasters that don’t have holes or dark wood knots.
Step Two: Burning the Straight Edges of the Letters
-
Now that your burner is nice and hot, begin by burning all the lines that have a straight shape. Even the curved letters have some areas that are straight shapes. T, L and E are a few examples that have long straight lines. This is great way to work through all of your letters quickly, and using the straight edge tip doesn’t require a lot of technique.
-
You can also assess the designs on each coaster and burn any designs that have straight lines, like the arrows and branches. This will prevent you from having to change tips more than once.
-
Complete this step on each coaster. Once you’ve burned all the straight lines, turn off your burner and let it cool down.
-
Once the burner is completely cool, change the tip to a pointed tip. This tip will allow you to burn the curves of the letters. Turn the burner back on and let it heat up to low heat.
Step Three: Burning the Curves of the Letters and Varnishing
-
When your burner is hot again, burn the curved lines in each letter. The pointed tip will let you move along the curved portions of the carbon transfer lines more easily and burn the harder, smaller spaces with more control.
-
The drawback to using the pointed tip is that you are more susceptible to bumpy edges, but that’s okay. No burn is ever going to be totally perfect, and you can always go back and clean up any edges that stick out.
-
Burn all the curved letters and designs on all four coasters.
-
Grab your gloves, sponge brush and Danish oil. A few coats of Danish oil will protect the coasters from moisture damage and help them last longer. If you are varnishing the coasters in an area that you want to protect from drips and spills, put down a couple layers of craft paper or cardboard for protection.
-
Pour a small amount of the Danish oil over one coaster at a time and use the sponge brush to spread it all over, front and back. Allow the varnish to dry according to the manufacturer’s directions. Once the coasters are dry, apply a second coat of Danish oil for added protection.
-
Set the coasters out to enjoy or give them as gifts.

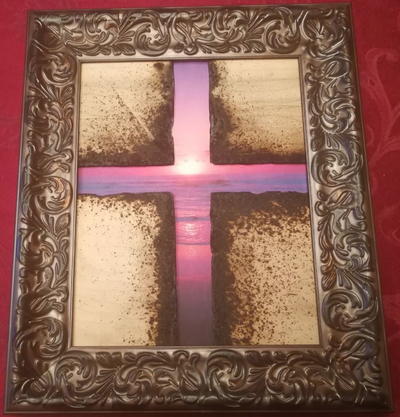
Read NextPurple Sunrise Decorative Cross