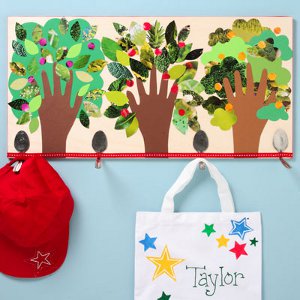
Handmade Springtime Shelf
Celebrate the season with this easy and fun art project that's great for kids. The Handmade Springtime Shelf from Cheryl Ball for I Love to Create is the perfect handmade, homemade craft or gift idea. What a great way for parents and kids to craft together!
Materials:
- Ribbon – 3/8” red – 3 yards – or desired color
- Scissors
- Hammer
- Pencil
- Spoons (4)
- Wood plank – desired size
- Nail
- Magazines
- Cardstock paper – assorted greens, browns
- Low-tack masking tape
- Sand paper – fine grit
- Pictures hangers (2)
Instructions:
- Sand board smooth on front and sides.
- Use pencil to lightly trace around hands (including wrists) onto brown cardstock then cut out.
- Trace tree patterns onto assorted green cardstock and cut out.
- Find and tear out green colored sections from magazines. Use pencil to trace patterns, if needed, onto colored sections then cut out, tracing and cutting desired number.
- For gluing, add a thin bead of Aleene’s® Acid-Free Tacky Glue™ onto back along edge then place and press to secure. Glue large green tree sections in place first then glue hands, adding leaves last as shown.
- To create berries, tear out colored ads then cut small rounds and glue in place.
- Use hammer to pound crater of spoon flat – place on concrete or something hard for this. Place spoon over table then bend handle to 90-degree angle.
- Determine placement of spoons, with handle sticking out, then make a light pencil mark on board on both sides of spoon. Use a nail to make small holes between pencil marks. Add a thin layer of Liquid Fusion™ to back of spoon then press in place on board. Hold in place with masking tape until dry.
- Cut ribbon to fit across lower edge of board and around sides. Apply a thin bead of Acid-Free Glue to back of ribbon then press in place as shown. Glue ribbon around edge of board. Let dry.
- Add two picture hangers to back of board toward ends following package instructions.
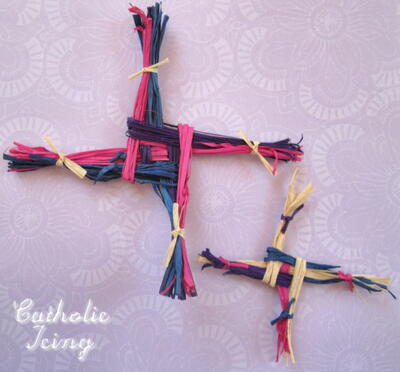
Read NextHow to Make a St. Brigid's Cross