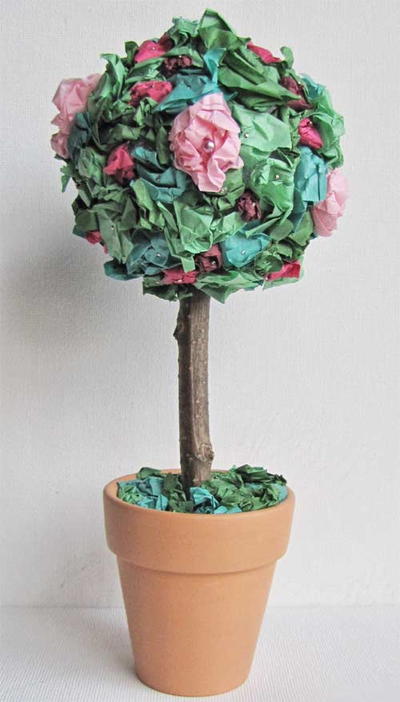
Colorful Roses Topiary
Create this beautiful DIY colorful roses topiary. This makes for a great house decoration. It can also be used for a special occasion such as a shower. It's done in 14 steps, but you can have it year-round.

Materials:
- STYROFOAM™Brand Foam:
- Cone, one 12" x 5"
- Vase insert or block
- Decorative pot, 8"
- Green reindeer moss, one bag
- Crackle paint, spray or brush-on formula: pale yellow base coat; white top coat
- Clear sealer
- Acrylic paint: moss green
- Antiquing gel: brown
- Roses: 22 yellow; 22 peachy cream & pink
- Wooden picks or skewers, three 3"
- Floral shears
- Serrated knife and candle
- Paint brush, small (2" optional, if using brush-on crackle paints)
- Disposable container, such as old can
- Cardboard box (if spray painting)
- Felt furniture protectors, adhesive backed (optional)
- Glue gun and glue sticks
Steps:
- If spray painting, read and follow all manufacturer's directions listed on the label. Place pot in the cardboard box and paint with base coat; let dry completely. Spray with top coat. Or, apply brush-on crackle paints, following instructions on label.
- Using small paint brush, paint pot moss green. Dip brush into water and generously rub the water over the paint and into the crevices of the pot.
- Using small paint brush, apply brown antiquing gel into the deepest crevices of the pot design, or create your own natural aged highlights. Dip the brush into water and rub it over the paint to soften and blend the colors.
- Spray pot with clear sealer.
- Glue small pieces of reindeer moss around top and bottom edges of pot. Add small pieces of moss randomly to other areas, creating a natural, outdoor garden look.
- Glue reindeer moss to completely cover the cone of STYROFOAM brand foam.
- Glue the vase insert or block into the pot and trim it even with the top rim. For easier cutting, rub knife blade with an old candle.
- Apply glue to one end of three skewers or wooden picks; insert halfway into the center of the vase insert or block.
- Apply glue to remaining ends of skewers or picks; carefully center the moss covered cone over the top of the pot and skewers. Push the cone onto the skewers until it rests evenly on top of the foam insert.
- Trim the rose stems to approximately 2". Sort roses by color and then smallest to largest. Starting at the base with the largest roses of one color, insert stems into cone, forming a spiral and using the smallest roses at the top. Repeat with the second color of roses. Fill in gaps with remaining roses.
- Position a few leaves on the rose stems so they drape over the edge of the pot.
- Glue reindeer moss to fill any exposed gaps and to cover exposed edges of the pot.
- Adjust roses, if needed. Remove each rose, apply glue to stem end, and reinsert in foam cone.
- Apply four, adhesive backed felt pads to the bottom of the pot to protect furniture (optional).
®™ Trademark of The Dow Chemical Company ("Dow") or an affiliated company of Dow. For more project ideas, please see styrofoamstyle.com.
Read NextTissue Flower Topiary
Your Recently Viewed Projects

Thanks for your comment. Don't forget to share!
Marilyn B
Mar 02, 2017
This is a very pretty design and I love how the flowers are built up in a gradual slope under the cone! I think this is a nice look and can be used as an alternative to the topiary ball when you want more flower impact and no stem! Adding a few sparkle gems or beads here and there on the petals would give it an extra nice touch! Great instructions!
Report Inappropriate Comment
Are you sure you would like to report this comment? It will be flagged for our moderators to take action.
Thank you for taking the time to improve the content on our site.