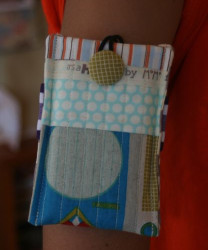
iPod Armband
The iPod Armband makes it easy for you to bring your music with you wherever you go. You can learn how to make an armband for your mp3 player with this sewing tutorial. Make your workout more enjoyable with this easy sewing project.
Materials:
- One piece of material that is 4.5" x 11" (for lining)
- Scraps (or strips of fabric) that are at least 4.5" long
- Batting - one piece that is 4.5" x 11"
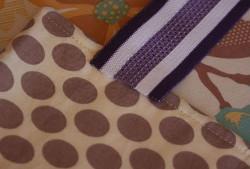
- Elastic - I used boxer elastic since it's a bit softer than the standard white elastic - just search on Ebay and you can find some.
Instructions:
-
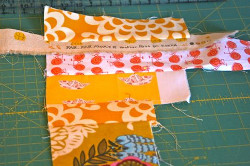
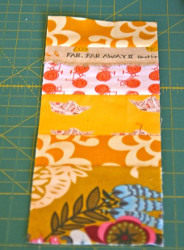
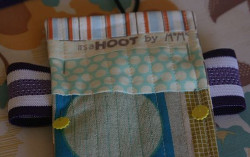
Sew scraps/strips together until you have a piece that measures approx. 4.5" x 11".
-
Trim to 4.5" x 11".
-
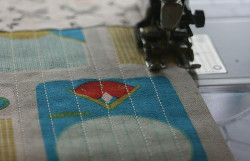
To quilt your case, take your patchwork front and place it on top of your batting piece. (You can also choose to not quilt your front piece and leave it plain)
-
You can quilt it anyway you like - I just did 1/4" lines across the whole thing using my walking foot.
-
Now take your quilted piece and your lining and line them up right sides together.
-
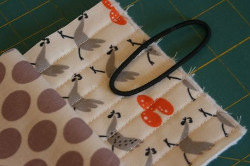
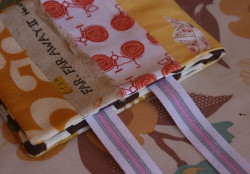
If you want to add a closure to your case, get a piece of elastic (I used a ponytail holder) and pin it at the top of your case.
-
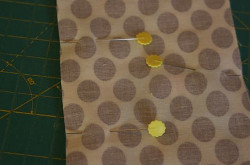
Pin along all edges, leaving a 2" opening in one side for turning.
-
Sew along all edges with a 1/4" seam allowance, remembering to leave 2" opening for turning.
-
Trim edges to reduce bulk and trim corners, being careful not to cut into your stitches.
-
Trim away batting at opening - makes it easier to sew the seam shut.
-
Turn right sides out and iron. Push opening edges inside and iron so seam is flush - pin opening closed.
-
Fold case so that lining is right sides together, making sure to line up sides and top edges.
-
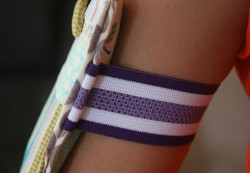
For your elastic measurement you will need to measure your arm's circumference. Take this measurement and divide it in half and then add 2.5". * Example - your arm measures 15". Take 15 and divide by 2 = 7.5. Add 2.5" and your elastic measurement will be 10". You can either use two skinnier pieces of elastic or one wider piece.
-
Cut your elastic piece(s).
-
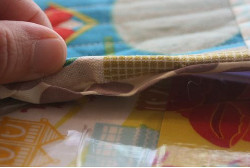
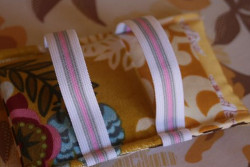
Take your elastic piece and place one edge inside your folded case along one of the sides.
-
Pin. Repeat on opposite side, looping elastic around the back of the case.
-
Pin extra elastic against back so it doesn't get caught as you sew up the sides.
-
Sew up both sides - I went over each side a couple times just to give it extra stability (I also stitched over the elastic section a few times more - just back and forth a couple times).
-
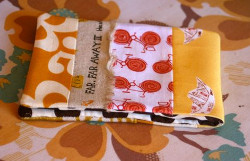
If you added an elastic closure, you can sew a button on to the front for your closure. You are done!
Your Recently Viewed Projects


Thanks for your comment. Don't forget to share!
Report Inappropriate Comment
Are you sure you would like to report this comment? It will be flagged for our moderators to take action.
Thank you for taking the time to improve the content on our site.