This project was submitted by one of our readers, just like you.
How To Make Your Own Bias Tape Binding
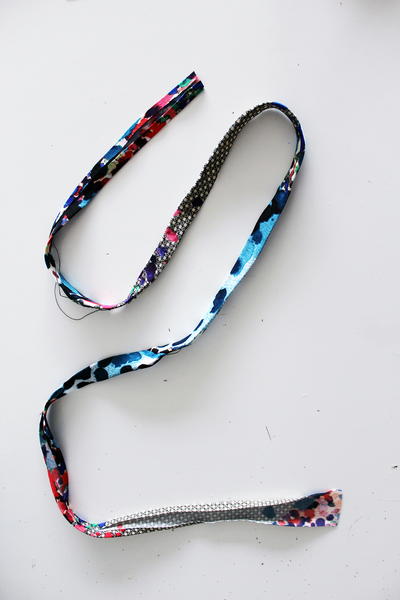
"Bias tape is so useful in creating facings, bindings, and finishing the projects you’ve worked so hard on. That’s why today I’m going to show you how to make bias tape from whatever fabric you’re working with already. Making your own bias tape gives you more freedom and flexibility when it comes to the overall look and feel of your project. By creating your own bias tape, you can match the fabric perfectly, use higher quality fabric for a more professional looking finish, and have more control over the fabric weight, color, and quality. It’s a win win!"
Project TypeLearn a Technique
Time to CompleteUnder an hour
Sewn byBoth Hand and Machine

Instructions
-
Start out with a rectangle of fabric. Fold it in half diagonally to find the bias.
-
Next, decide how wide you need your bias tape to be and double it. For example, if you’d like to make 1/2″ bias tape, cut your fabric to 1″. For a 1″ bias tape, you’ll cut 2″ strips of fabric. To cut your fabric strips, use your Ruler and Tailors Chalk to mark diagonal lines in your fabric or line up a Rotary Cutter and cut your fabric using your Ruler as a guide.
-
After your strips of fabric are cut, they will have diagonal edges. Trim these edges off and square the ends to create a 90 degree angle.
-
If the bias tape you’ll need is longer than one of your strips of fabric, we’ll want to sew a few together to create one continuous piece. If the piece you need is as long as your fabric now, skip the next few steps and move straight to ironing your bias tape.
-
If you’d like to make a longer piece, face the right sides together and pin two of the bias pieces to create a 90 degree angle and pin into place. Use a straight stitch with a short stitch length to sew a straight line diagonally across the square of fabric where the bias strips meet.
-
Trim the excess fabric to create 1/4″ to 1/8″ seam allowance.
-
Spread and press the seam allowance open so the fabric lays flat. Believe it or not you are almost done creating bias tape!
-
Finally, feed your strip of fabric through the Bias Tape Maker with the wrong sides facing up, making sure you are using the correct size to create the tape width you want. Bias Tape Makers come in different sizes from 1/4″ all the way up to 2″ When the fabric comes out the other side, you’ll see that the fabric is neatly folded on either side and ready to be ironed.
-
Once your strip is ironed flat, the bias tape will be ready for use.
Read NextLarge Faux Leather Bag


