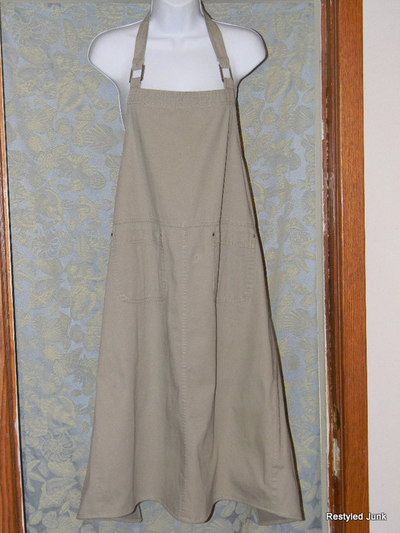
Dressy Butcher Apron Sewing Pattern
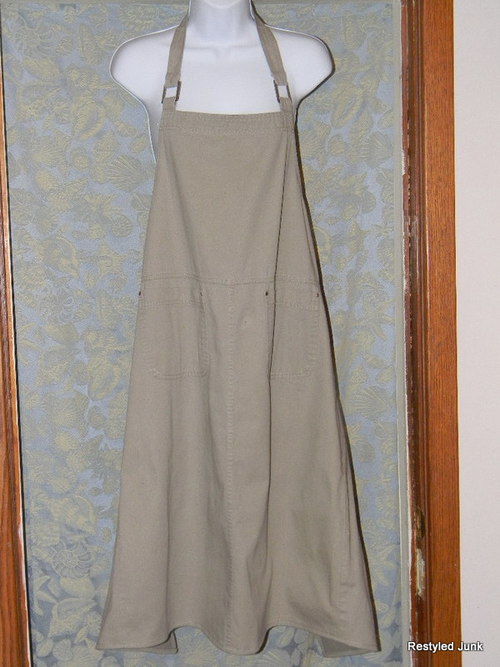
You can transform a dress into a butcher apron with the Dressy Butcher Apron Sewing Pattern. If you have an old jumper dress or find one at a thrift store that does not fit, you can easily turn it into this feminine butcher apron. This easy craft idea only involves sewing with a machine, so no advanced sewing skills required. There are few materials needed to complete this easy craft for beginners, as well. An apron design like this would be a cute gift idea for any cook or crafting fanatic you know!
Primary TechniqueSewing

Sewn byMachine
Materials:
- Jumper dress
- Scissors
- Iron
- Straight pins
- Sewing machine
- 1/2-inch-wide double-fold, bias tape
Instructions:
- Lay your jumper dress on your work surface with the back facing up. Cut the straps where they are attached on the back of the dress. Do not cut the straps on the front of the dress.
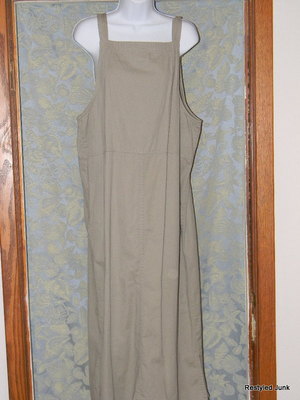
- Cut straight down the center of the dress from the center-top, to the center-bottom edges. Cut through the back of the dress only.
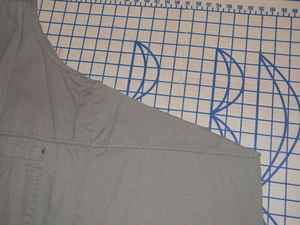
- Open the dress. I found it easiest to do this on the floor where there was more room to maneuver. Fold the cut dress in half, with the center-front of the dress at the fold. Match up the cut edges of the dress back. Cut from the seam at the underarm, across to the matched cut edges of the dress back. This will remove the top of the dress back, and form the sides of the waist on the apron.
- Determine how long you would like your apron. Cut across the bottom of the dress to remove the excess. My dress had two slits on the side seams. I chose to cut off the bottom of the dress just above the slits. If your dress has slits that will remain on the apron, you will want to stitch the slits together. Simply pin the edges of the slits together and stitch a zigzag stitch over the edges.
- Hem the bottom and the vertical sides of the apron. Fold the edges over 1/4 inch and press. Fold over 1/4 inch again, press and pin. Stitch the pinned hem. Do not hem the horizontal cut on the waist sides.

- Measure the length of the horizontal cut on one waist side. Add 24 inches. Cut two lengths of 1/2-inch-wide double-fold, bias tape using this measurement. Open one long edge on each tape and press.
- Lay the apron with the inside facing up. Place the long pressed edge of one tape, with the wrong side facing up, on the edge of one waist side. Allow the excess tape to hang off the end. This excess is an apron tie. Pin the long edges together and sew using a 1/4-inch seam allowance. Repeat on the other waist side with the remaining tape.
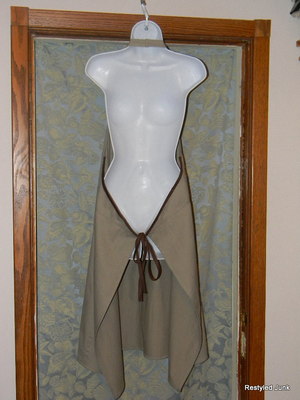
- Fold the attached tape in half and to the front of the apron. Match the long edges of the apron ties and the seam on the front of the apron. Press and pin. Top stitch along the pinned edge.
- Cut the length of each dress shoulder strap to 10 1/2 inches. This measurement starts from where they are attached to the front of the dress. Bring the ends together, overlap 1/4 inch and pin. Sew the overlap together to create the neck strap on the apron. The straps on my dress were attached with rings on the front. The rings were included in the measurement of the straps.

Read NextEasiest Bag, Purse Or Pouch