Precious Baby Girl DIY Gift Tag
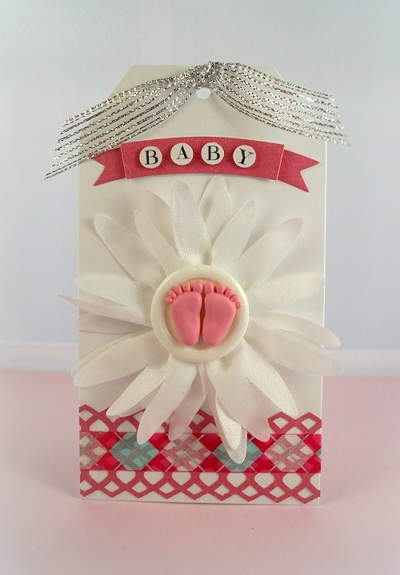
This Precious Baby Girl DIY Gift Tag is made from Little B LLC goodies. Use flowers, decorative tapes, punch, dies and sticker embellishments to fun paper crafts like this one. All of those embellishments help you transform a traditional project into a one-of-a-kind design. Your handiwork and creativity won't go unnoticed, and the new mommy will want to keep your tag as a keepsake. In fact, this paper craft idea may make more of a statement than the gift itself. If you aren't heading to a baby shower, you can easily customize this project so it's appropriate for another occasion. Best of all, this project only takes an hour to complete, so you can start and finish it while you watch your favorite television show.
Estimated CostUnder $10
Time to CompleteUnder an hour
Primary TechniqueGeneral Paper Crafting
Project or Page SizeCard
Type of Paper UsedCardstock
Materials List
- 100366 Honeycomb Punch (Little B LLC)
- 100434 Silver Foil Pink Harlequin Decorative Tape (Little B LLC)
- 100146 Footprints Dimensional Sticker Embellishments (Little B LLC)
- 100395 Party Dies (Little B LLC)
- Large White Tag 3 1/2” x 6 1/4”
- Cardstock: White, Pink
- Large White Button (Buttons Galore and More)
- Fabri Tac Adhesive (Beacon Adhesives)
- Tape Runner
- Thin 3-D Foam Squares (Scrapbook Adhesives by 3L)
- 5/16" hole punch
- Silver Ribbon (Offray)
- Computer-generated font
Instructions
-
Punch a 3 1/2 pink cardstock border using the Honeycomb punch.
-
Add a 3 1/2 strip of decorative tape onto a piece of white cardstock. Trim a very thin border on each side of the tape. Add decorative trim tape piece onto center of the Honeycomb border.
-
Adhere border on the bottom of the tag.
-
Cut 12 from the White Pull flowers trim. Fold trim in half and pull strings as directed to create flower.
-
Add small pink feet stickers to a large white button. Glue embellished button to the center of the flower. Glue flower onto center of the tag.
-
Create a pink banner from the Party Dies. Add to top of the top using thin foam mounting squares.
-
Print out the letters: B A B Y using a computer and printer onto white cardstock.
-
Punch out each letter using a 5/16th hole punch. Add the letters onto the banner with small thin mounting squares.
-
Tie top of the tag with silver ribbon.
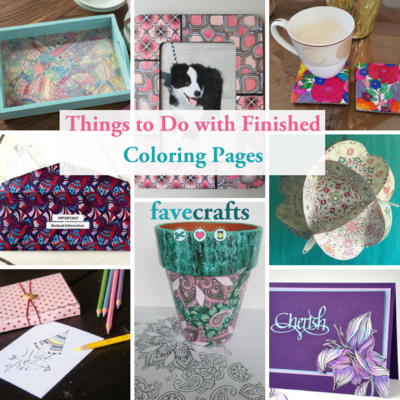
Read Next50+ Adult Coloring Book Pages