Poppy
The Flower of Remembrance

To many, the poppy symbolizes remembrance and is used around the globe to honor lost soldiers. But what does the poppy mean to you? It might be completely different. To me, the poppy brings back memories of my childhood vacations. When we traveled around Southern France as kids, my mom’s face always lit up when we drove past the glowing poppy fields, and that has made me love the dancing poppies even more. In this step-by-step project, I’ll introduce you to another approach to line and wash, which is to wash first. Let’s dive in.
Materials List
- Pencil and eraser
- Paper: Canson Montval 300gsm (140lb) cold press Watercolor brushes: sizes 6 and 4
- Fineliners: sizes 005 and 01
- Water and cloth
- Palette
-
Colors:
- New Gambage
- Pyrrol Scarlet
- Payne’s Gray
- Sap Green
Directions
Mixes:
To get the red/orange color, mix new gamboge with pyrrol scarlet. You decide how much of each color to use—more yellow will give you a brighter and warmer color, while less yellow will give you a purer red.
-
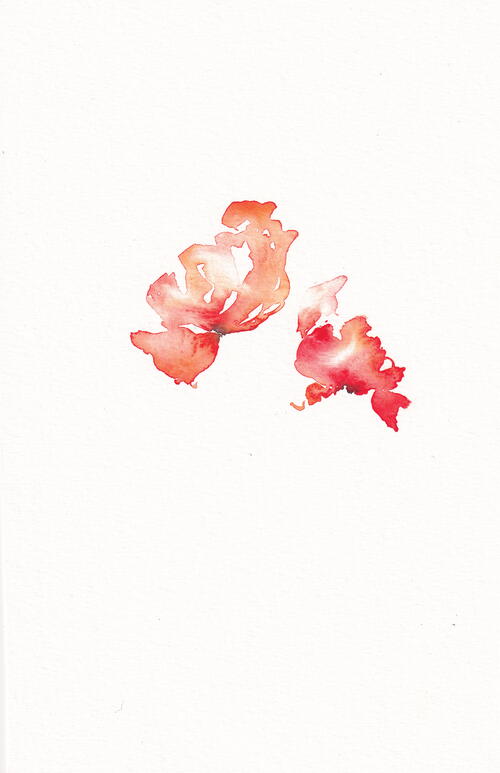
Observe how the poppy head is looking and paint the flower heads with clean water and a medium brush (size 6). You can’t be super precise and that is exactly the point, because you don’t have to be. Just make sure to leave random white spaces and you are good. Tilt your head a bit so the light catches the water surface. That way, it is easier to see what you are doing. Now drip in a mix of new gamboge and pyrrol scarlet and let it flow freely in the water. When it starts to dry (but is not completely dry), drip in a small amount of Payne’s gray at the bottom of the flower. Let it flow into the flower head and then dry. I know this seems annoying because you just got started, but good things are worth the wait. So, paint another one or two in the meantime.
-
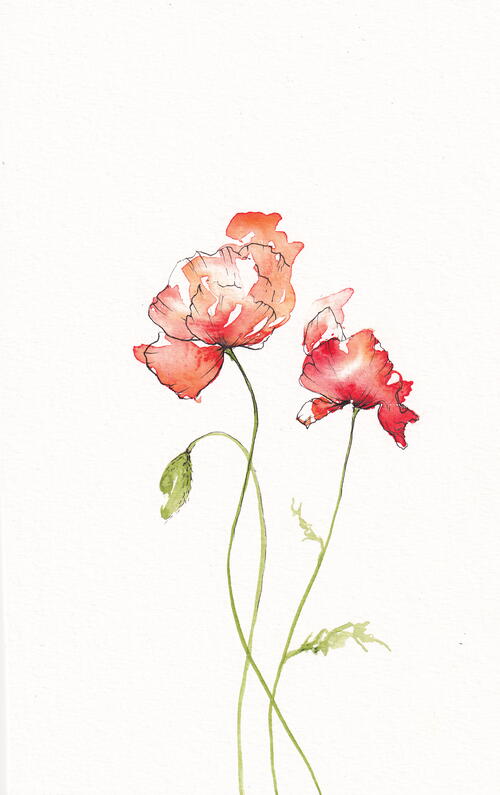
When the flowers are almost dry, you can paint the stem wet-on-dry with the tip of your small brush (size 4). Use sap green and keep it light and flowing. Let the stems overlap to give a bit of perspective. Then, add a small pointy oval for a bud.
-
Take your 01 fineliner and draw a rough outline to the flower heads. Try being super loose and don’t aim to follow the lines of the paint. This will make it look free and flowy.
-
Now, take your 005 fineliner and add some pretty details to the petals. Less is more, so just add enough to show the delicate folds and textures.
-
If you feel it needs a little more of something, then load your brush with the red mix. Make some wonderful splatters with your brush of choice. Then, load your brush with clean water and do a few splatters on top of the paint splatters to turn them into small explosions.
And that was your first “wash first” flower. Yay you!


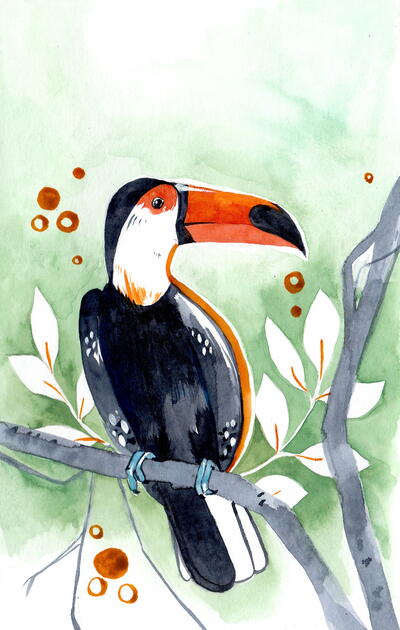
Read NextToco Toucan